

Nothing spoils a setup like a filthy keyboard. I spend a minimum of 40 hours a week at my keyboard writing up many of the lovely words you see on Club386. However, I also use the same board for gaming and other tasks. That’s plenty of time for all kinds of unpleasantness to build up around my keycaps, spoiling the looks and hygiene of my setup.
Indeed, some studies suggest that all those keycaps can hold more grime and germs than a toilet seat. As such, keeping your keyboard clean is of paramount importance for the sake of aesthetics and health. Thankfully, doing so doesn’t require much time or effort, but putting in the work frequently leads to transformative results.
I intend to restore my ever-reliable peripheral back to its former glory, and you can do the same.
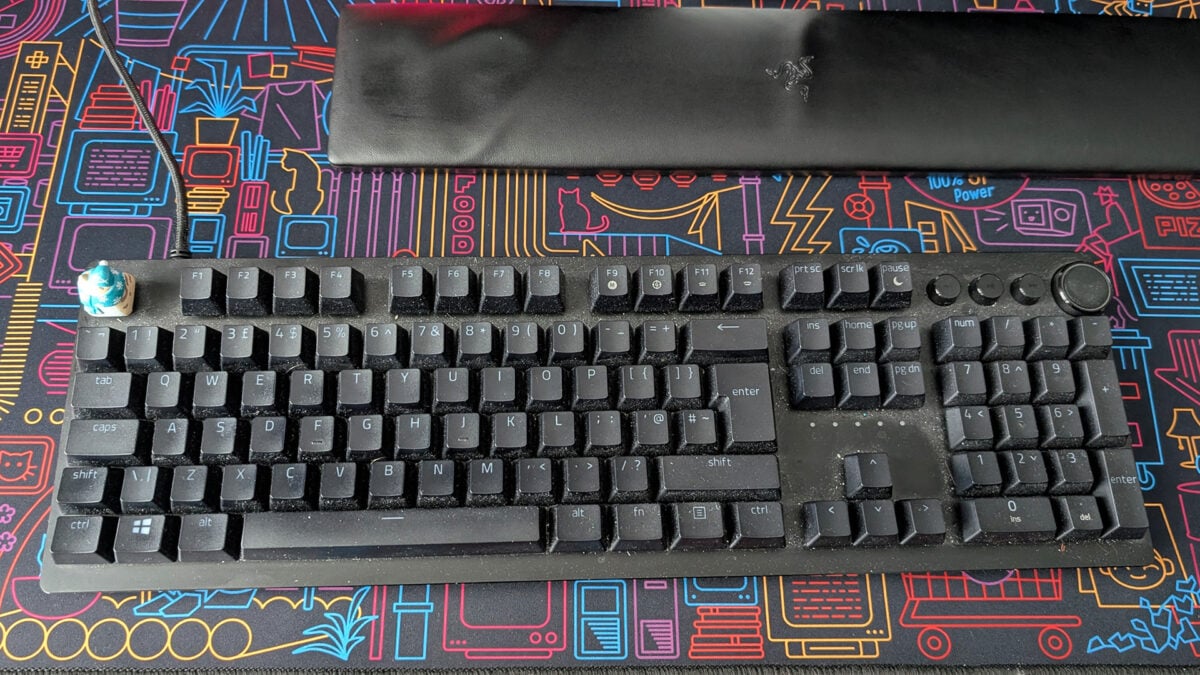
Germaphobes beware, but look above and you’ll see my Razer Huntsman V2 in a shamefully filth-ridden state. Much of the crust lathered across the keyboard is thankfully just dust, following a bout of spring cleaning in my office. However, there’s still a fair share of crumbs, hair, and skin here, all adding to the melting pot of grossness that needs to disappear before I begin typing again.
Should your keyboard be in as sorry a state, or somewhere else on the cleanliness scale, fret not. I intend to restore my ever-reliable peripheral back to its former glory, and you can do the same by following along with my short and simple cleaning journey. Wash your hands, ready some cloths and your vacuum cleaner, and let’s get to it.
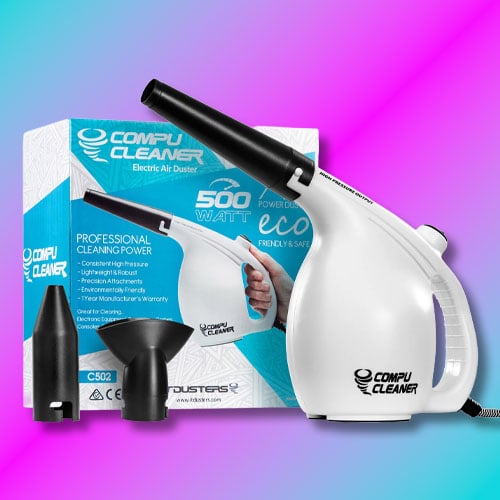
IT Dusters CompuCleaner
£25
“A device that’s so useful, I can confidently describe it as one of my best ever PC purchases.”
Evoking a certain Christopher Nolan film, we need to go deeper.
Firstly, we want to free any loose dirt from the board. In order to do that, turn your keyboard upside-down so the keycaps face the floor directly. Now, lightly tap the base, and watch as filth falls from your precious peripheral. With a horrid pile of gunk now ousted from your keyboard, take your vacuum and suck up all that nastiness, not forgetting to wipe down the surface afterwards.
Evoking a certain Christopher Nolan film, we need to go deeper. Lift up enough keycaps, and you’re sure to find more dirt lurking under the surface. This is where my IT Dusters CompuCleaner enters the frame, a device that’s so useful, I can confidently describe it as one of my best ever PC purchases.
After attaching the brush head to the main body, I fire up this super-powered air duster with gloriously messy results. The bristles agitate any stubborn spots of dirt, while the plentiful pressure ensures the loosened dirt gets the proverbial boot. Suffice to say, you’ll want to do this either outside or in the direction of a window, unless you fancy an additional clean-up job.
Prepare a small bubble bath for this next step.
The keyboard’s already looking far better than before I began the clean, and I could reasonably wrap up with a wipe down at this point. However, those who prefer a thorough approach, like myself, should prepare a small bubble bath for this next step.

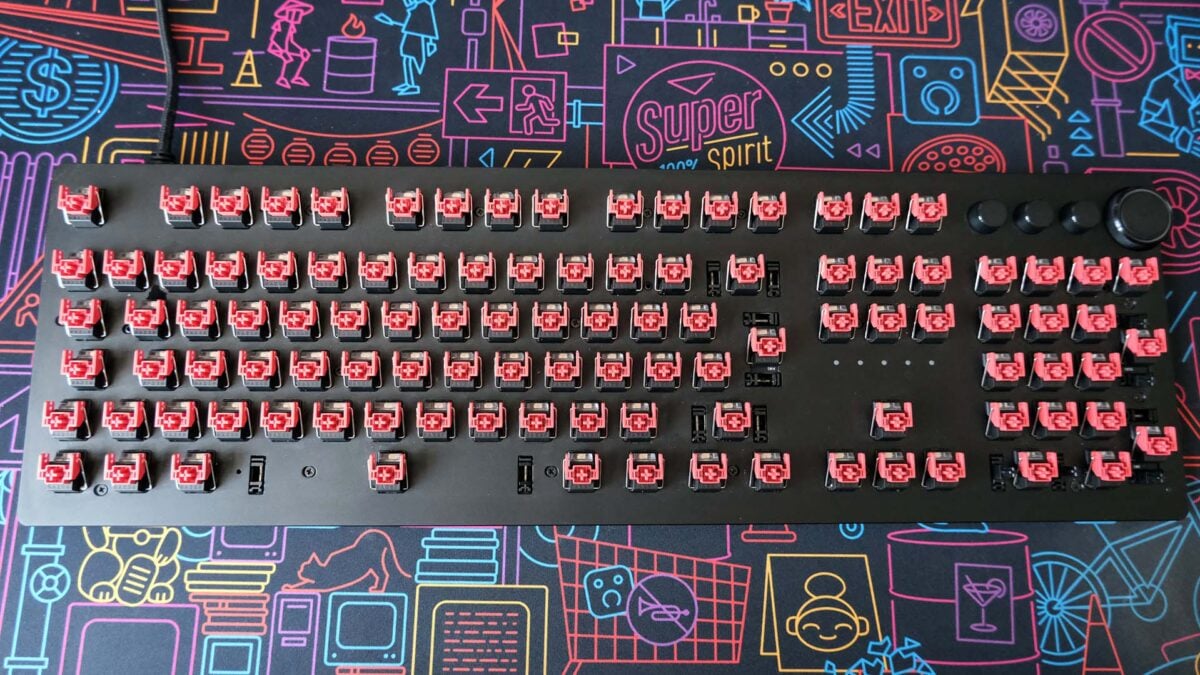
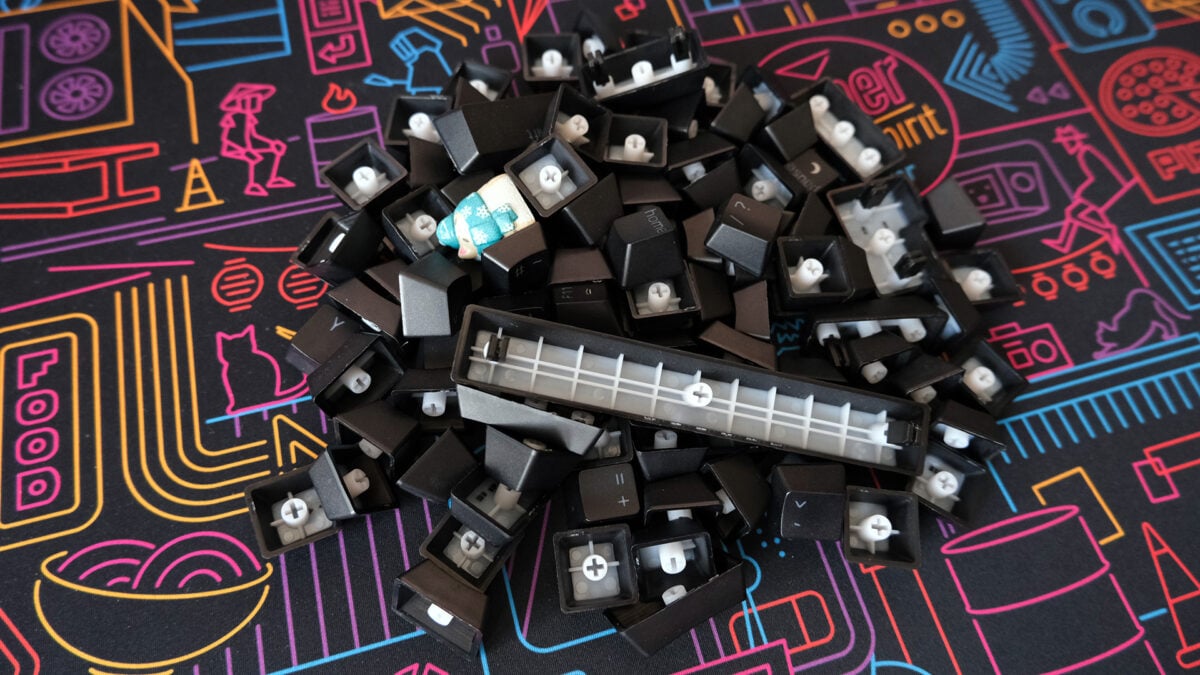
Gently remove all your keycaps, using a puller if you have one available, or your fingers if not. Place each of them into a bowl of warm water with a touch of washing-up liquid for up to 30 minutes, before drying them with a microfibre cloth. Afterwards, leave the caps for several hours to air dry, typically overnight, as the last thing you want is soapy water getting into your switches.
Cotton buds (or swabs, if you’re on the other side of the pond) are your ally.
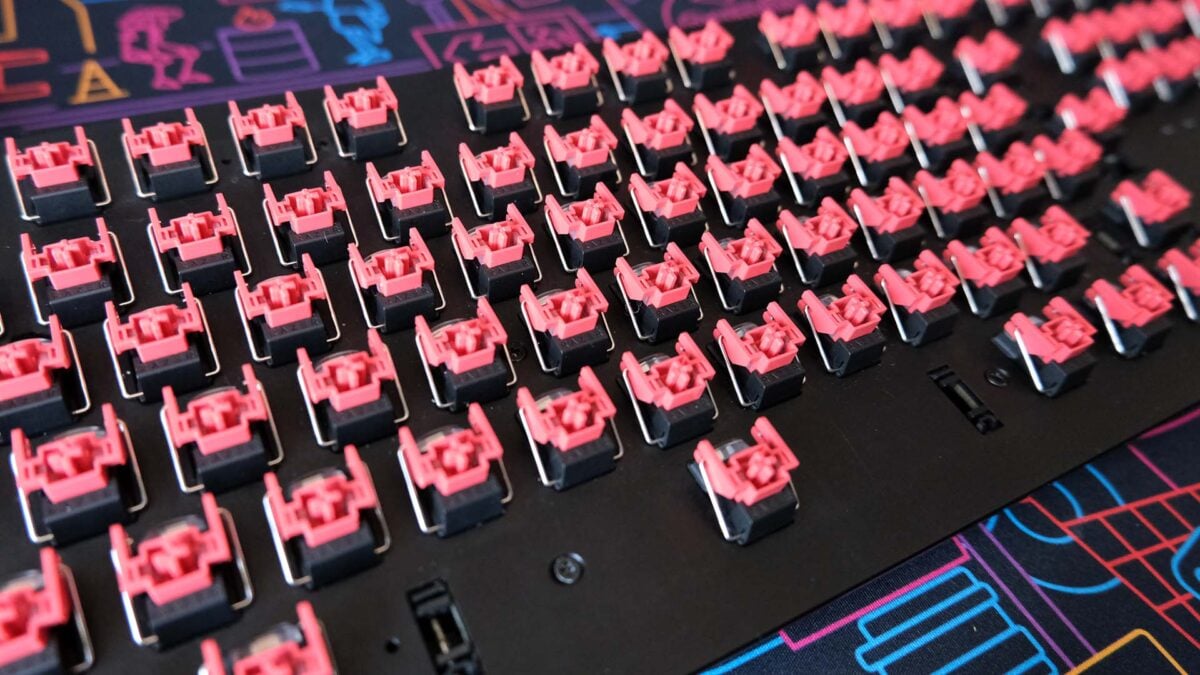
Meanwhile, on the keyboard itself, cotton buds (or swabs, if you’re on the other side of the pond) are your ally. Coat them in rubbing alcohol if you have any to hand, but a tiny bit of water will work too, and carefully work your way around each switch. Finally, take a clean microfiber cloth and dry everything off, leaving some time to air dry too if possible.
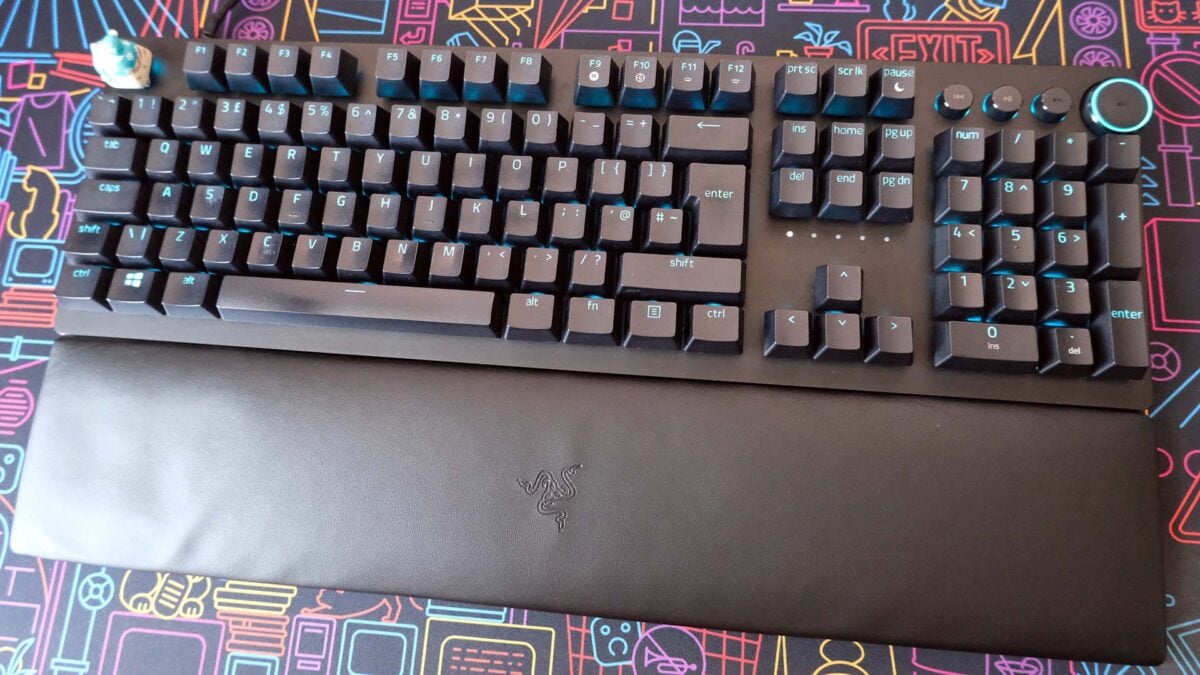
With the base and caps clean, it’s time to reassemble your keyboard. Despite having one on my desk for more than 20 years, I still can’t remember where every key lives, so I like to have a product photo at the ready for reference.
Congratulations, your keyboard should now look practically as good as new. I recommend cleaning out your board once every month, but you should be able to eye when your setup needs some TLC. Just try not to wince when you notice the first crumb or hair that inevitably sparks this process all over again.