
For a long time, overclocking or tweaking your CPU required you to fiddle around in your motherboard’s BIOS, navigating your way through submenus packed with unfriendly technical terms, while making sure you carefully dialled in just the right settings to not fry your expensive hardware. However, with the release of its Ryzen 1000 series CPUs, AMD published Ryzen Master, making CPU, RAM, and even GPU tuning a whole lot easier. In this feature, I’ll show you how to use it.
Put simply, Ryzen Master is a tuning utility for AMD CPUs that allows you to monitor and adjust parameters such as CPU frequency and voltage, memory speed and timings, as well as your integrated GPU’s clock speed if your processor contains one. Most importantly, it allows you to make these adjustments without needing to enter the BIOS, making hardware tuning more convenient and less scary. It also offers handy features like automatic overclocking, but we’ll focus on manual tweaks as they tend to net higher gains. While this piece of software can do many things, most people use it to either monitor their system or overclock/underclock their chip.
Today, we will do the latter, since there are better apps for hardware monitoring, some of which we covered in our free hardware monitoring and benchmarking apps guide. But before that, you’ll need to download Ryzen Master from AMD’s website. Make sure you select the right version for your CPU generation.
A tour of AMD Ryzen Master
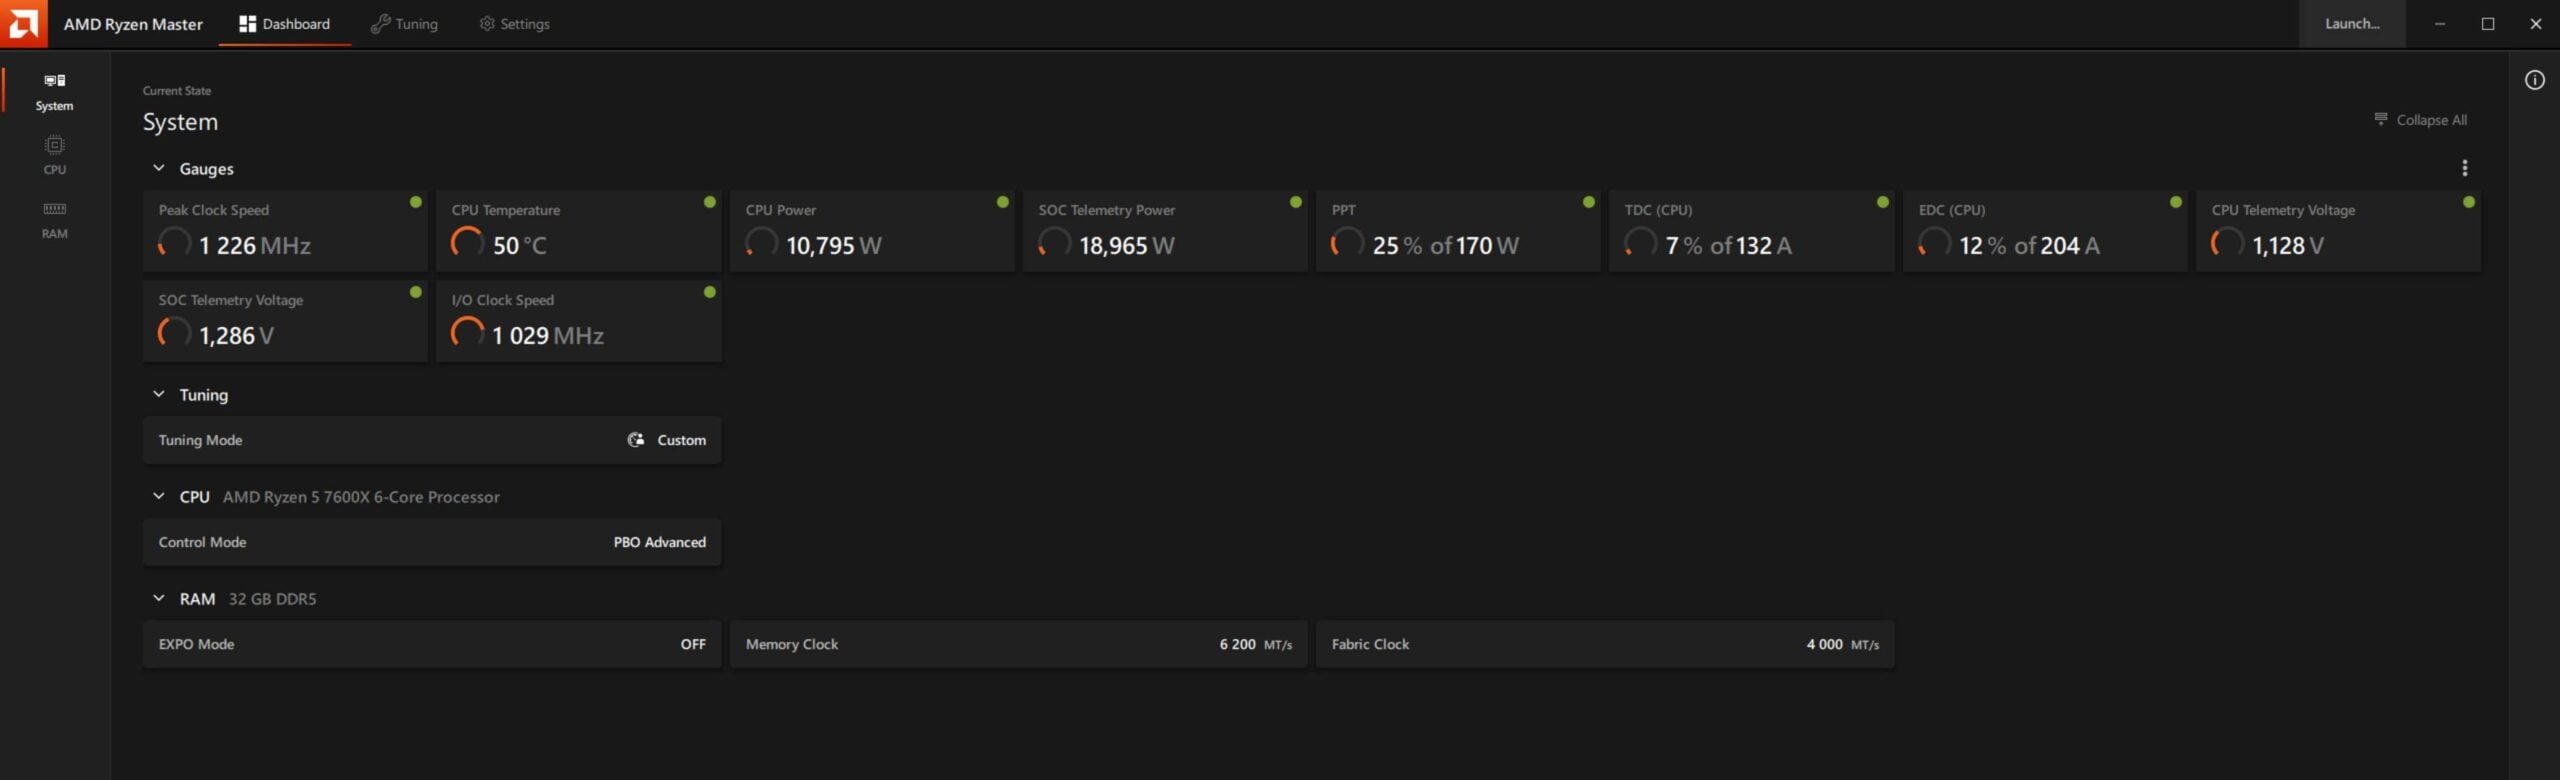
After launching Ryzen Master for the first time, you’ll be greeted by the dashboard, where you can see different statistics and measurements about your system, including your CPU clock speed, temperature, power consumption, and more. This section is important when it comes to verifying if your adjustments have been made.
For example, if you expand your CPU’s power limits, you’ll see the new limits in place of the default ones. As such, it’s a good idea to take a screenshot of the default state before changing anything, so you can compare your changes before and after. Ryzen Master has quite a busy dashboard, so if you need to see any of these screenshots in more detail, just click on them to see the full image.
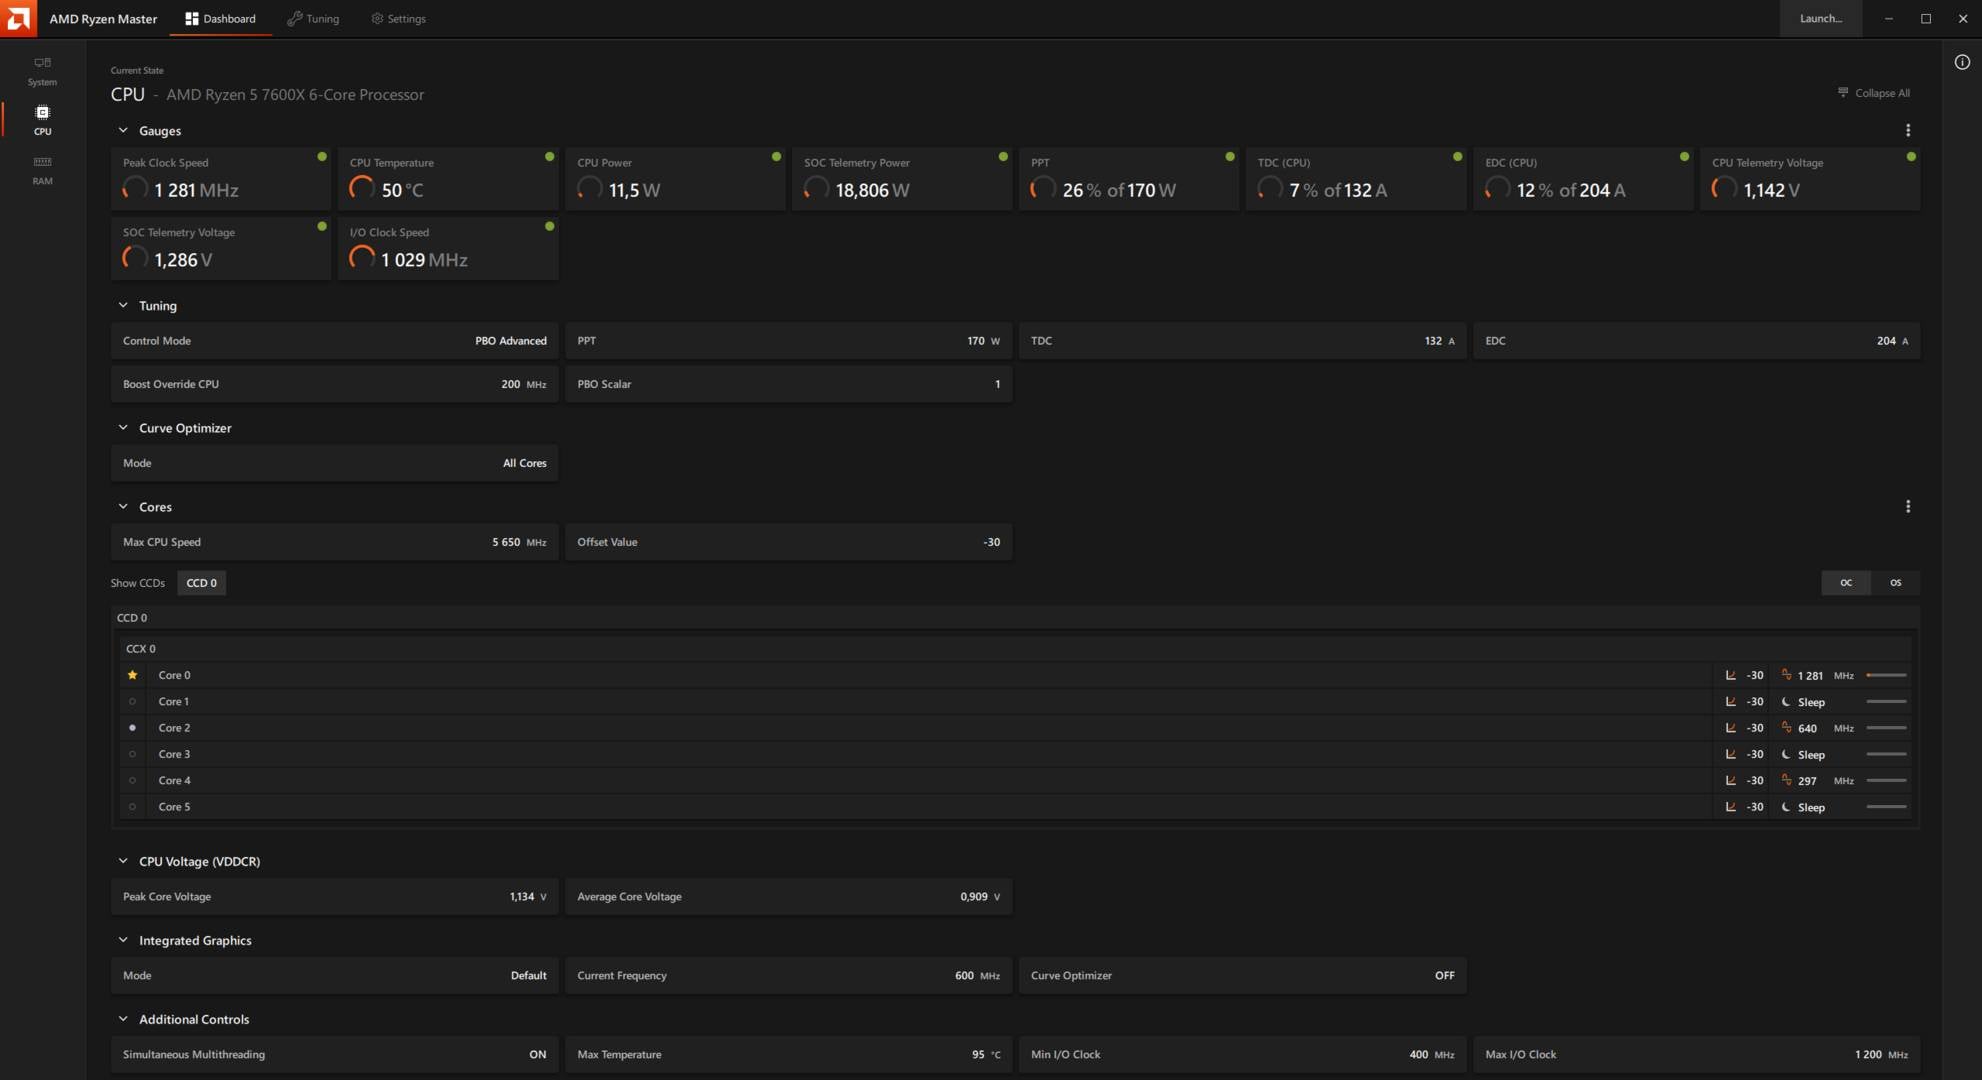
On the left side, you can choose CPU or RAM. Selecting the first leads you to a more detailed look at your CPU’s configuration, with detailed per-core clock speed, integrated GPU frequency, and Curve Optimizer offset values. As you may have guessed, selecting RAM opens a detailed view of your memory, revealing information such as timings and voltages. Before we move to the section that interests us, you may want to head first into the Settings tab to disable the side window ad and unsubscribe from the AMD User Experience program.
Now, let’s move to the tab where the magic happens, Tuning. After selecting Tuning, the app will warn you about the potential risks of tinkering with these options. These are valid concerns, but you should be fine as long as you don’t rush and set extremely high parameters right away. Overall, if you keep away from voltages, you’re unlikely to harm a modern CPU, as they have plenty of security and protection features. Speaking of which, for this guide, I will demonstrate Ryzen Master on my Ryzen 5 7600X, which may have extra parameters compared to older generations. The same goes if you own a Ryzen 9000-series CPU.
When asked to choose a mode, select Advanced, we want all the controls we can access. Lastly, before we start, keep in mind that adjusting some settings, such as RAM timings, may require a system reboot, which is normal as the changes need to take effect before Windows loads.
System-wide tuning
The first page you will see after selecting Tuning is called System. It lists the main tweaks you can apply to your CPU. These include enabling Eco Mode if you want to reduce power consumption and heat output, PBO (Precision Boost Overdrive), plus its advanced variant if you want to improve performance, and Manual if you know exactly what you need and how to achieve it through precise parameter entry.
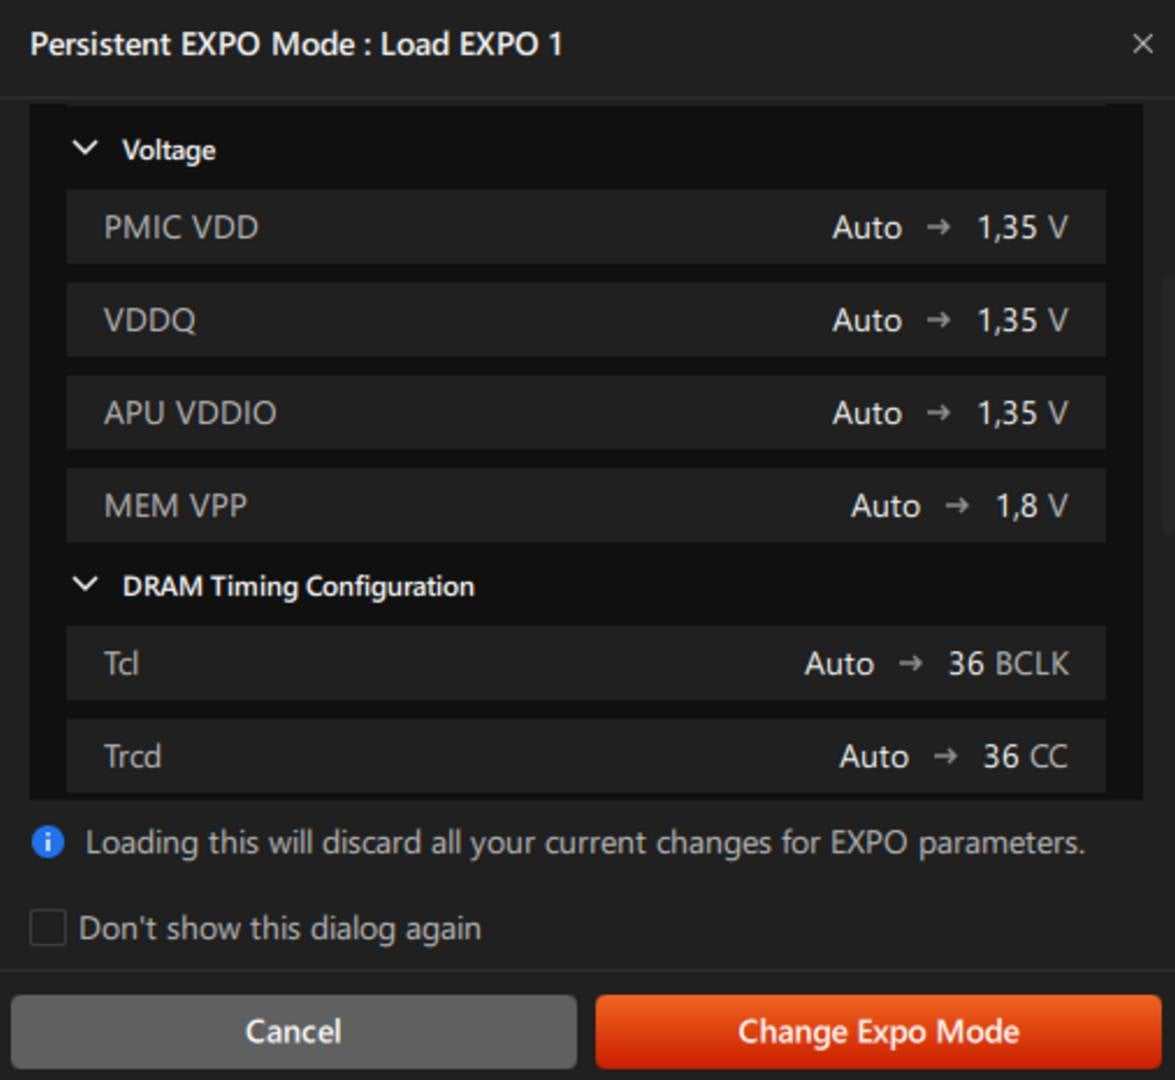
For RAM, you’ll find just a single option to enable EXPO, which configures your RAM to operate at its fastest official speed. For those unfamiliar with this tech, motherboards run RAM kits at conservative JEDEC specs, regardless of their speeds listed on the box, to ensure compatibility and stability when building a system for the first time. Therefore, enabling EXPO is essential if you want to unlock the RAM performance you paid for.
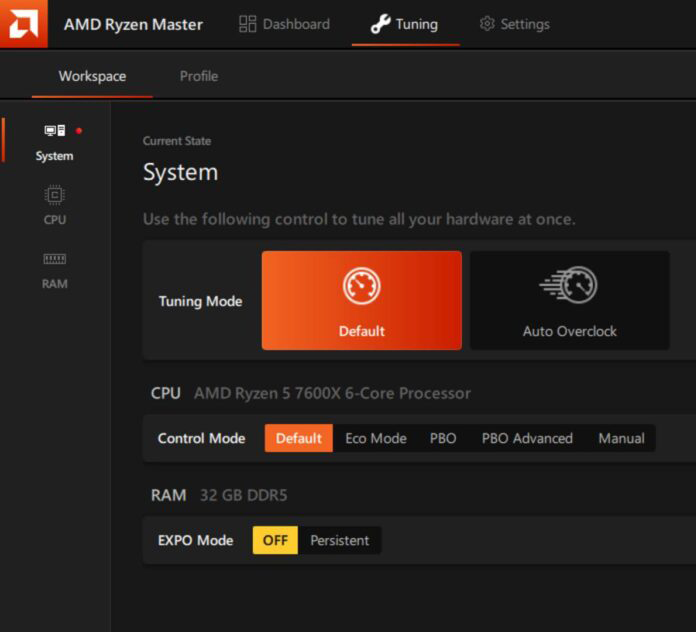
If you don’t know anything about CPU overclocking or underclocking, and don’t have time for trial and error, enabling the Auto Overclock option and EXPO should get you going if you want an easy way to maximise performance and you have a decent CPU cooler. However, in this feature, I’m going to focus on using Eco Mode for those who need to improve their system efficiency, and PBO for those who want a little performance boost. If you want more information about each option, feel free to check out our Precision Boost Overdrive guide, which talks in detail about Thermal Limits, Power Limits, Curve Optimizer, and more.
CPU tuning
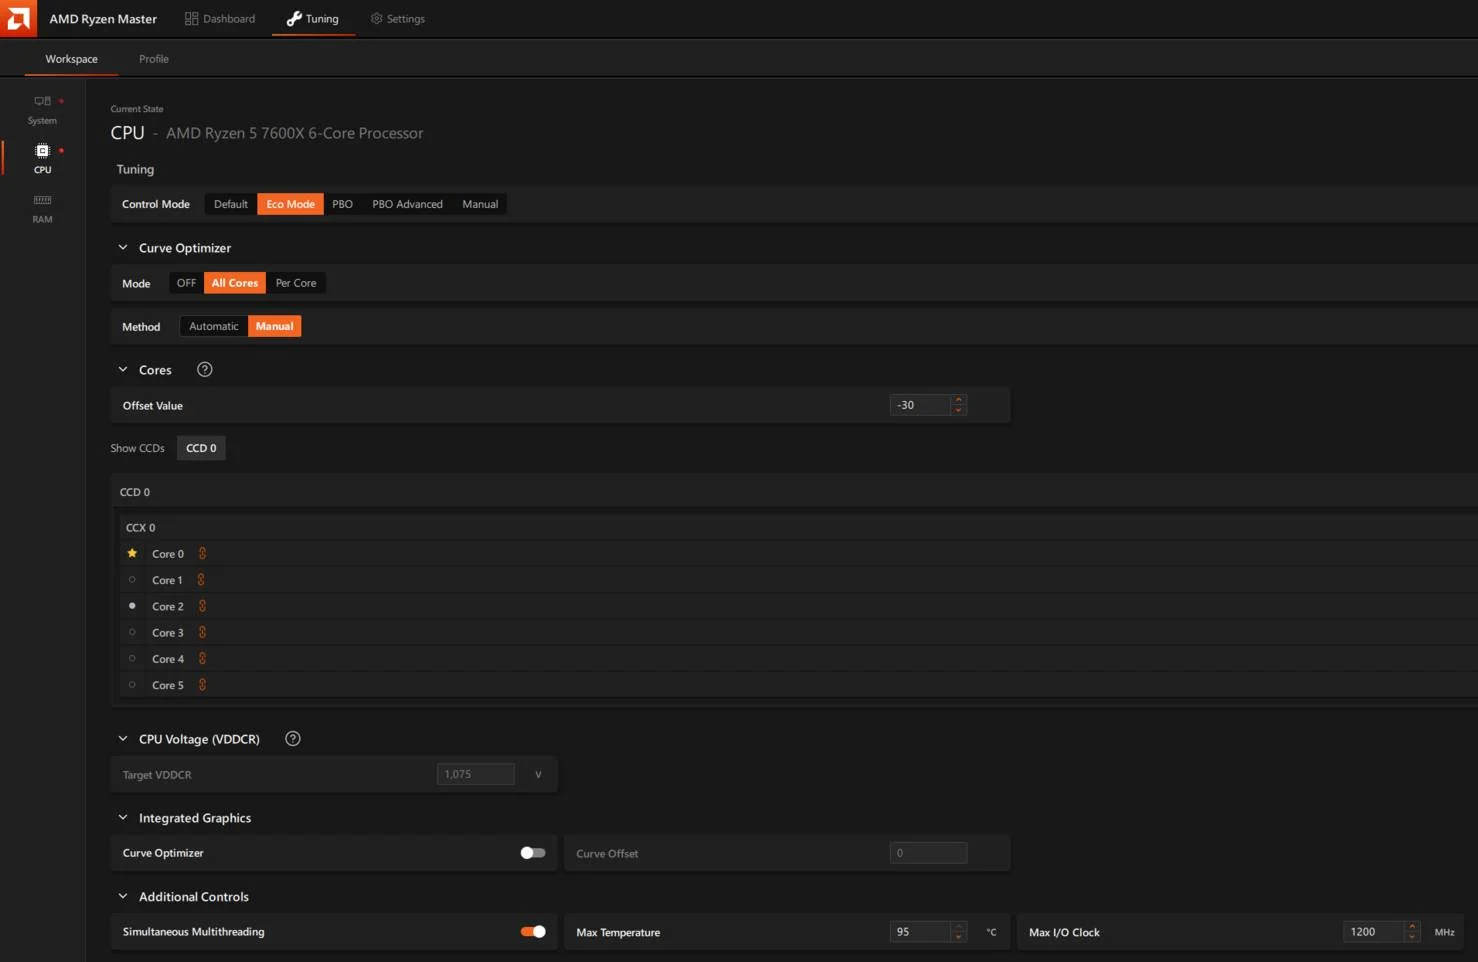
After selecting your Control Mode on the System section, head to the CPU section on the left side menu. Here you’ll find much more granular controls, although they’re not at the level of direct BIOS access. Let’s start with Eco Mode. As its name implies, this setting switches the CPU into an efficient mode, generally 65W, which reduces power consumption and subsequently operating temperatures, meaning a reduction in noise if your fans’ speeds are based on temperature monitoring, which is often the case.
Understandably, opting for this option will reduce CPU performance, though by nowhere near as much as you would expect when looking at the efficiency gains. For example, on my Ryzen 5 7600X, a 36.2% reduction in power consumption cost me just a 7.2% performance reduction, on average. Depending on your situation (hot summers or expensive power bills), this may be a worthwhile option.
Next, we have PBO and PBO Advanced. Go with the latter as it offers more controllable parameters. Here you can set your preferred power limits, such as PPT, TDC, and EDC, as well as a frequency Boost Override. Again, all these tweaks are covered in more detail in our PBO guide, but in a nutshell, PTT is the total power passing through the CPU socket, TDC is the sustained current your motherboard VRMs can maintain during long multi-core loads, and EDC is the peak current your motherboard VRMs can deliver during short boost demands.
As for Boost Override, this setting authorises your CPU to go above its official boost frequency if temperature, power, and silicon quality allow. A safer bet is to set PPT, TDC, and EDC about 20% above their default values, which can be found on the main dashboard, and will give your CPU more headroom to boost. You can then set Boost Override to the maximum of +200MHz; the CPU will only use it if it can anyway. Don’t forget to press Apply to enable your changes. If the app asks for a system restart, accept it and let your PC reboot.
Another handy option to complement these power limit modifications is the Curve Optimizer. This feature shifts the voltage/frequency curve of your CPU cores up or down, changing the voltage supplied at any given frequency point. This setting is mostly used to negatively offset the voltage curve, which feeds a lower voltage to your chip at each frequency step, reducing power draw and temperature.
Most notably, unlike Eco Mode, which impacts performance, given good silicon quality, Curve Optimizer can noticeably reduce consumption while boosting performance. How? Well, since the CPU requires less voltage to hit each frequency step, this leaves more power and temperature headroom to reach higher frequencies and thus performance. For example, my CPU was able to reach -40, which netted a 5.3% multi-core performance uplift, while reducing power consumption by 18.8%.
Start by setting +20% on PPT, TDC, and EDC, with +200MHz Override and -10 in All Core under Curve Optimizer. You can then test your system’s stability using tools like Cinebench – if it can get through a 10-minute multi-core test, then it should be fine. If the system remains stable, you can push Curve Optimizer lower to -15, then -20, until you find an unstable parameter. At this point, dial back to the last stable settings, and do another thorough stress test. At this point, run multiple testing apps and games, to make absolutely sure that your system is stable across the board.
If you want to push your CPU even further, you can also dial the curve of each core separately, which allows you to take advantage of the best cores in your chip. As a reminder, not all cores are equal, and you can see that by the little star near the best core. The best cores will be able to reach higher frequencies using the least voltage. However, tweaking your CPU at this level takes a lot of time, often with minimal gains. Personally, I recommend sticking with all-core values.
You can do the same for your CPU’s integrated GPU if it has one, but unless you’re using it to play games, don’t bother with it. The same goes for the Max Temperature setting, which lets you choose the maximum temp your CPU is allowed to reach before thermal throttling. Since the Curve Optimizer is already helping with thermal efficiency, there is no need to set a Max Temperature. And besides, modern Ryzen CPUs are built to run constantly at their maximum rated temperature.
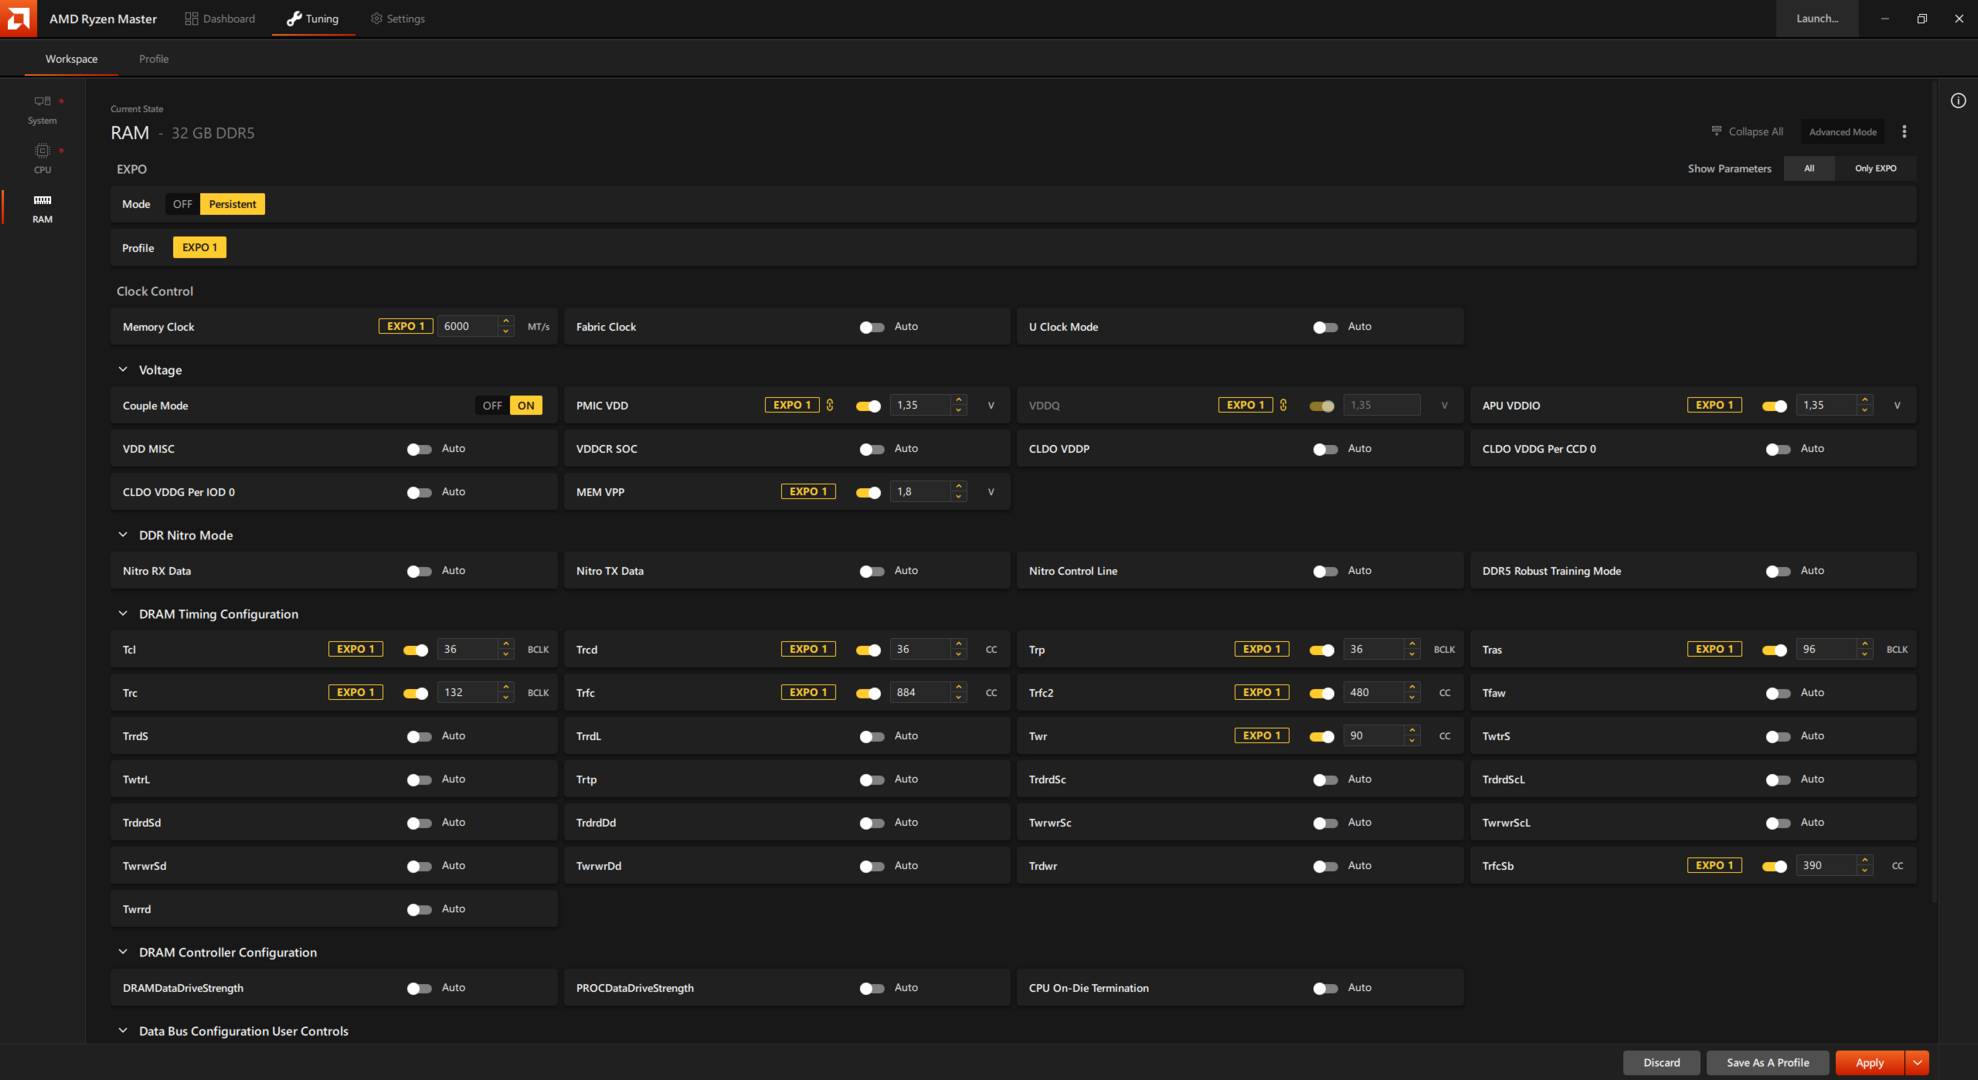
We won’t go into the last section about RAM, because RAM tuning is more complicated and sensitive than CPU tweaking, not to mention more time-consuming. It requires a dedicated guide by itself. Considering that enabling EXPO can get you a long way, and often with no stability issues or side effects, RAM tuning should be left as a last resort when it comes to increasing performance.
When you find your stable tuning parameters, save them by pressing Save As A Profile. This profile system enables you to dial in different parameters for other tasks, such as a gaming profile with a high power limit, or an Eco Mode profile for regular day-to-day browsing and media consumption. You’ll need to switch between them manually, but that’s as quick and simple as it gets currently. Enjoy.