
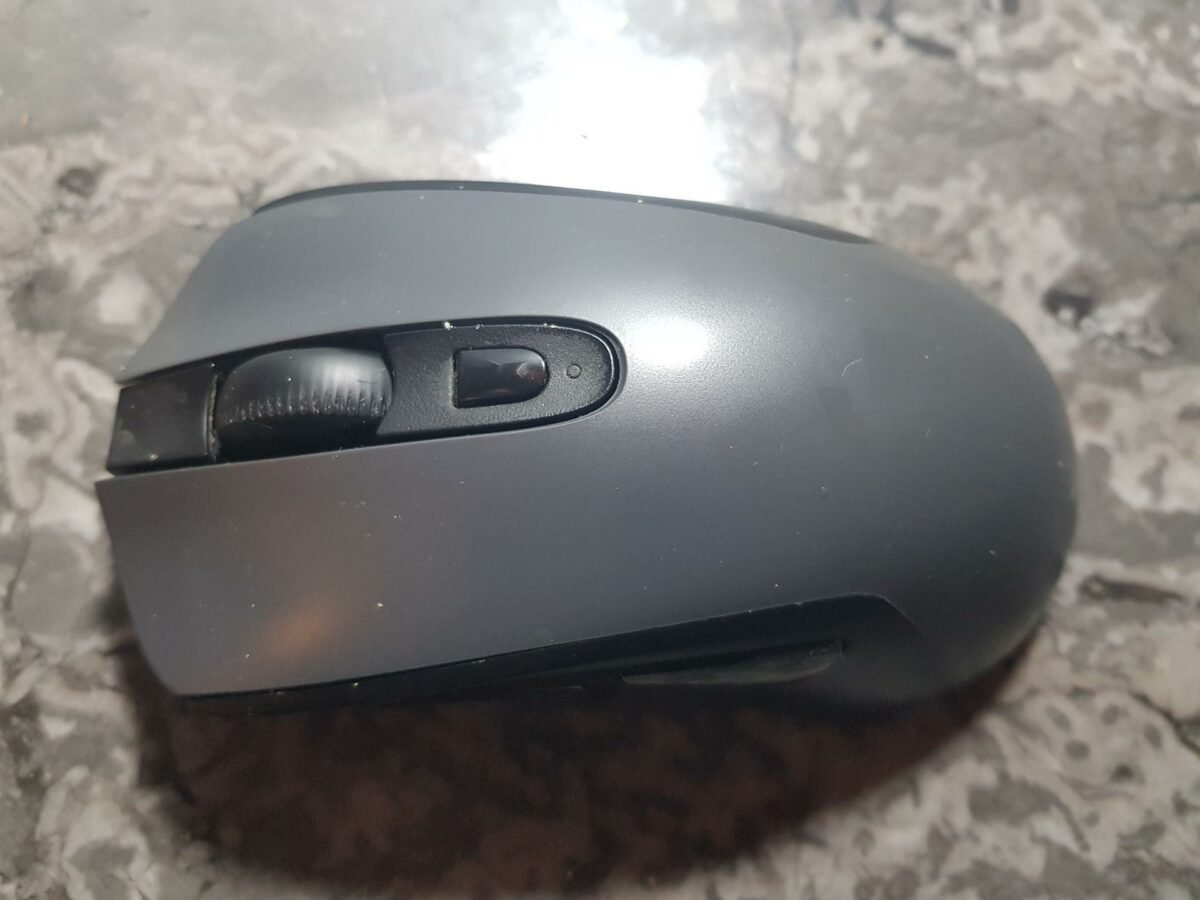
After years of loyal service, my trusty Logitech G603 wireless mouse started double-clicking randomly. Though I expected the left button to last longer than this, I am not exactly the kindest user. It didn’t end its life splattered onto a wall, which is a feat already when playing League of Legends. Anyway, the good news is that this issue is fixable, and you can do it yourself.
Even if you want to upgrade a perfectly working mouse, you can. It’s just a matter of swapping the existing switches for better ones. You may prefer a silent click or a durable switch. In any case, the steps shown in this article are fairly similar between mice models, regardless of brand. There may be some differences in the location of screws and the PCB layout, but it’s far from rocket science.
Think twice before taking a working mouse and rummaging under the hood, though. There’s always a chance that something could go wrong if you’re not extra careful. That’s where the saying ‘if it ain’t broke, don’t fix it’ comes from.
In my case, I tried to live with a double mouse click for some time, but lately, it’s become very annoying. For example, when closing a window, two close instead of one. In games, it uses two potions, shoots twice, and both selects and then de-selects whatever it wants. Enough is enough.
Before we get into it, here are the tools and parts that you will need for this job:
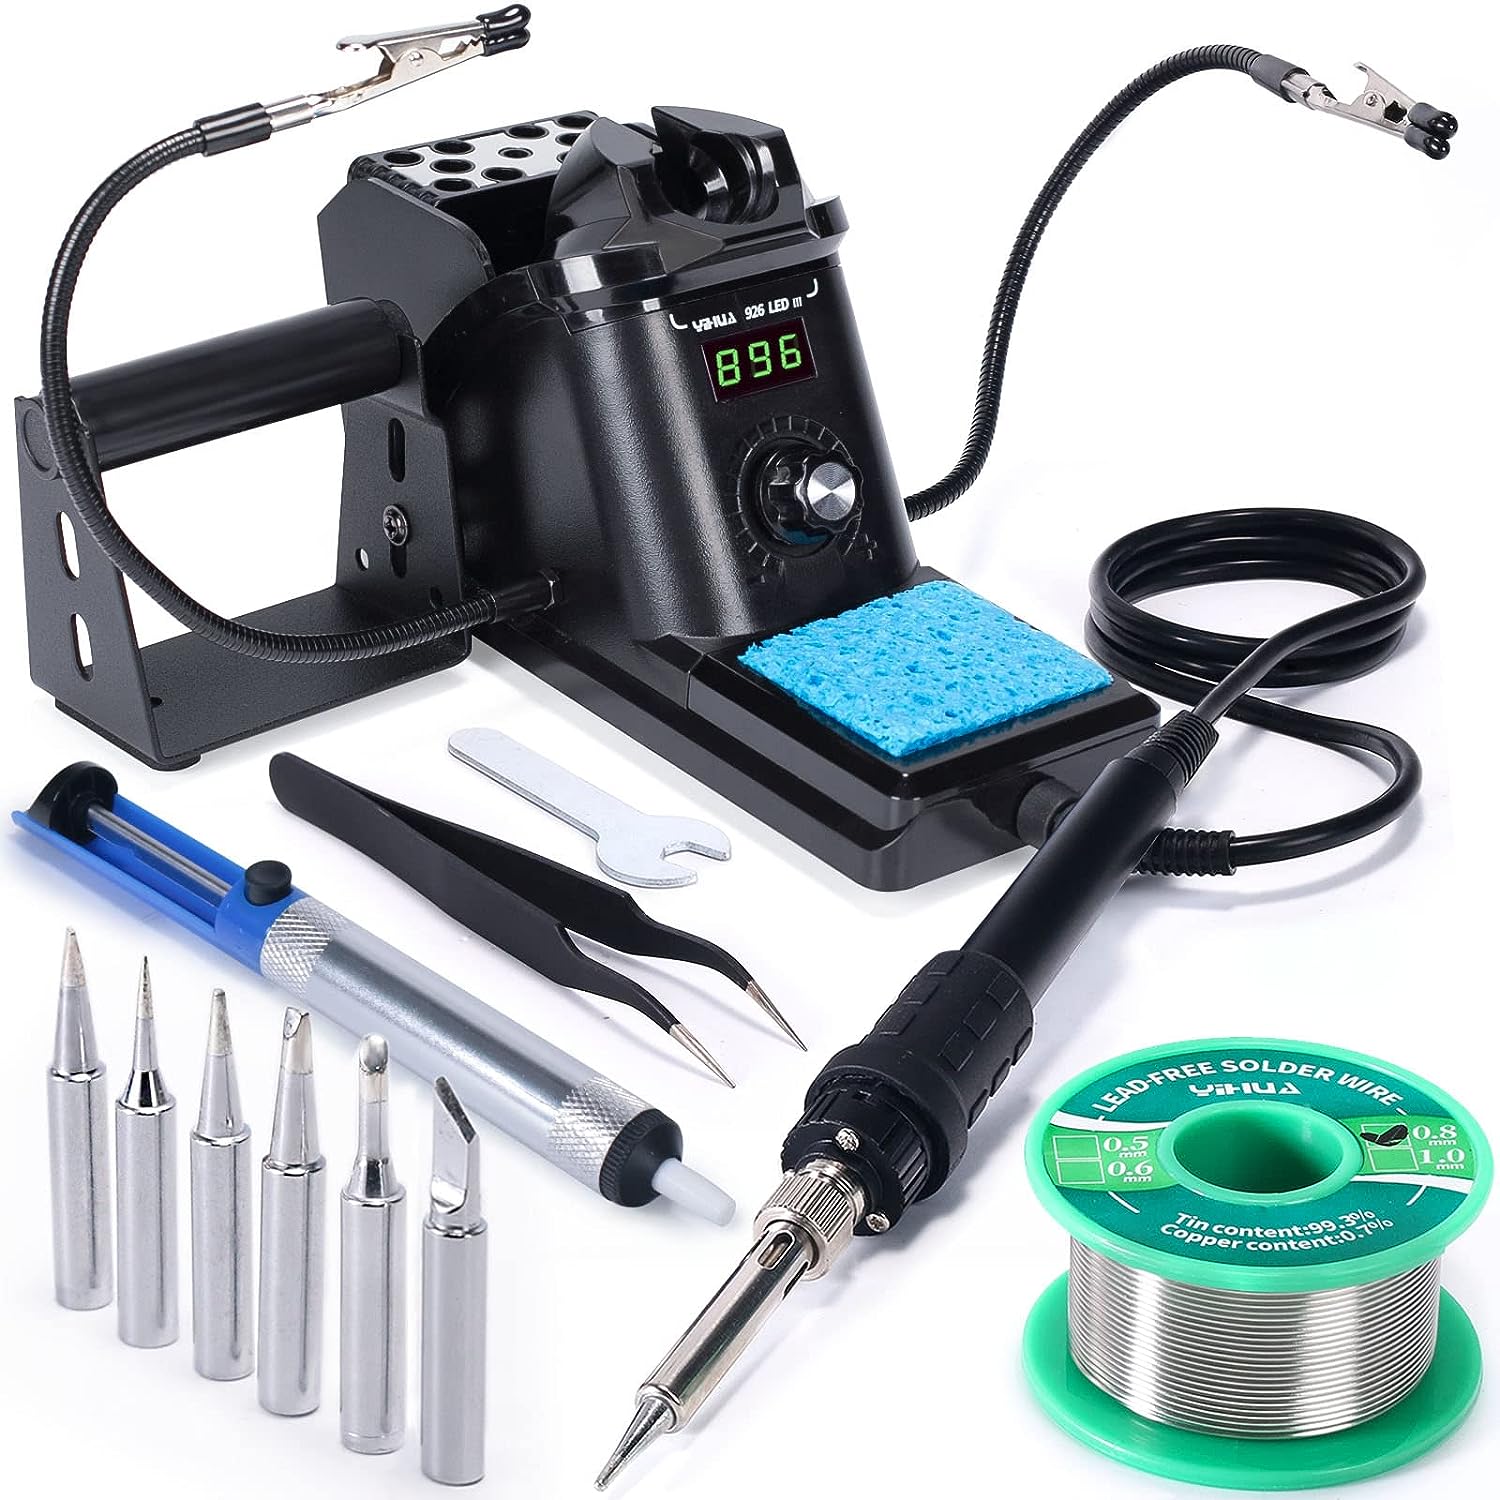
Soldering iron
“An essential piece of kit that helps repair or upgrade most tech. Just make sure you use it safely, as it gets pretty darn hot.”
We earn a commission if you make a purchase, at no additional cost to you.
- Working replacement mouse switches
- A soldering iron
- Soldering wire
- A small screwdriver
- A hot air gun or hair dryer
- A table knife
- Gloves or tweezers
- Optional: soldering flux
- Optional: replacement glide pads. Just make sure they’re compatible with your mouse
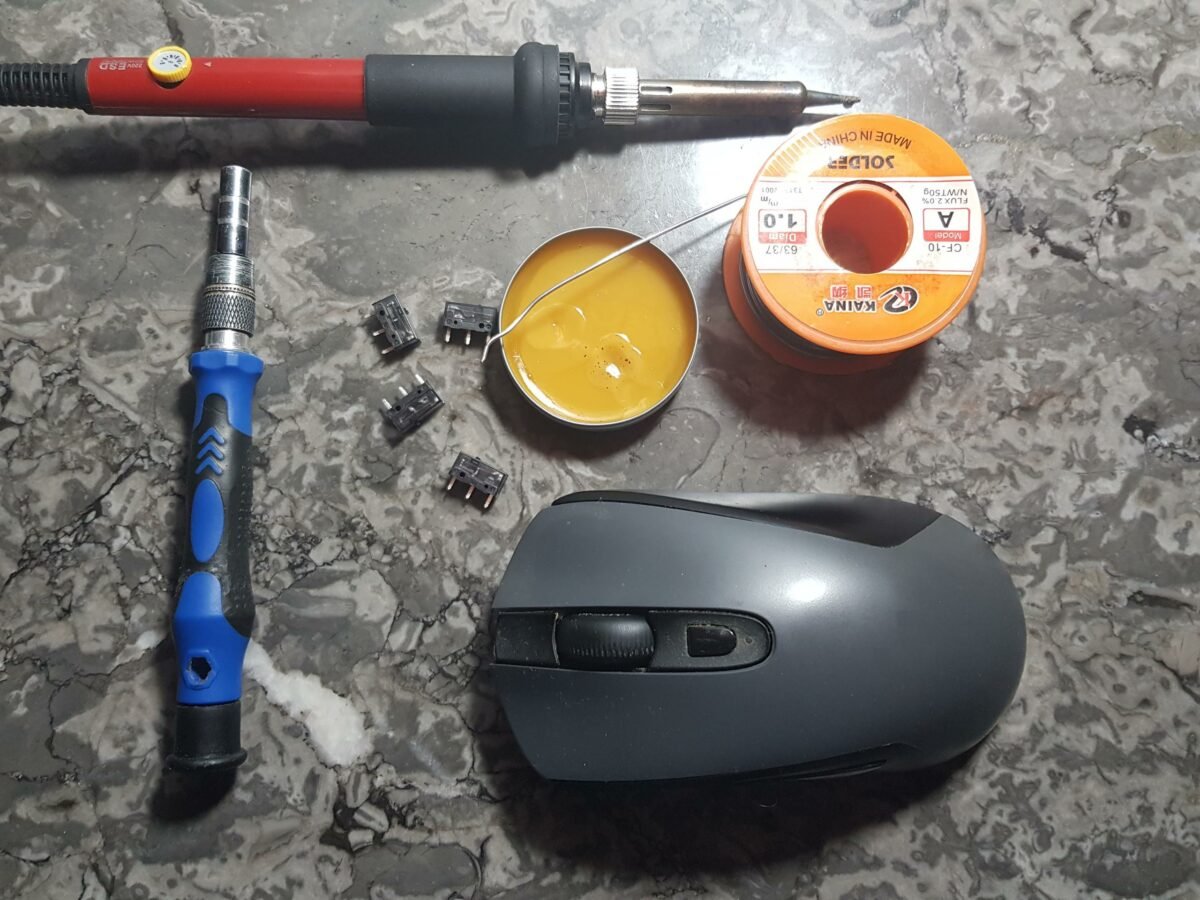
None of these is particularly difficult to find. Since I am mainly interested in fixing the double-click issues, I bought the cheapest switches I could find. They cost me around £1 each. I took four in case some got damaged during shipping or I failed my first attempt.
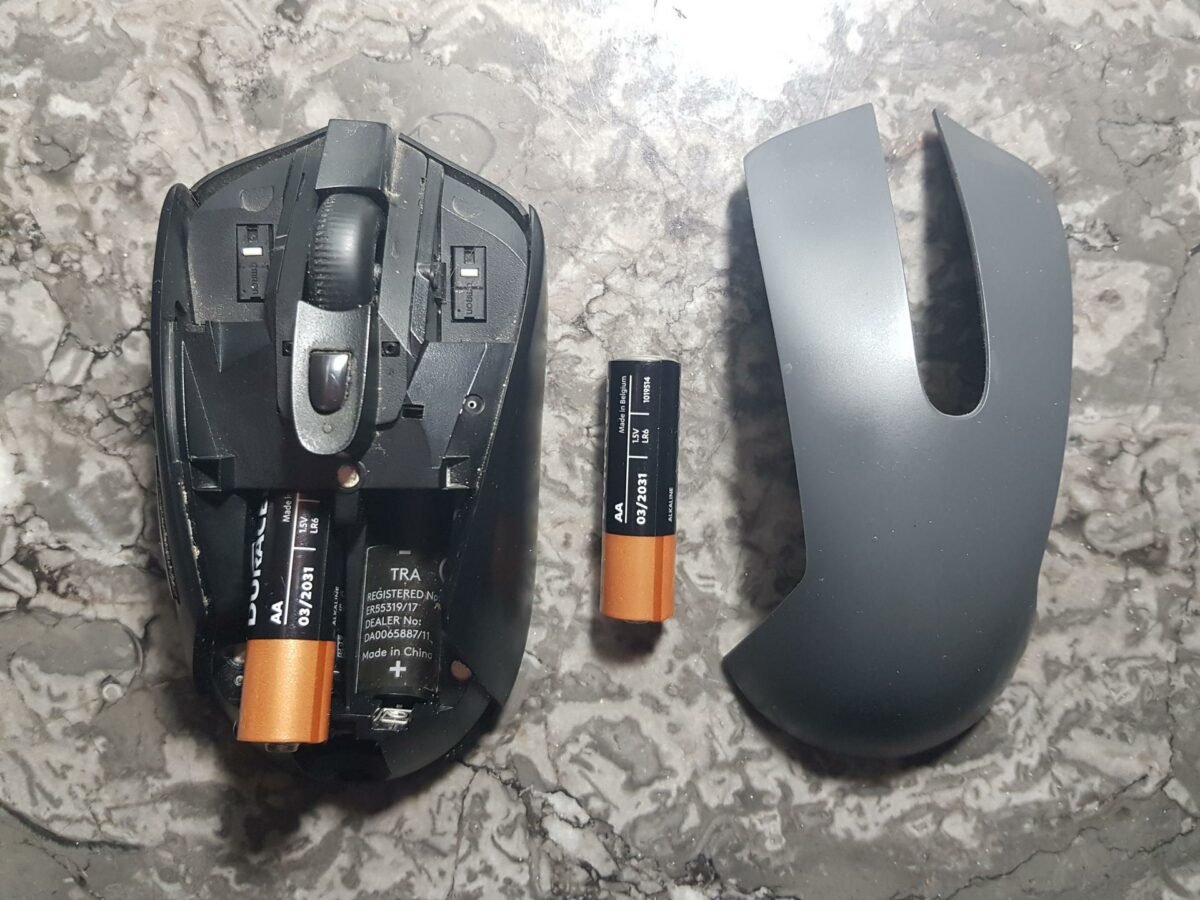
1. Opening the mouse
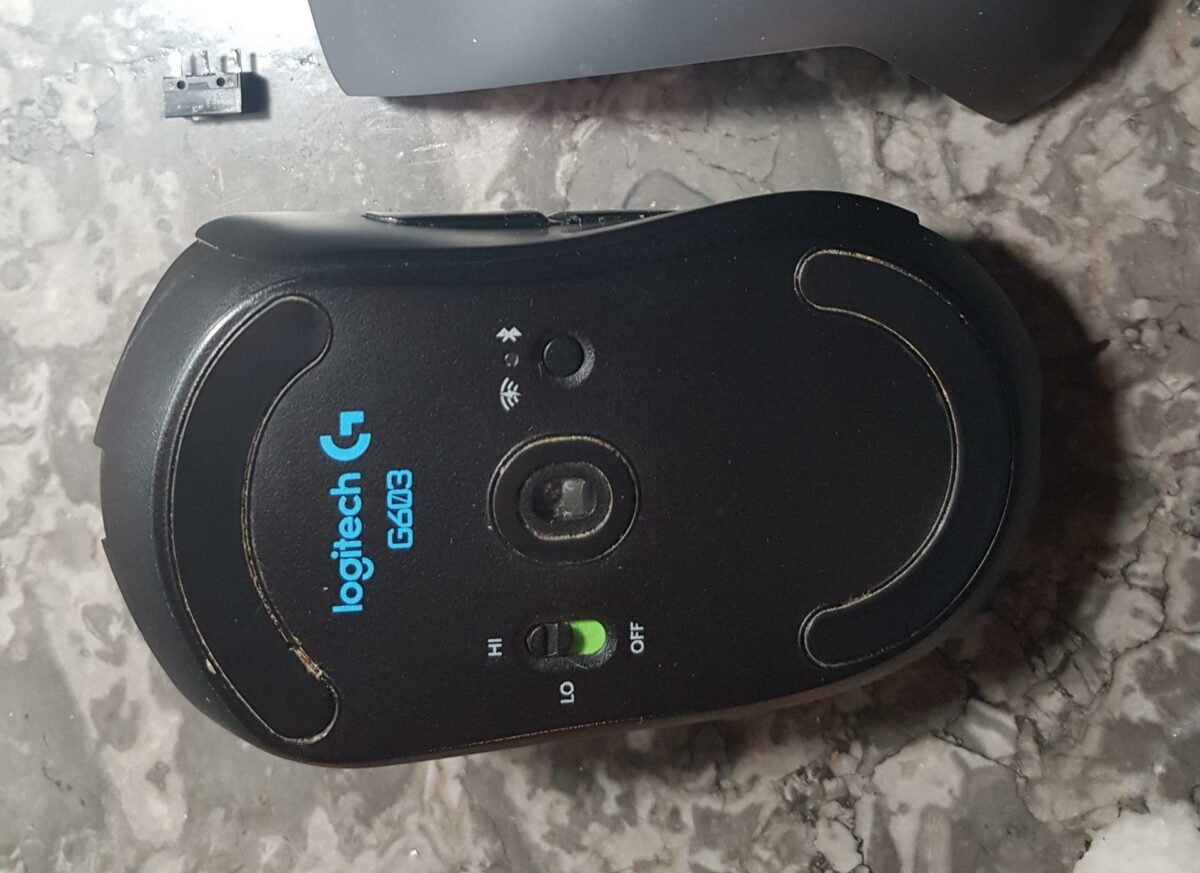
Start by removing the mouse from your computer if you have a wired model or by unplugging the USB dongle if you have a wireless one. If you have an AA battery-powered mouse like the G603, remove them too.
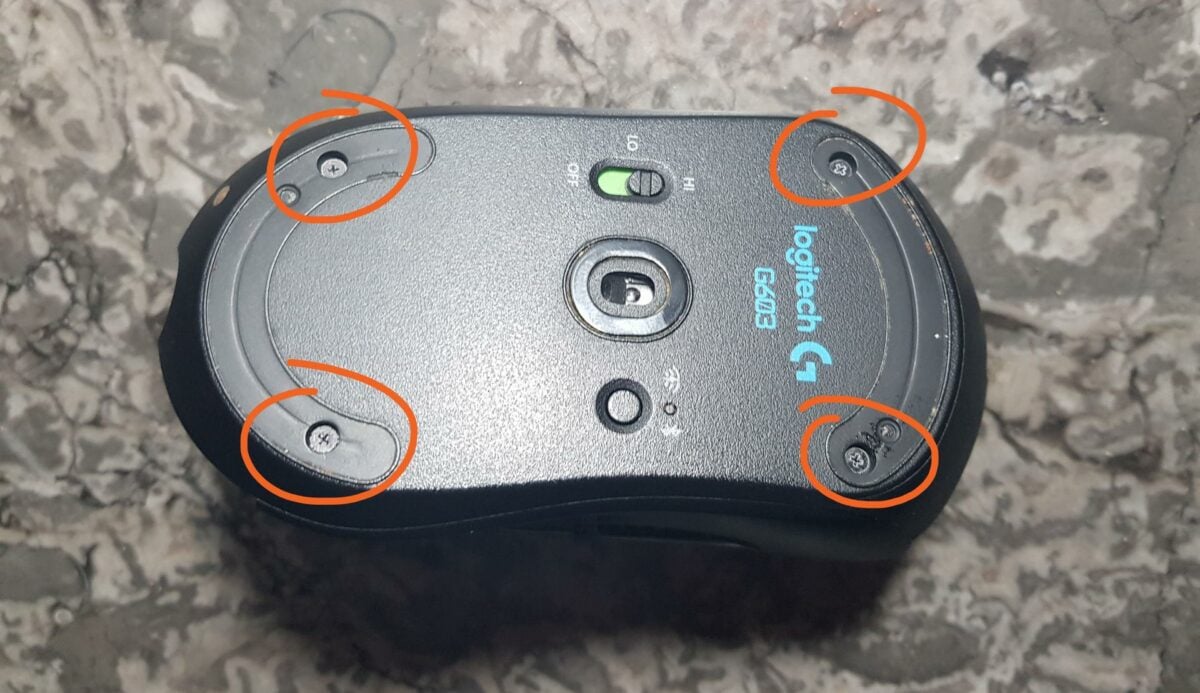
Find the screw holes. These are almost exclusively on the underside of the mouse and usually hidden behind the gliding pads. If yours are exposed, skip ahead. Otherwise, keep following these steps.
Preheat the mouse pads with your hair dryer. Don’t overdo it otherwise you risk melting the plastic.
Use your knife or something thin to slowly remove the gliding pads. Avoid warping them too much if you don’t have replacements. Keep them safe and dust-free until the time comes to put them back.
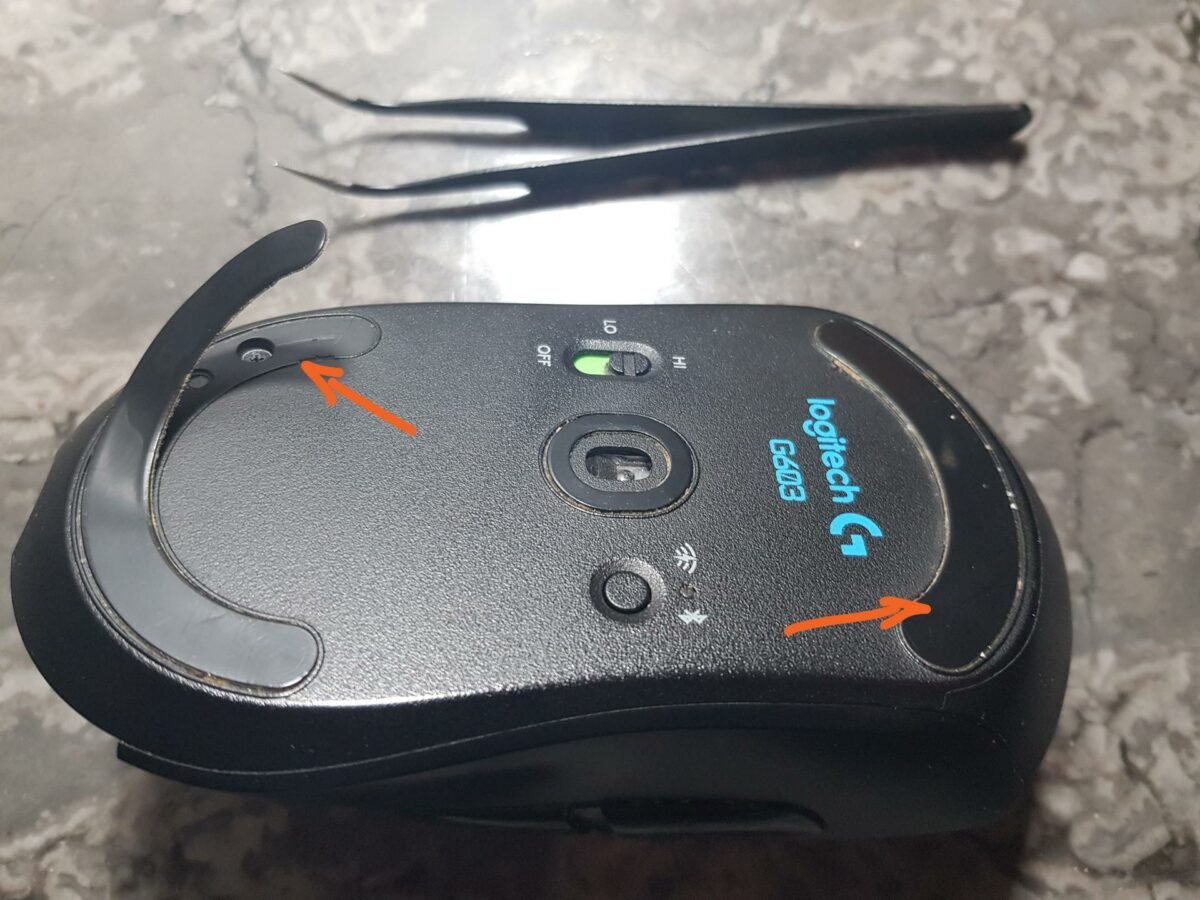
Remove all the screws that you see. Generally speaking, you will find around four screws.
Some models may have screws in other locations, like the AA battery compartment or below a sticker. So, if your mouse refuses to open, double-check if you didn’t miss one.
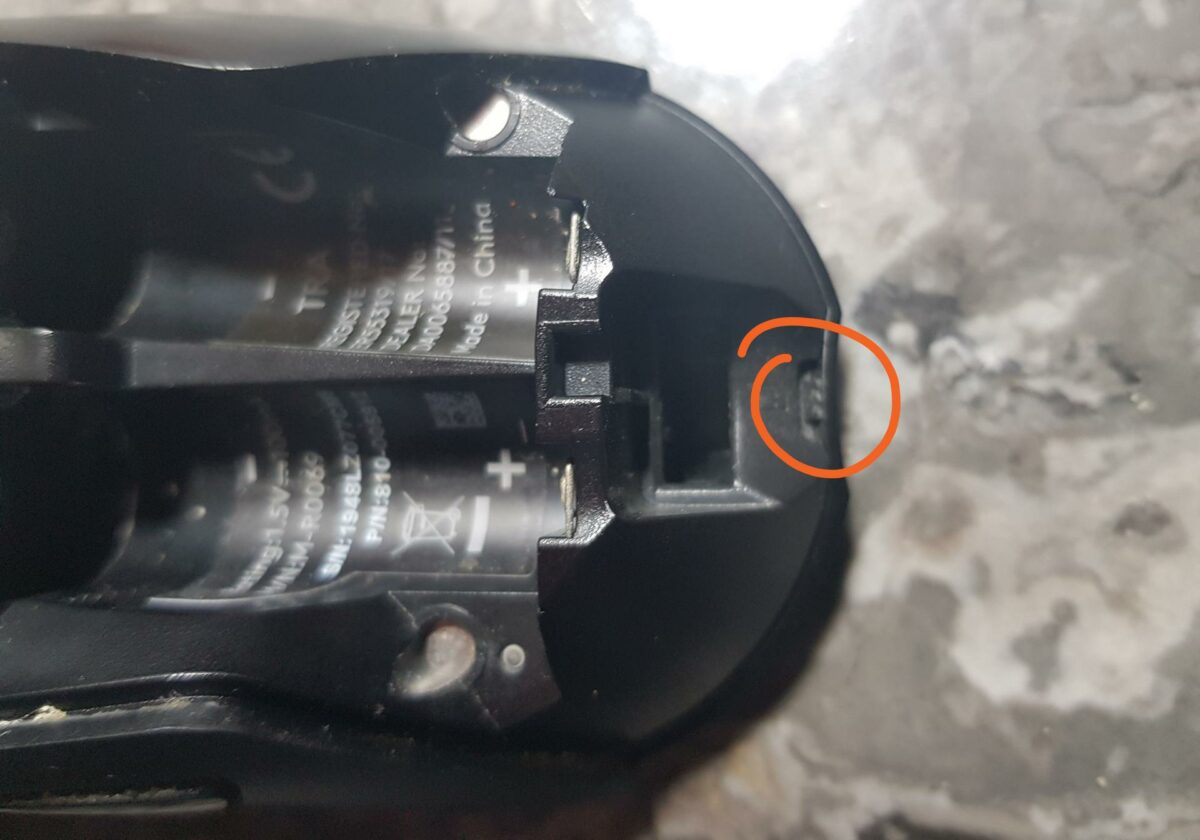
Now, depending on the model, your mouse may still be locked by some plastic clips. If not, then good. On the G603, there’s a little clip on the rear that needs to be unlocked to open the mouse.
When you start seeing the bottom and top parts of your mouse separate, wiggle them slowly to free them. Be careful of any cables holding the two parts together.
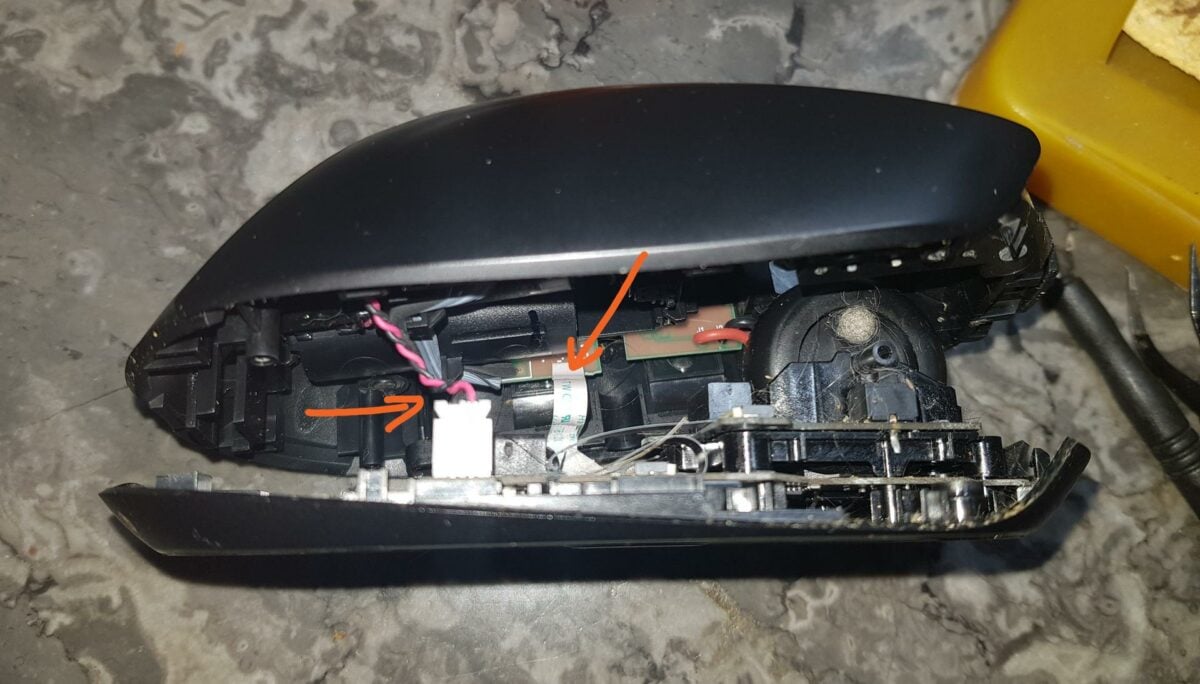
In this case, gently remove the ribbon cables while remembering their location. I recommend taking a photo, just in case.
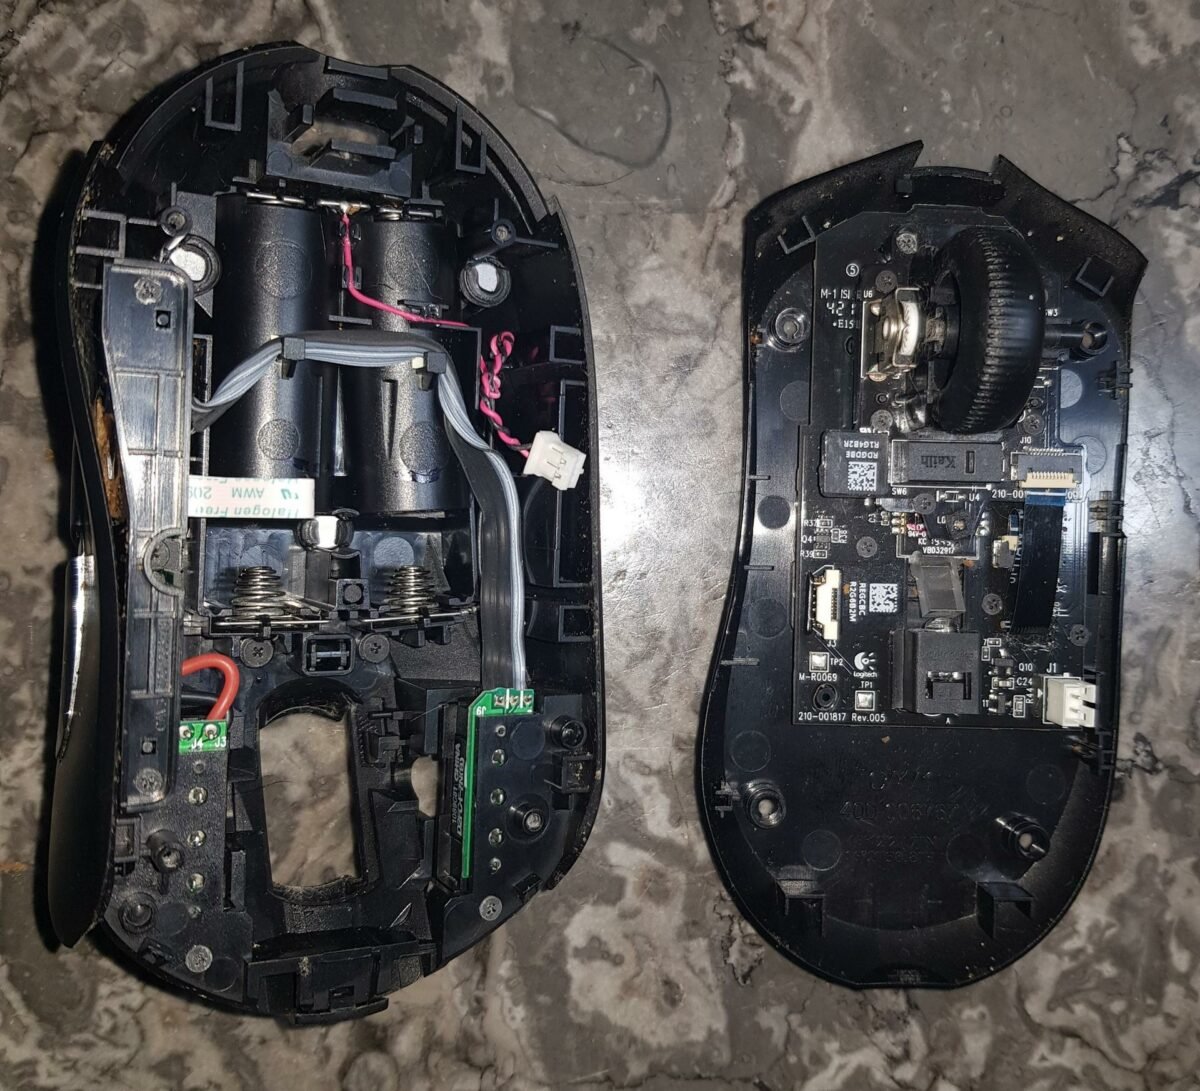
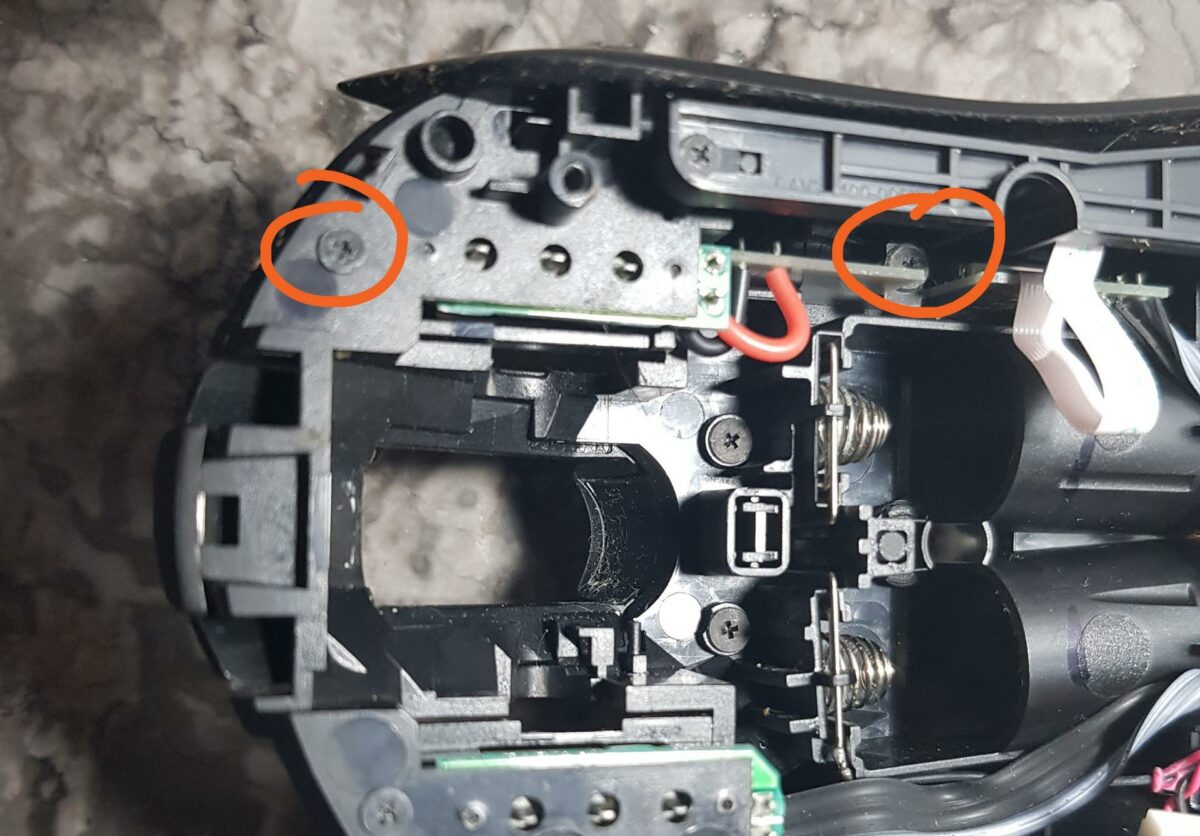
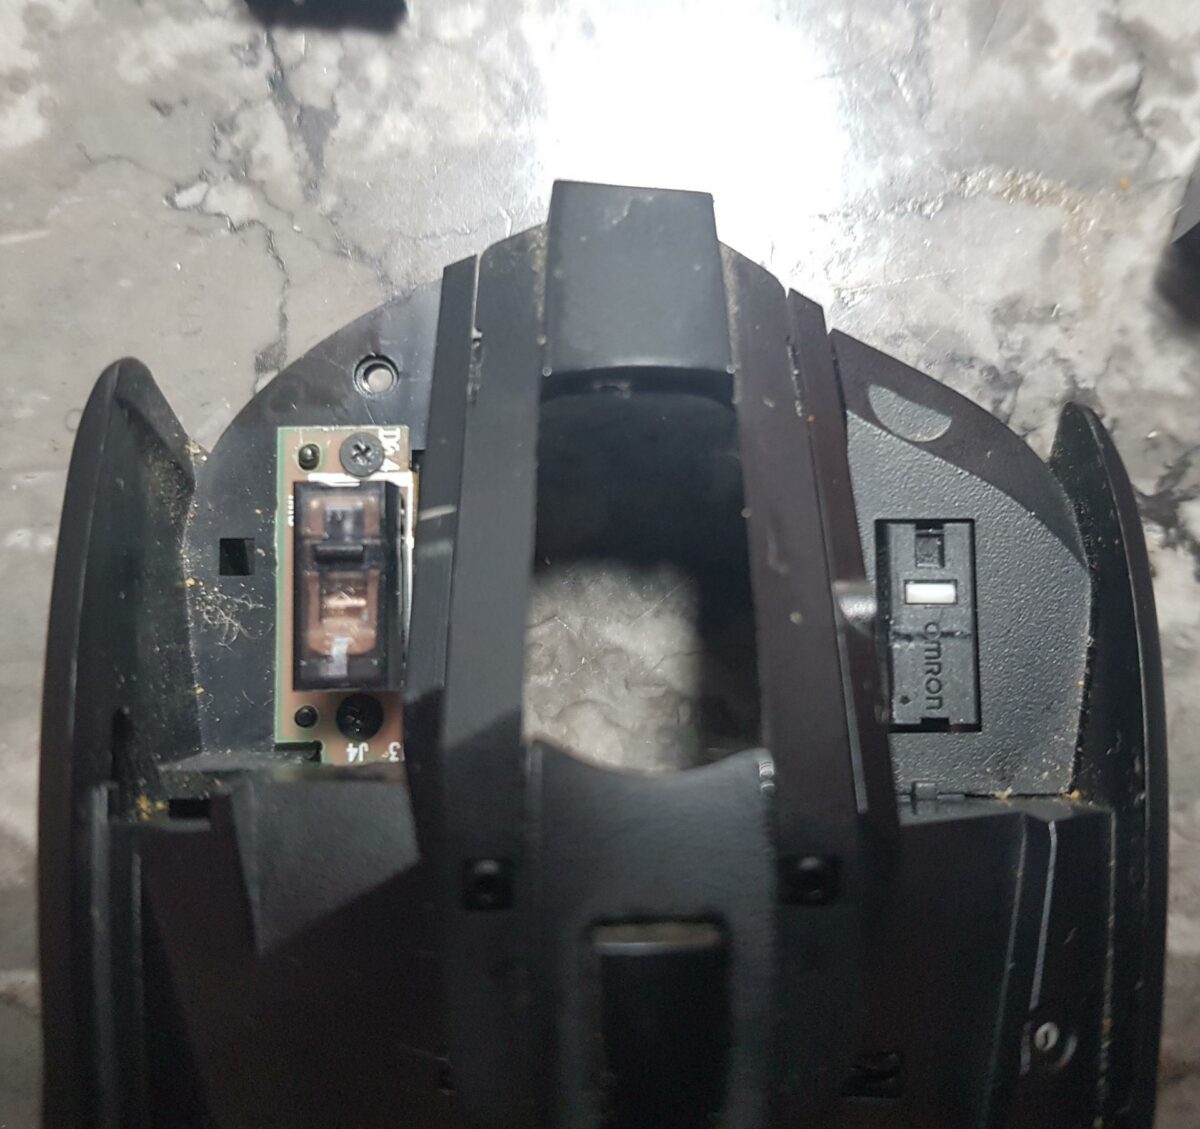
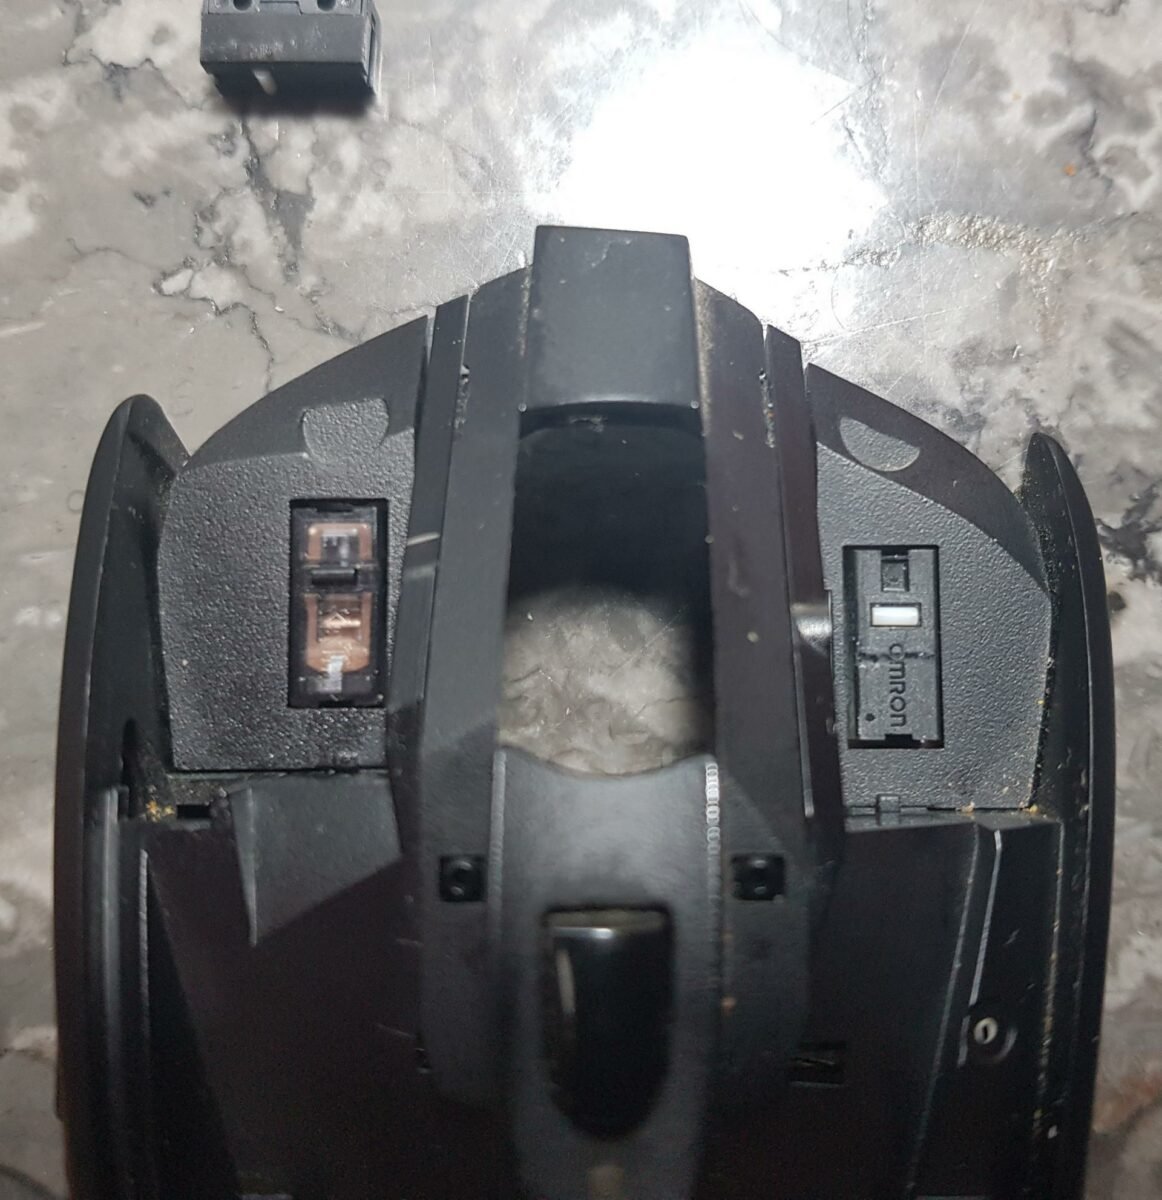
With the internal components finally accessible, locate where the problematic button is to remove it. For me, it would be the left clicker. If you’re trying to replace something else, like the scroll wheel switch, you may need to remove more screws. Fortunately, nothing’s impossible with mouse maintenance.
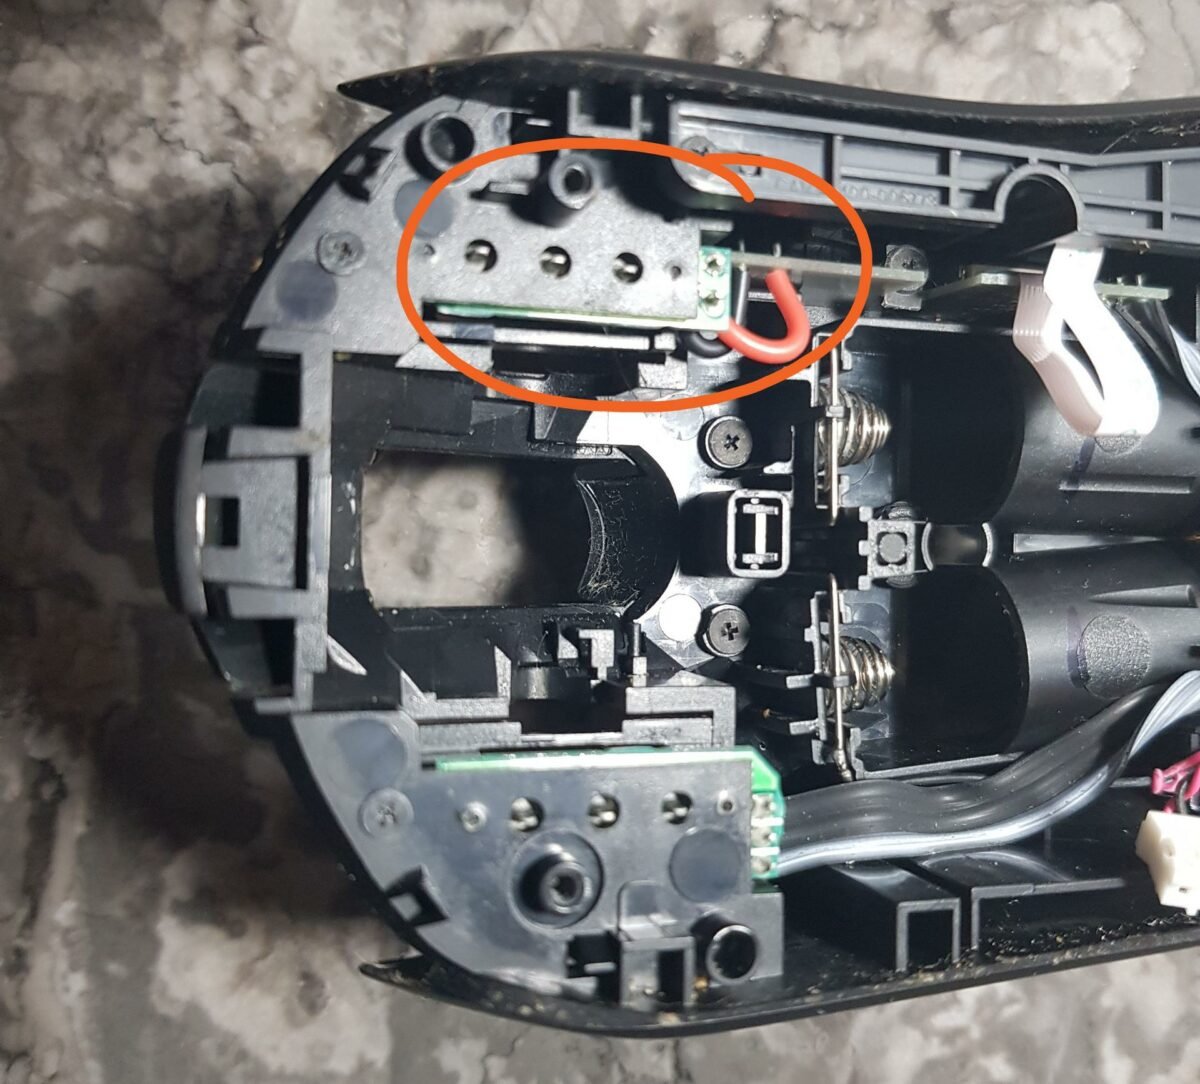
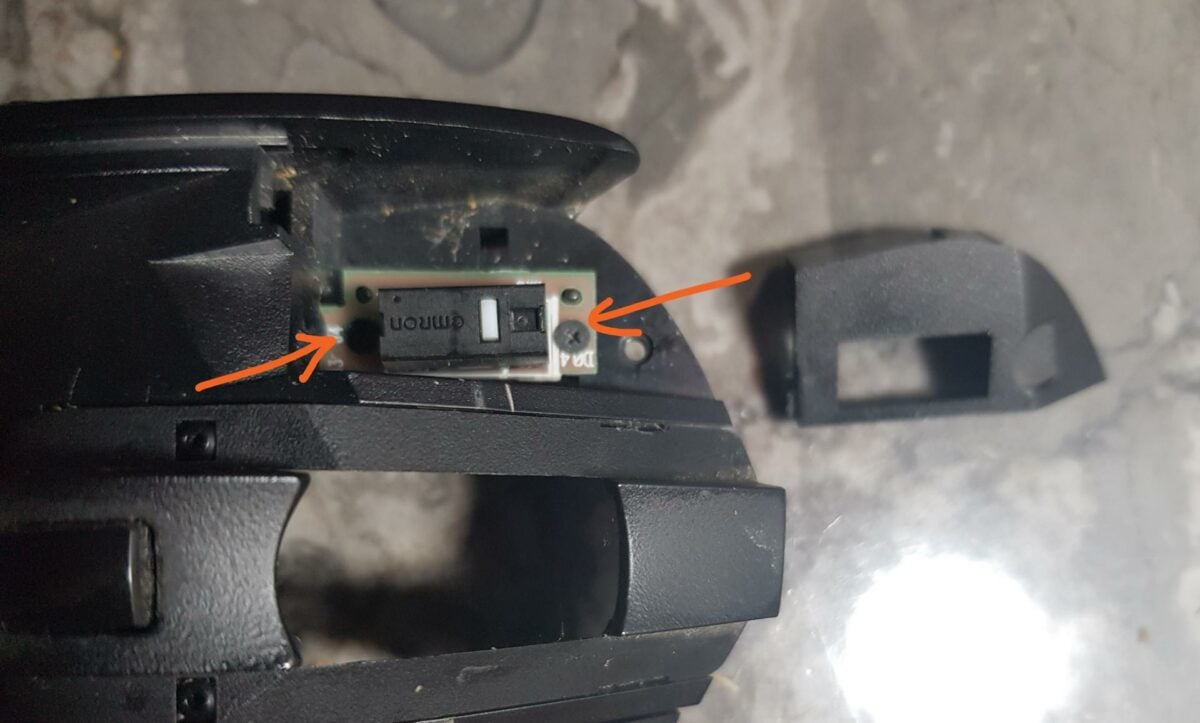
To do this on the G603, I had to remove four additional screws holding the tiny switch and the side buttons to the PCB. Two screws are directly accessible from the inside, while the other two are hidden below a plastic shell on the other side.
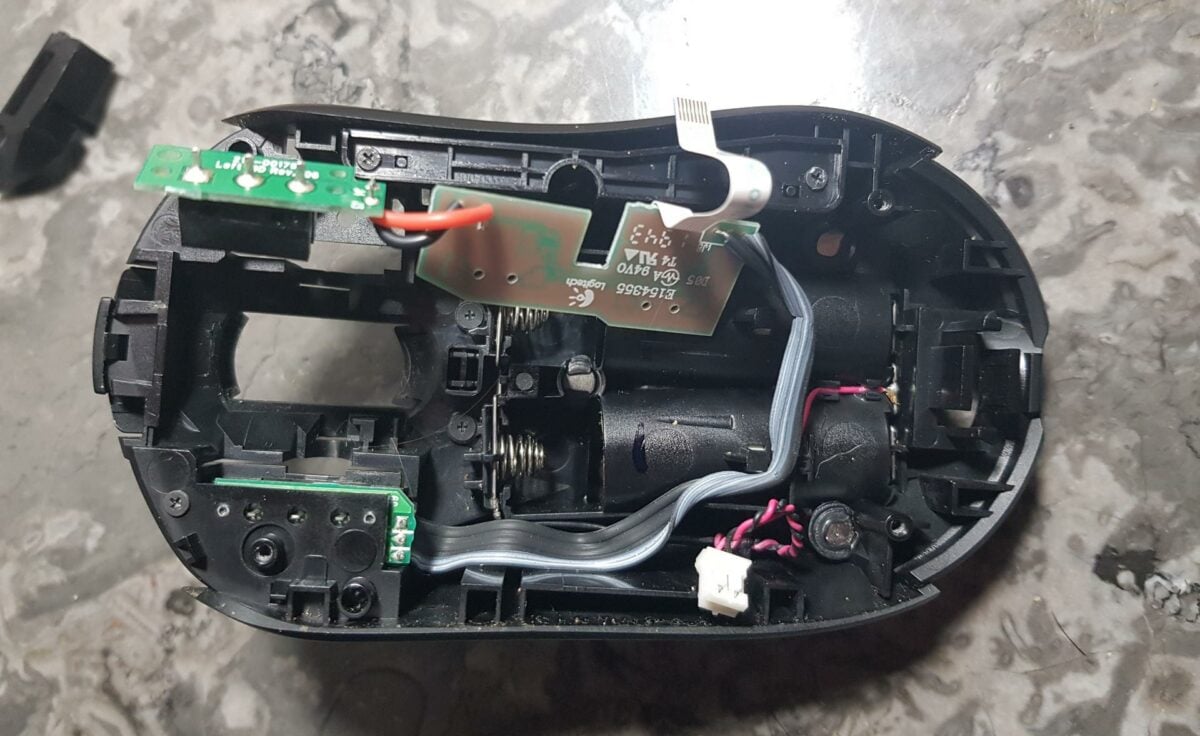
Other mice models may have a single large PCB that holds all the components. In this case, remove it to work on it. Moreover, if you are using a popular mouse model, chances are you can find a complete PCB replacement if you are not comfortable with soldering.
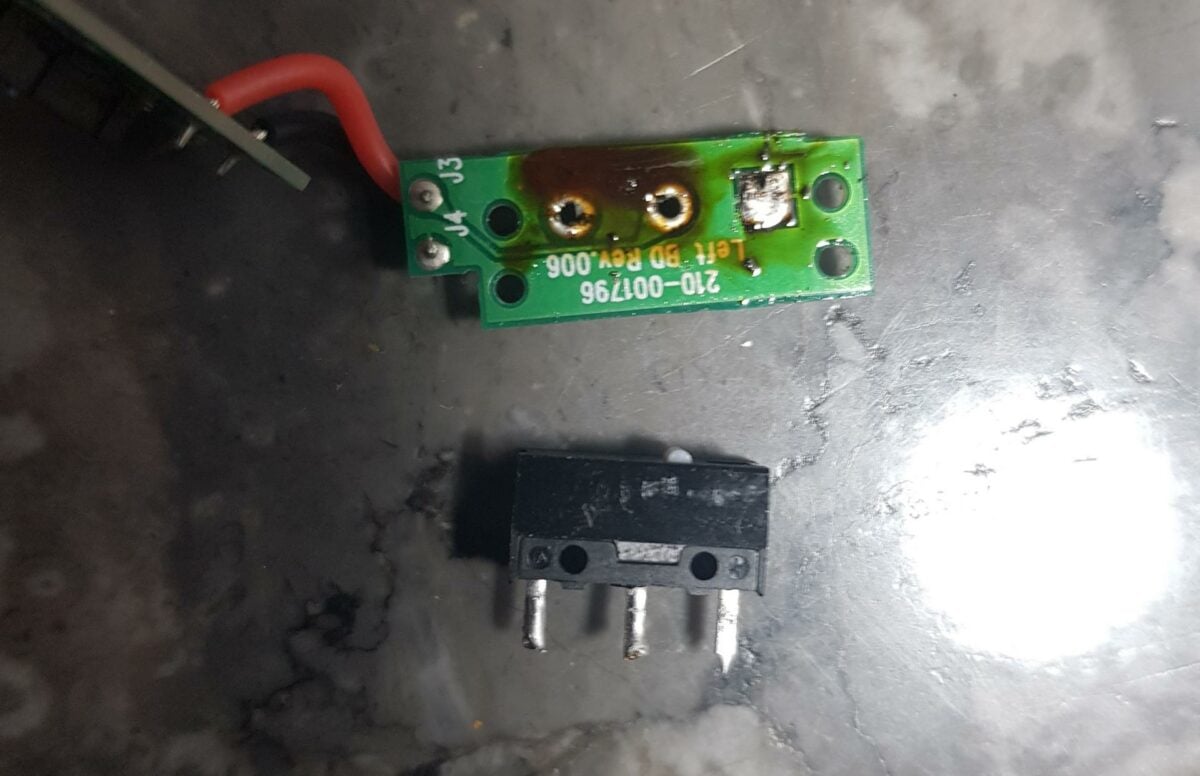
2. Removing and soldering the new switch
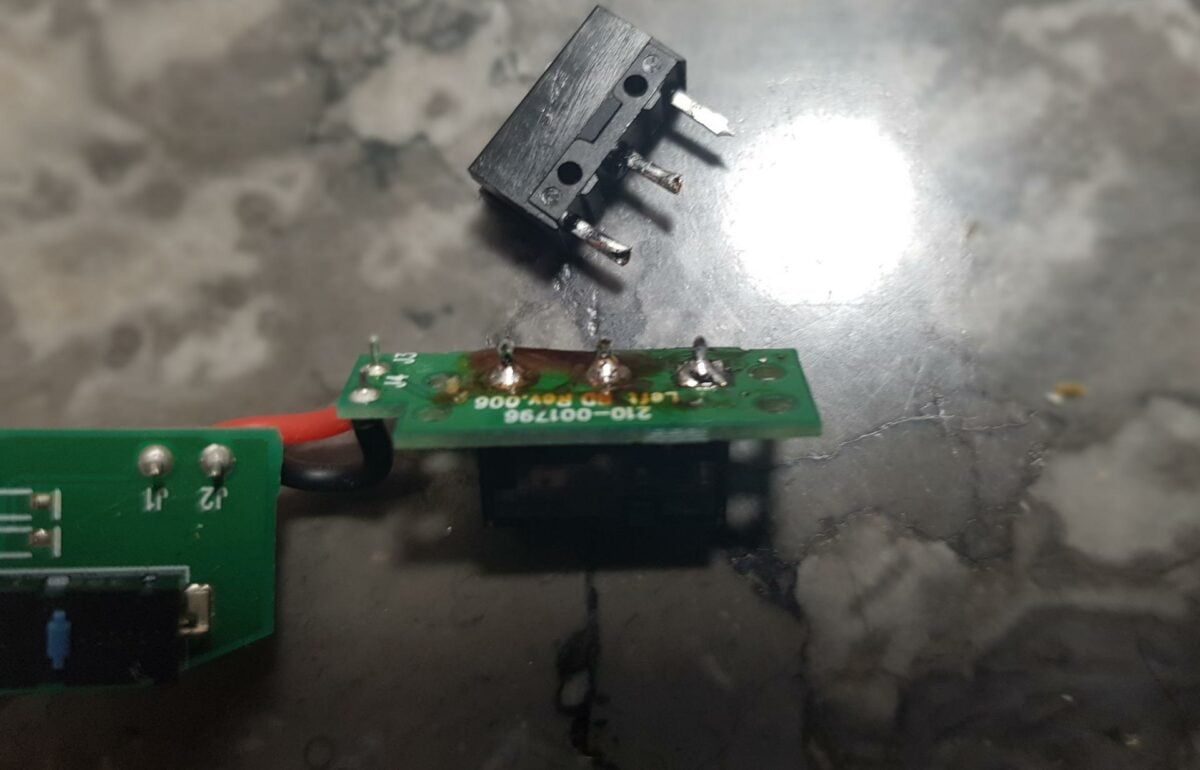
Now that we have access to the bad switch, we need to unsolder it from its PCB. To do so, heat up the three pins from the back side of the PCB using a soldering iron. Putting a bit of flux on the pins can help.
When the solder melts, try removing the switch by pulling on it. This shouldn’t require much force. A second pair of hands is welcome to facilitate this procedure. Be careful, however, as the PCB will get hot, so you may want to use some gloves or tweezers to hold it.
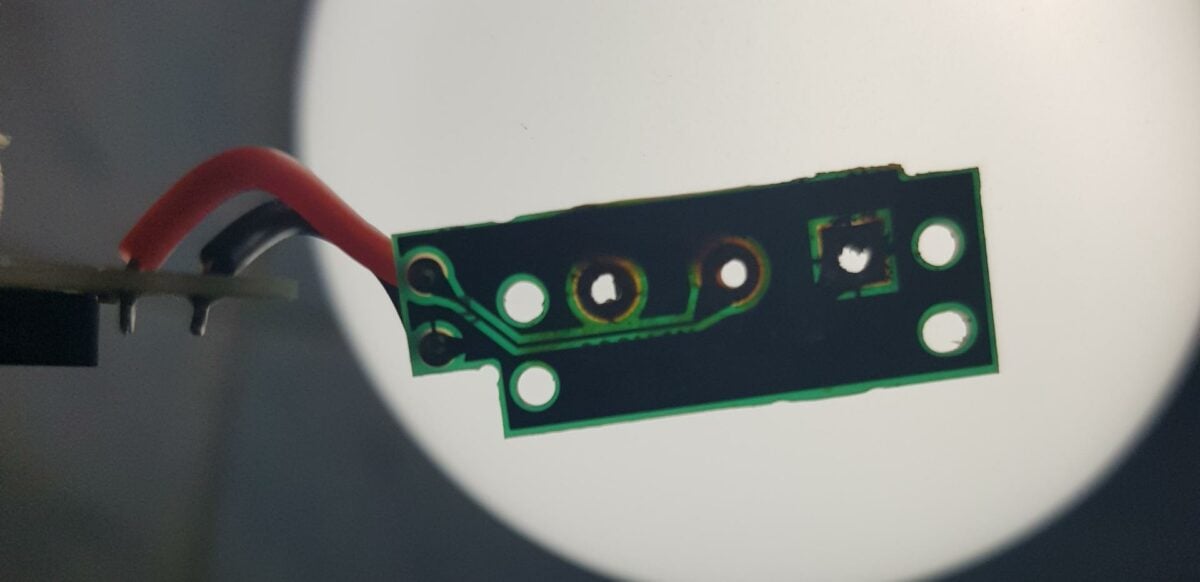
Clean up the pin holes from any solder residue using your soldering iron. It should stick to the iron pretty easily. This is only to make room for the new switch’s pins. If you can already put the new one in the PCB, then you can skip to the next step.
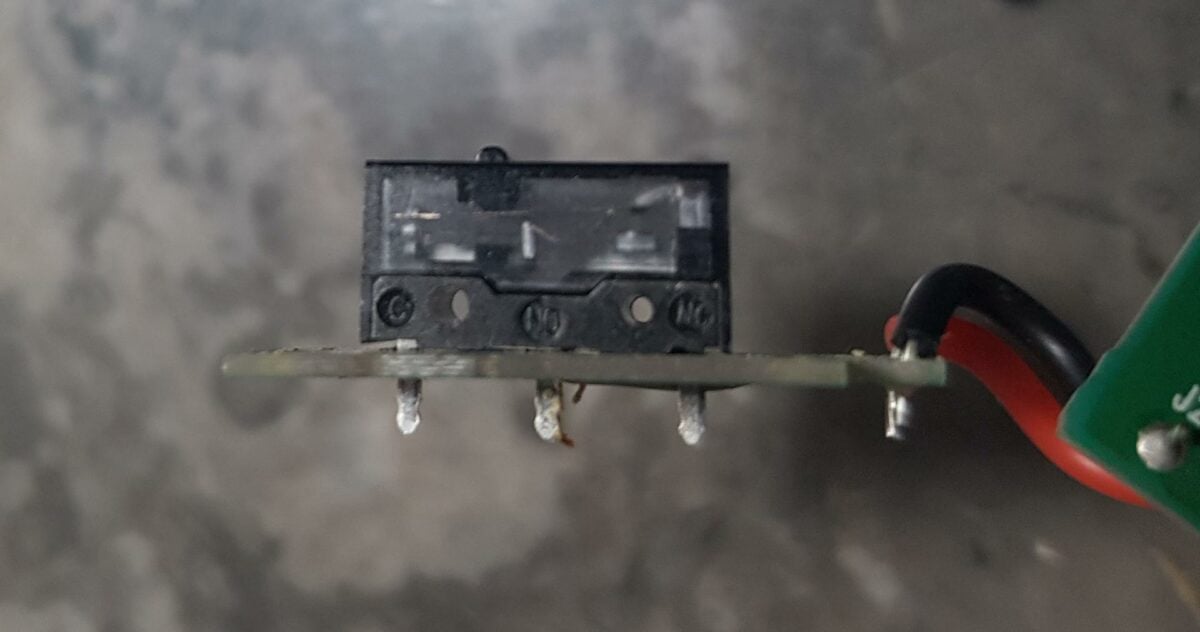
Put the new switch in place of the older one while respecting the correct orientation and push it until it sits flush with the PCB.
If you want to go even cheaper or can’t wait for the new switches to arrive, you can always swap your mouse’s left and right switches as a temporary measure.
Put in some flux if you have. This should help the solder adhere into place without making a mess. If you don’t have any, that’s not a big deal.
Melt some solder on the tip of your iron and use it to secure one of the pins. If you have a helping pair of hands or something to hold the switch in place, you can hold the solder wire near the pin and melt it right there using the iron. Whatever you feel is easier.
After soldering all three pins, check if there is any bridge between them. You don’t want any melted wire to touch; otherwise, you risk short-circuiting the PCB. If there is, wipe them away with your iron.
Now, all that is left is to put everything back. Simply do all the opening steps in reverse. Most importantly, don’t forget to connect the cables before closing the shell.
Before reinstalling the external screws, make sure the mouse and all its buttons work correctly. For example, if you solder the switch a bit too high on the PCB, you may not be able to press the button down. When everything seems OK, you can put the screw back in, then put the glide pads in place.
If everything goes as planned, you should have a functioning mouse with no more clicking issues. Well done. You know, the best part of all of this is the satisfaction of having fixed something instead of throwing it. And it was all by your own two hands.