
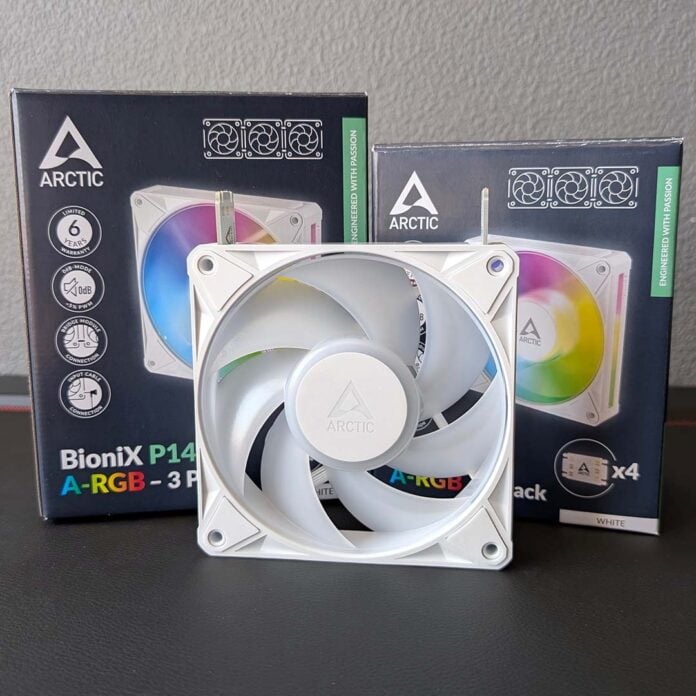
As someone who hates to see cable clutter dragging down a PC, I’ve had my eyes on the Arctic Bionix series since its Computex 2026 reveal. These fans offer a different, cleaner, near-perfect method of daisy chaining, while also offering ample cooling performance.

Arctic Bionix
From €13.99
Pros
- Innovative daisy-chain system
- Great cooling performance
- Wide speed range
- Black and white colourways
Cons
- Requires more space than standard fans
- No reverse-blade option
Club386 may earn an affiliate commission when you purchase products through links on our site.
How we test and review products.
Available in 120mm (P12) and 140mm (P14) variants, you can pick up the Bionix series in single or triple packs. In typical Arctic fashion, there’s also a launch discount up for grabs.
| Bionix P12 A-RGB | Bionix P14 A-RGB | |
|---|---|---|
| Single pack | €18.99 | €20.99 |
| SP (launch discount) | €13.99 | €14.99 |
| Triple pack | €49.99 | €55.49 |
| TP (launch discount) | €34.99 | €35.49 |
With the launch discount, they cost €13.99 / €14.99 a pop individually for the 120mm and 140mm versions, respectively, so it makes far more economic sense to pick up either the P12 or P14 A-RGB as a trio for €34.99 or €35.49. This is to say nothing of the fact that much of these fans’ appeal lies in how they interlink with one another, meaning the more the merrier.
Specifications
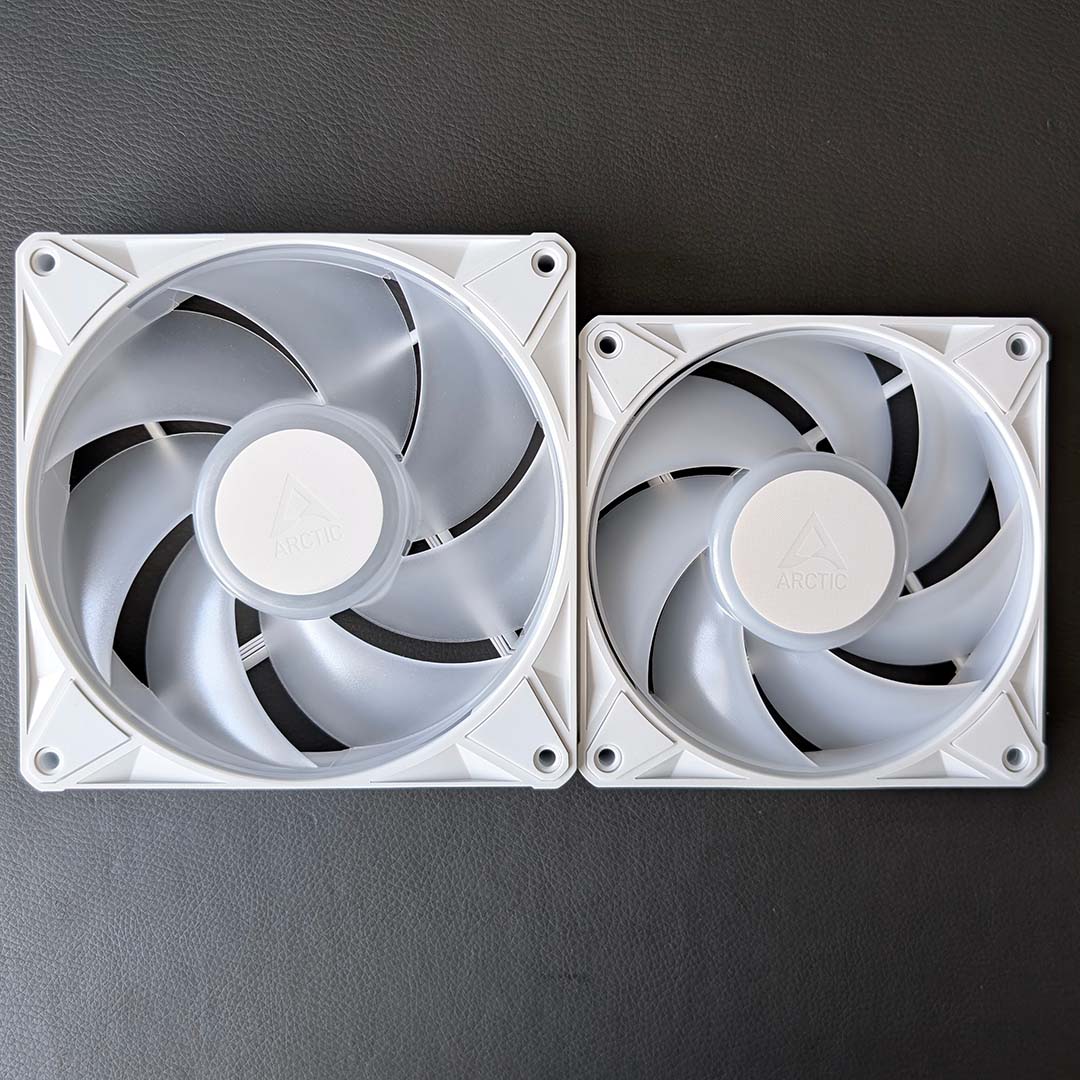
These new Bionix fans share much in common with Arctic’s Pro lineup. While the two series have similar aesthetics, you can easily tell which series you’re looking at by the presence of PWM and A-RGB connectors, or lack thereof.
However, the family resemblance is more than skin deep. Arctic specifically highlights that performance from Bionix fans is similar to that of its Pro range, a flattering comparison for any fan. Looking at the specifications table below, I’d argue the 140mm model keeps pace with its same-size sibling too.
| Bionix A-RGB | Pro A-RGB | |
|---|---|---|
| Bearing | Fluid Dynamic | Fluid Dynamic |
| Max. airflow | 120mm: 76CFM (129m³/h) 140mm: 110CFM (186m³/h) | 120mm: 77CFM (131m³/h) 140mm: 110CFM (167m³/h) |
| Max. static pressure | 120mm: 6.7mm H₂O 140mm: 5.4mm H₂O | 120mm: 6.9mm H₂O 140mm: 5.2mm H₂O |
| Speed | 120mm: 450-3,000rpm 140mm: 400-2,500rpm | 120mm: 600-3,000rpm 140mm: 400-2,500rpm |
| Dimensions (L x W x H) | 120mm: 120 x 120 x 26mm 140mm: 140 x 140 x 28mm | 120mm: 120 x 120 x 25mm 140mm: 140 x 140 x 27mm |
| Warranty | Six years | Six years |
Both fan families use a fluid dynamic bearing, resulting in quiet operation on account of a lack of friction between the shaft, which in turn boosts longevity. The same seven-blade fan design is in play across Bionix and Pro fans too, although there is some slight variation in maximum airflow and static pressure, as well as the speed range.
With all this in mind, it should be possible to swap in a Bionix fan for a Pro with little to no difference in real-world performance. I’ll be doing just that later in this review, but first let’s unpack the design of these new spinners.
Design
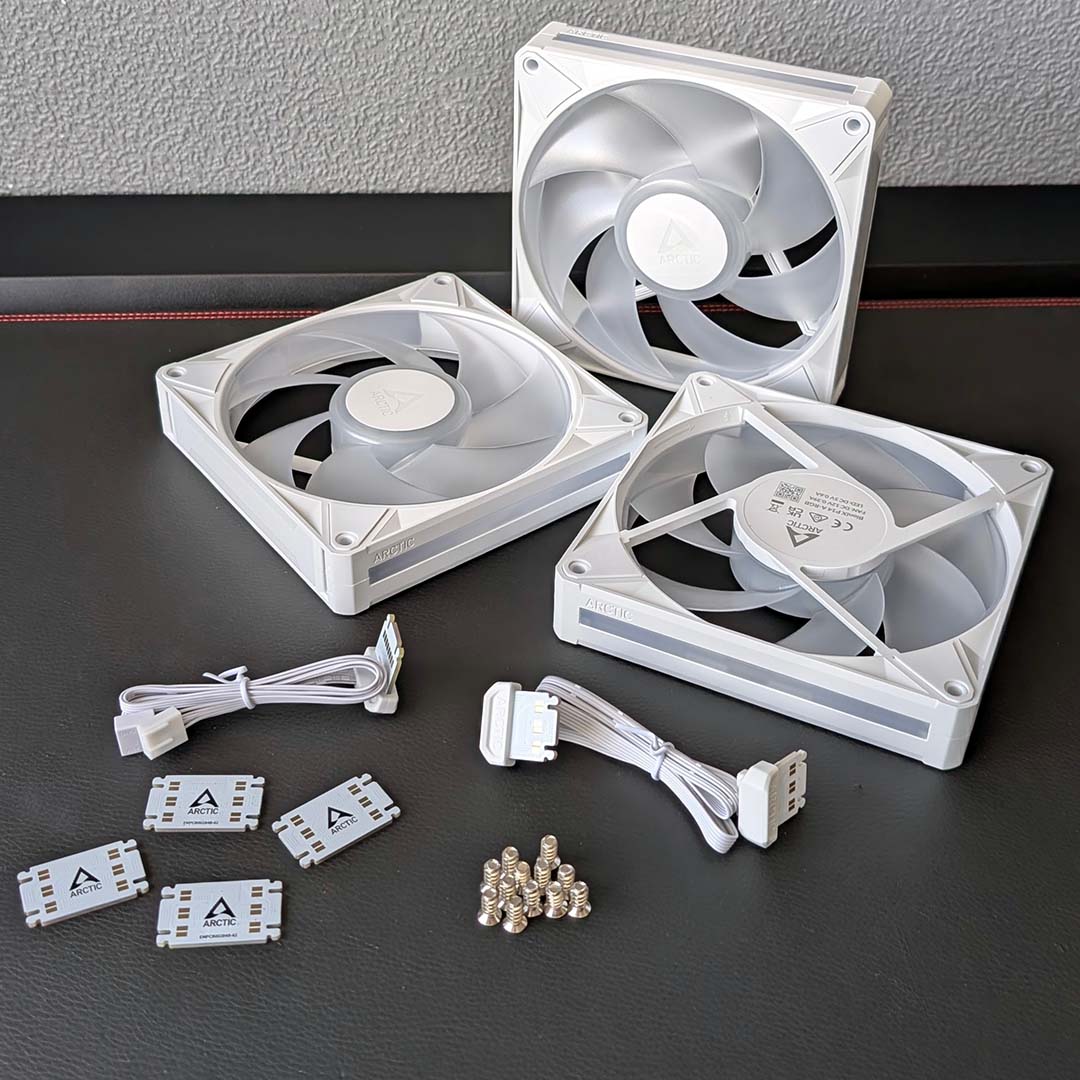
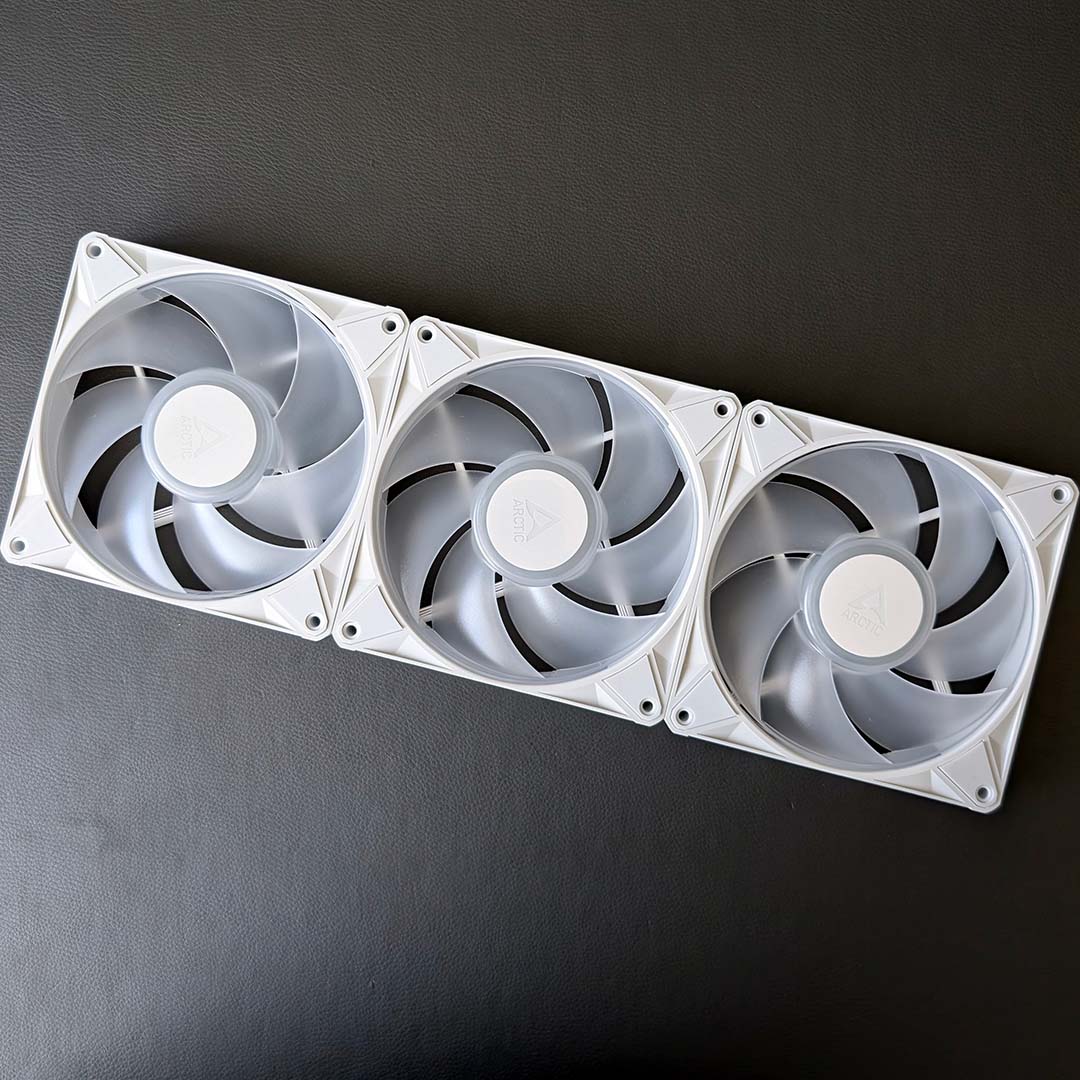
Unboxing a trio pack of Bionix fans, we find 12 screws, two cables (one bridge, one input), as well as four ‘bridge’ modules. None of these accessories arrive preinstalled, but building up from a 120/140mm base blower into a larger array is thankfully relatively straightforward.
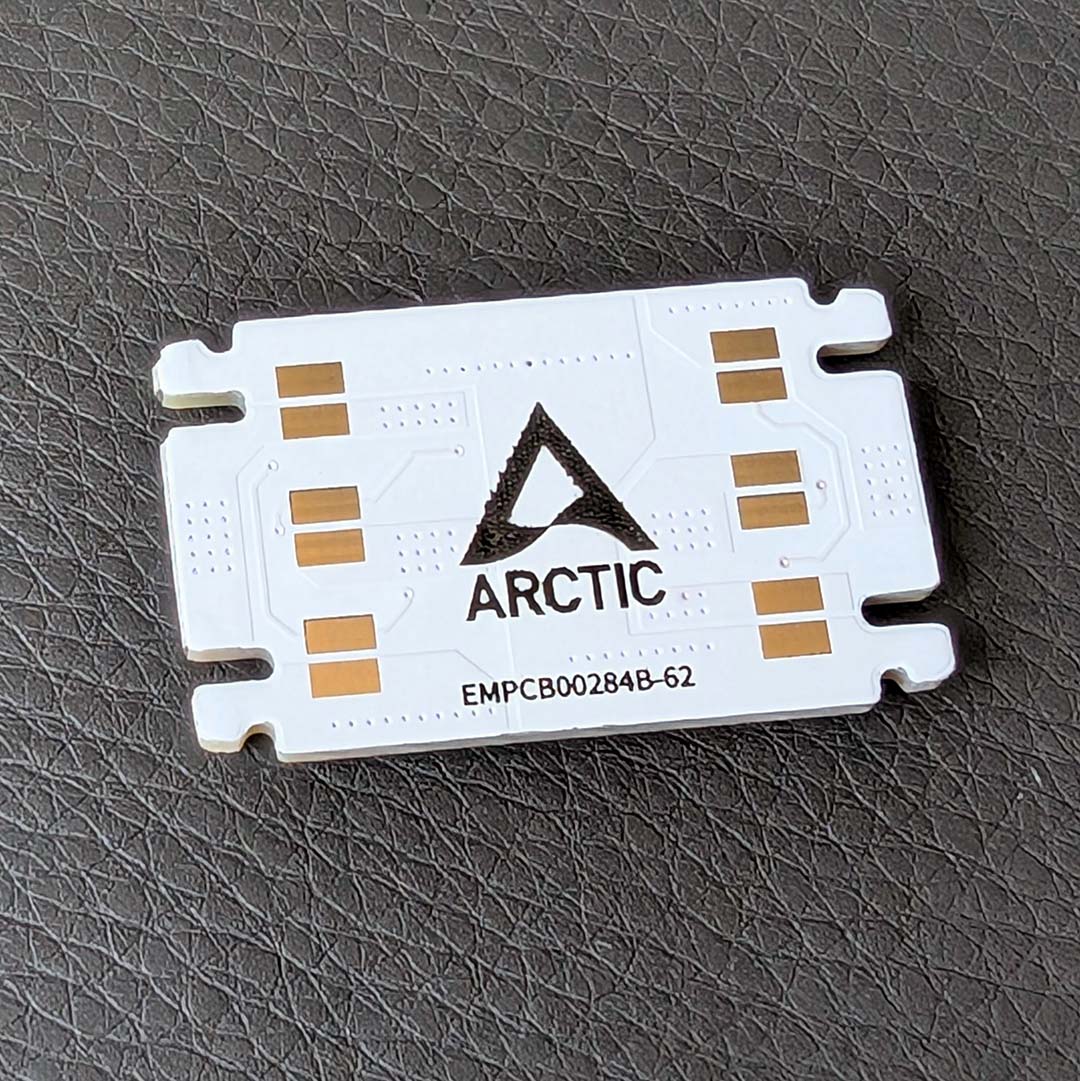
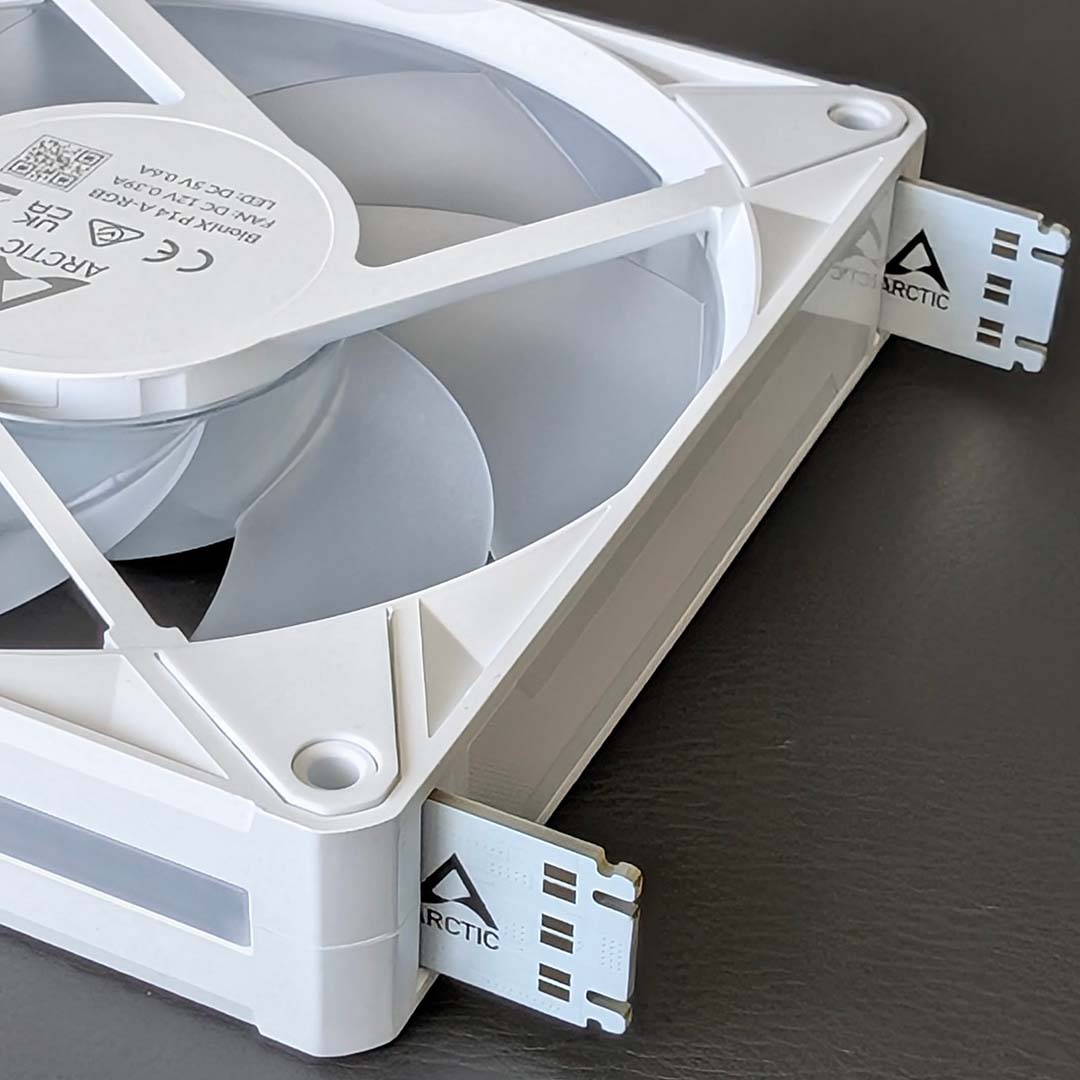
At the top and bottom of each Bionix fan are two slots, each capable of accepting a bridge module. These are small PCBs that facilitate invisible daisy chaining between fans, disappearing from sight as you pair frames together. The board works regardless of orientation, and slips into place with a satisfying click.
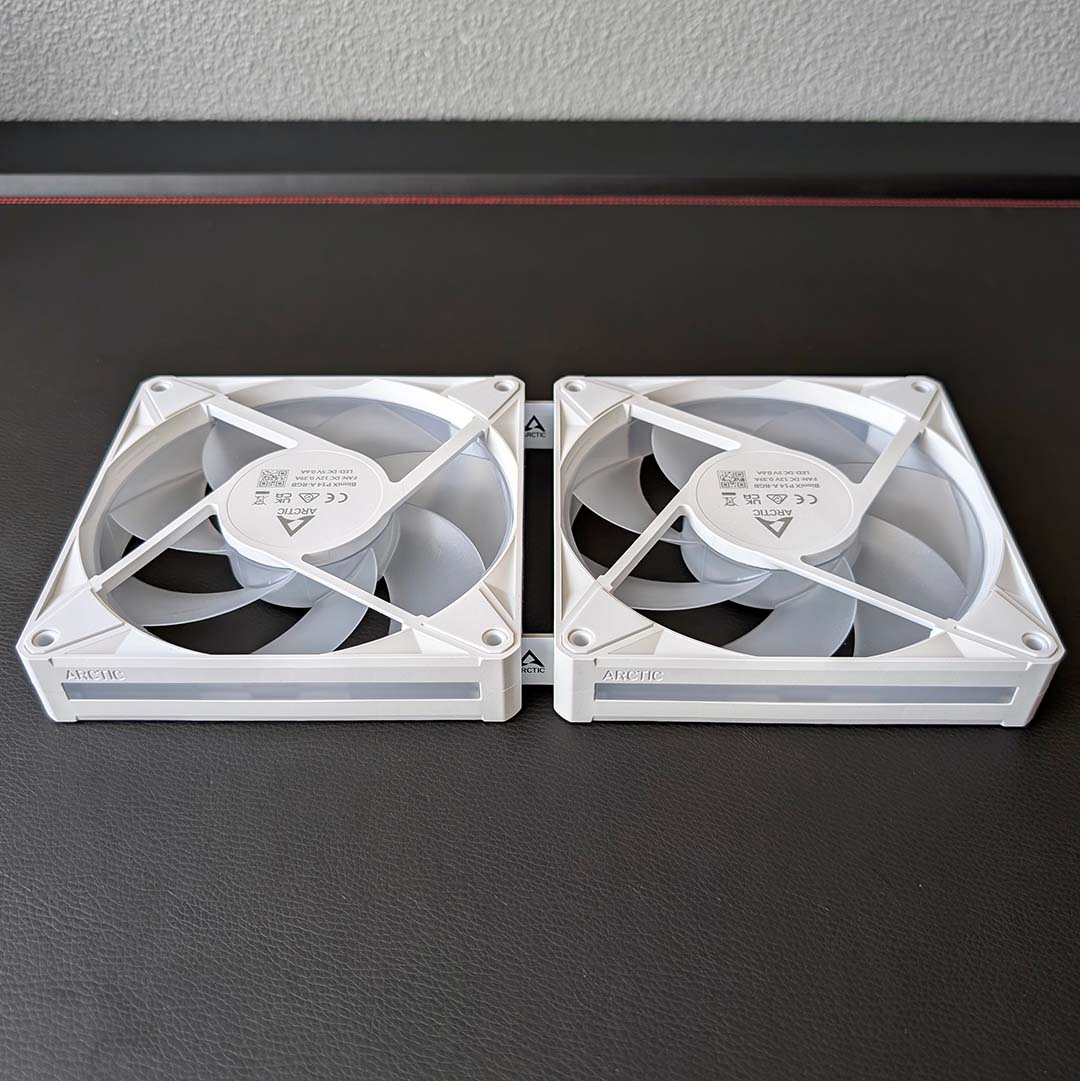
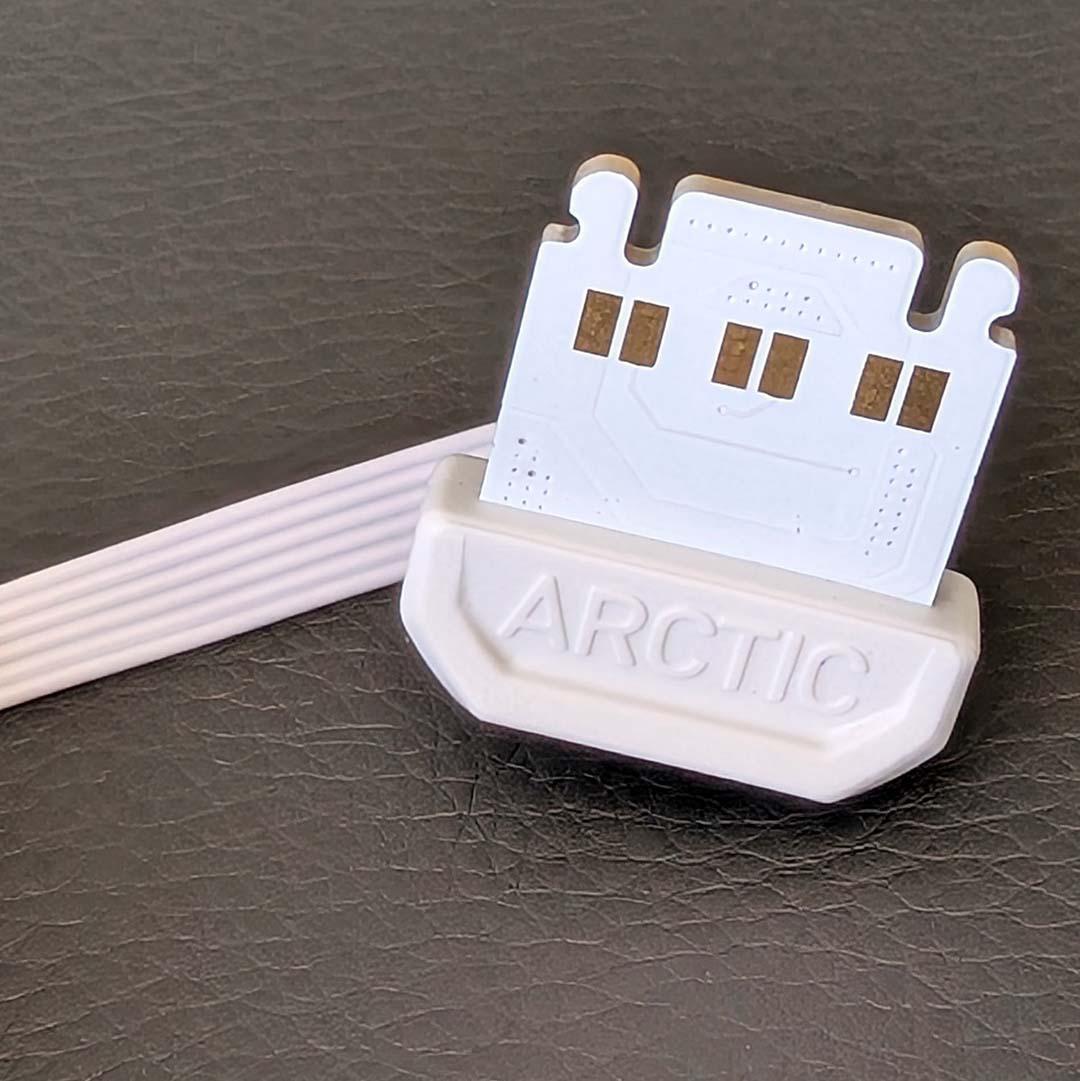
After connecting my trio together, I can connect my cooling array to another Bionix fan(s) via the bridge cable. This 400mm wire uses the same connector on both sides as the boards and is just as easy to install. However, it doesn’t disappear into the frame, protruding slightly instead, and you must take this small bulge into consideration when planning fan placement.
Of course, these fans must eventually communicate with your motherboard, which is where the input cable comes in. Once again, the same connector slips into the frame, while a typical four-pin PWM and three-pin A-RGB header make up the other side. This wire actually requires more installation forethought, as it must sit within a particular slot.
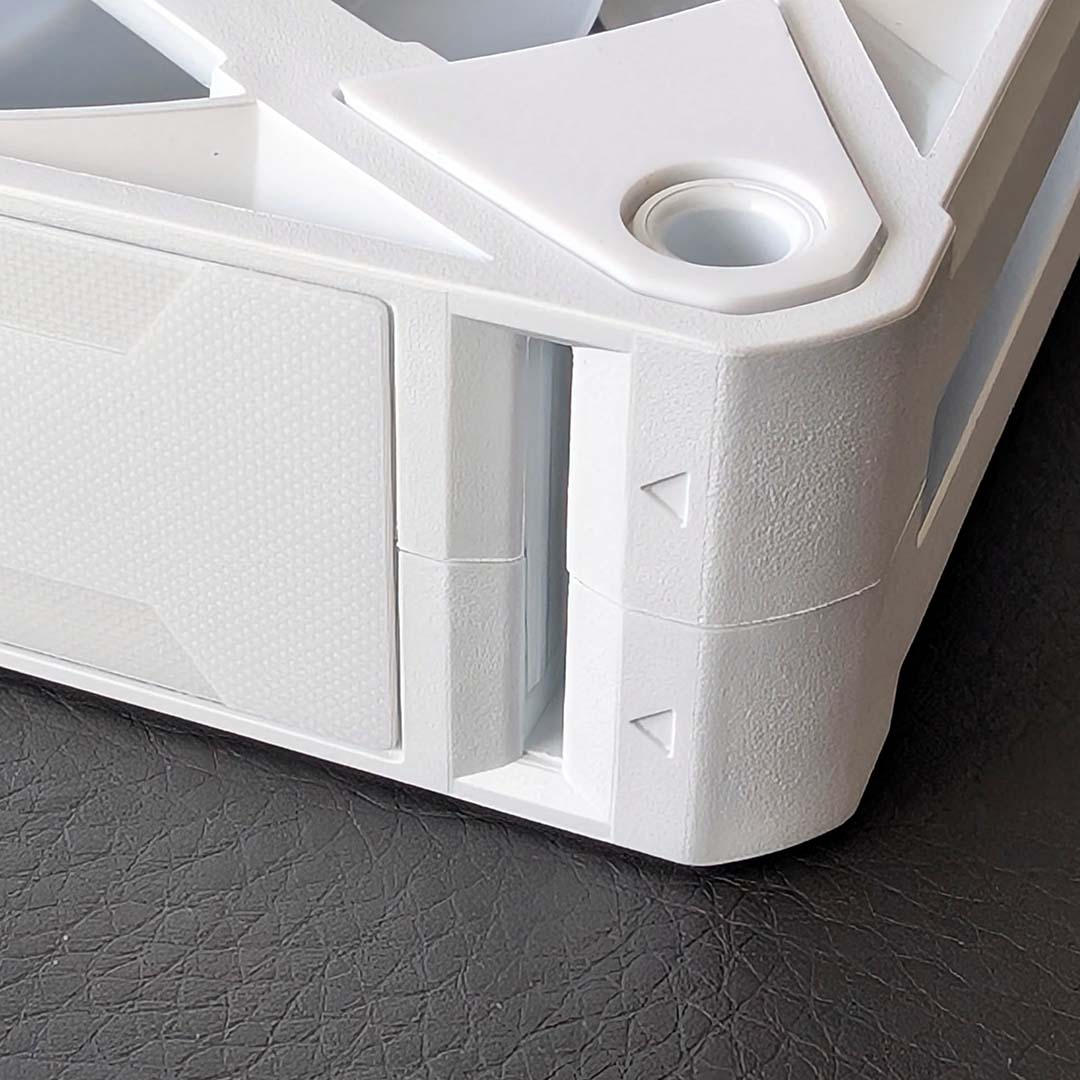
Look closer at the Bionix frame, and you’ll find two arrows pointing inward, indicating the slot in which an input cable must sit. There’s one on both the top and bottom of each fan. I actually missed this prompt, leading to me plugging the wire into an incorrect port, and presuming there was something more serious amiss with my sample. A small pitfall, but an annoying one nonetheless, so keep an eye out for the arrows.
Conveniently, you can locate the input cable slot on either the left or right by rotating the fan, which certainly proves useful in managing available space within a case. Speaking of which, let’s get these blowers into a chassis.
Installation
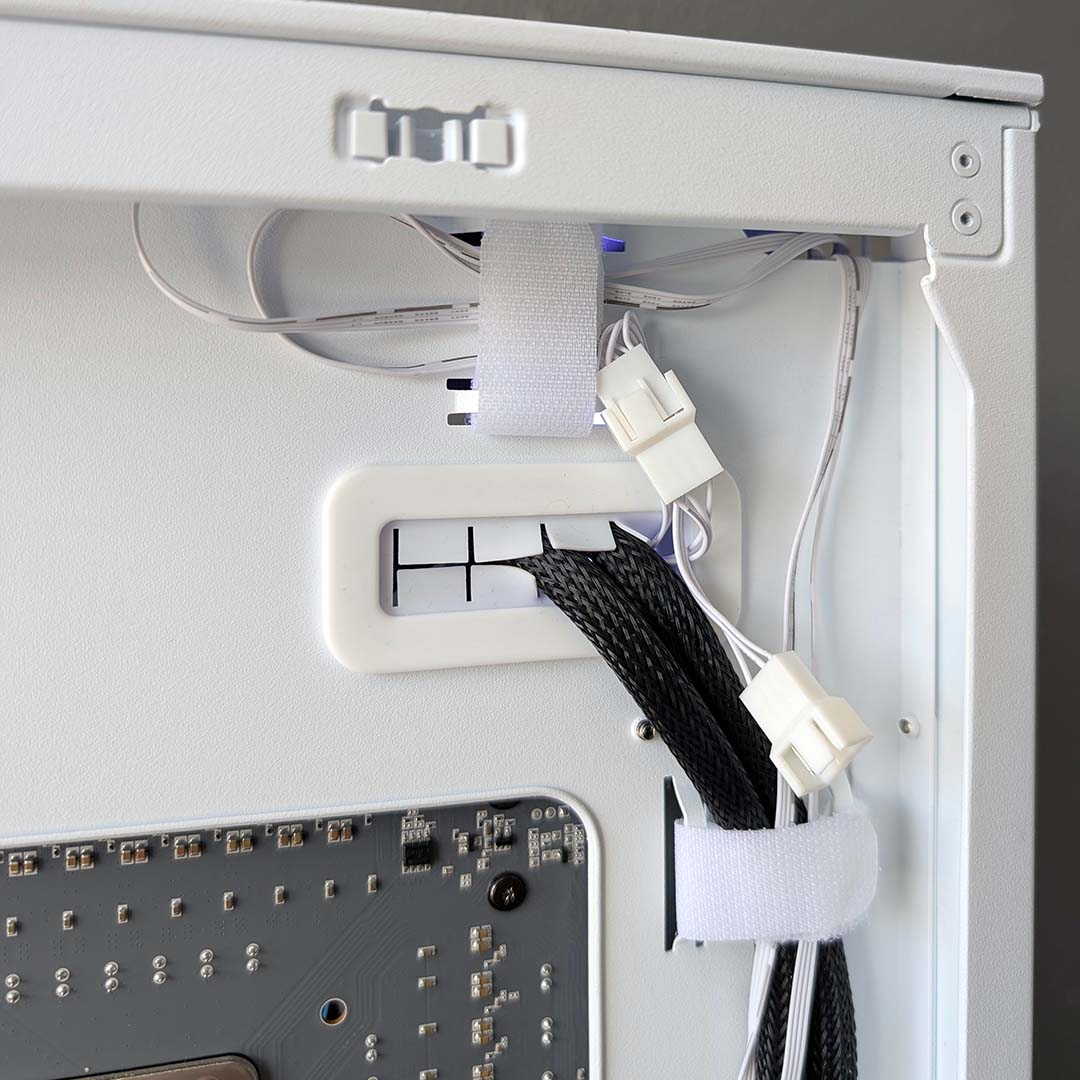
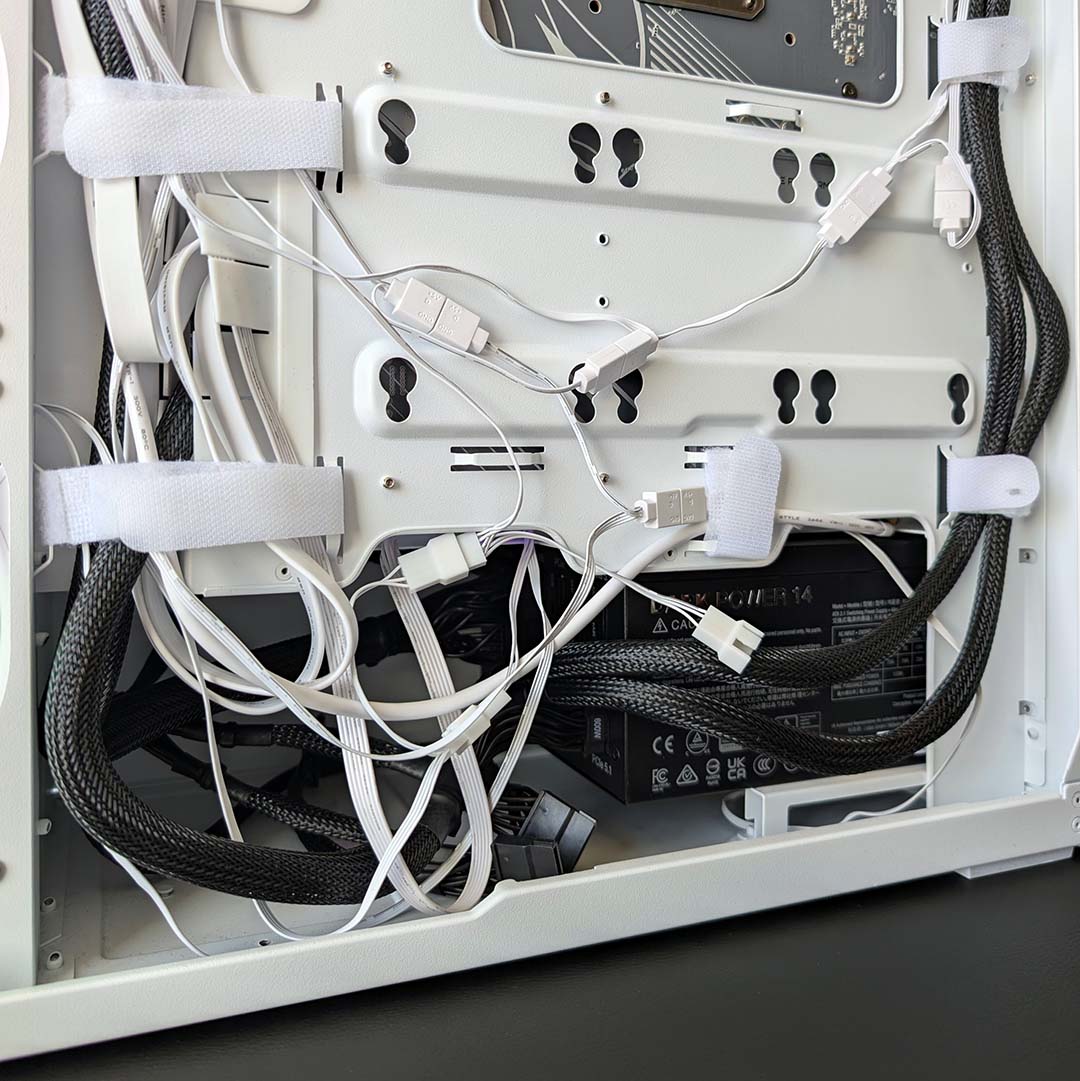
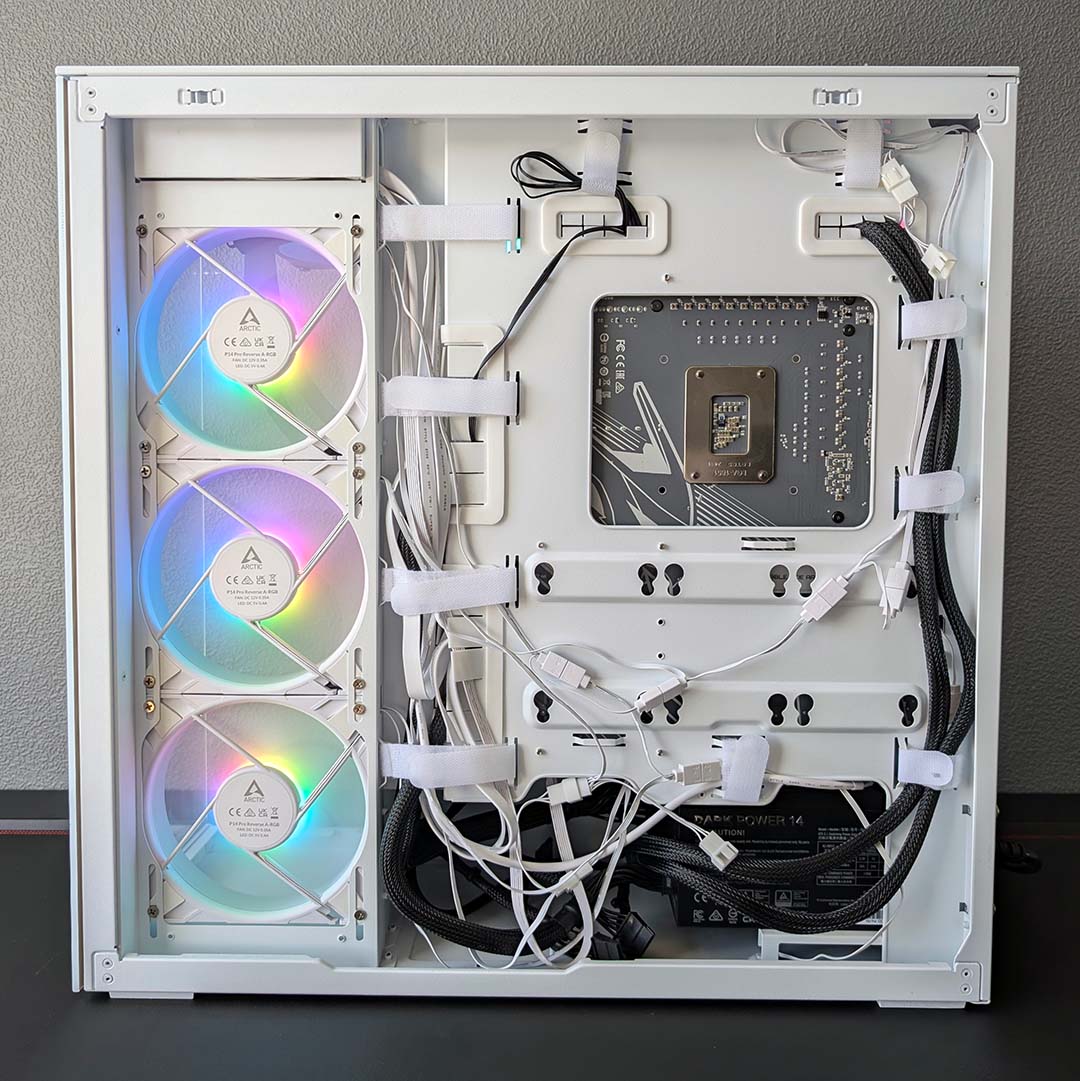
I’ll be using these Bionix fans to right the wrong that is the unsightly cable management in the rear chamber our Arctic Xtender VG. This finish is partly symptomatic of my choice of motherboard, the Gigabyte Z890 Aorus Pro Ice, as all its A-RGB connectors bar one rest at the bottom of the board. Of course, an A-RGB controller would help tidy up all these wires, but there’s no such accessory in this case.
Through the bridge modules, I’ll cut the 11 cables in this system down to just five (two PWM, three A-RGB). That’s not forgetting that this will remove all the bulk that comes from all typical daisy chain connections. Ideal as this all sounds, there are a few problems that keep us from reaching this goal as cleanly as we’d like.
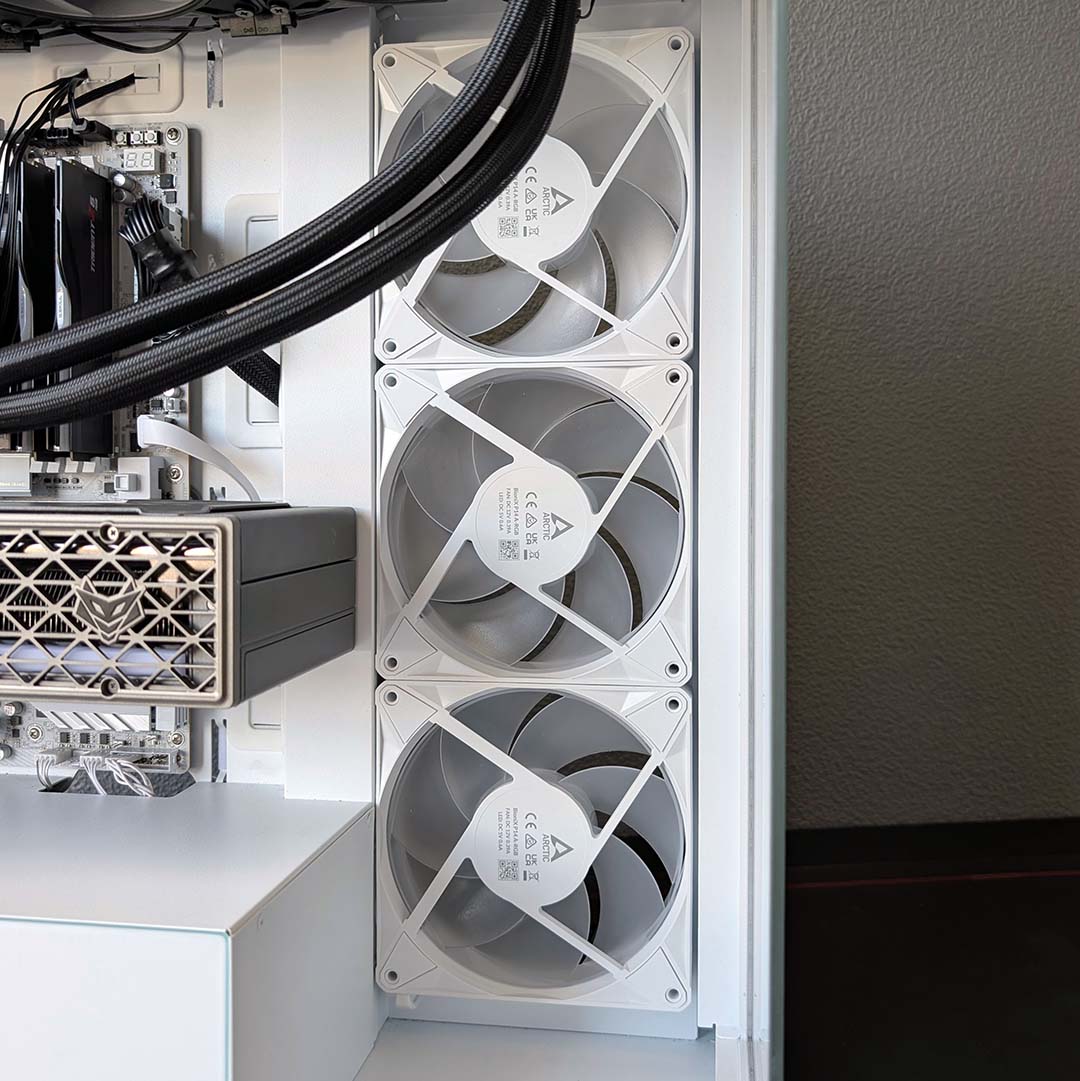
First, the good. The trio of Bionix P14 A-RGB fans slot into the side intake with little issue. Cable management requires some forethought to feed through the PWM and A-RGB end of the bridge cable through the side hole before committing to a mount, but the process is otherwise very smooth.
While that’s a clean finish, I would love to see some reverse blade models hit the market for this series. The Xtender VG comes with P14 Pro Reverse A-RGB fans, so I doubt it would be difficult for Arctic to shift its Bionix tech to that existing design.
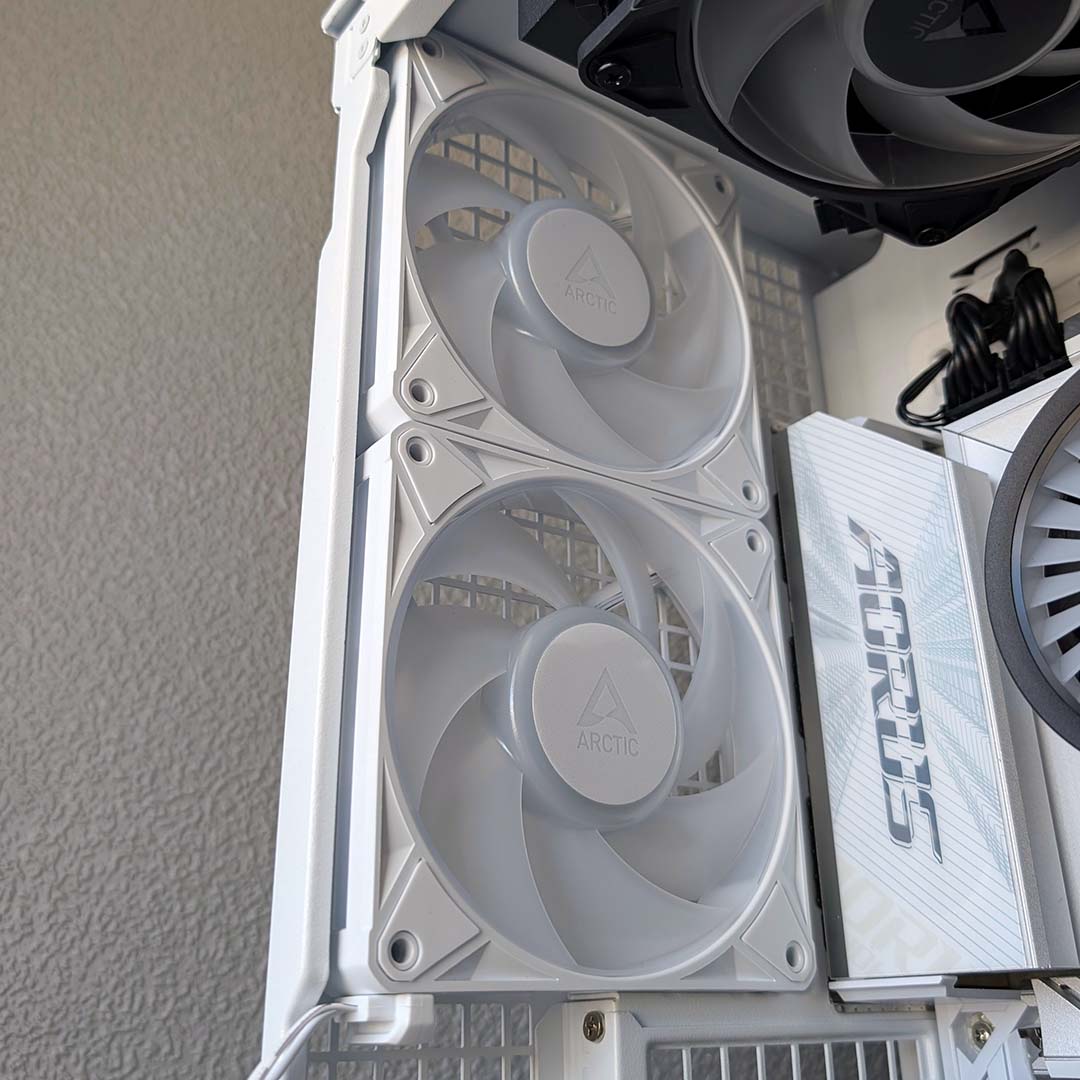
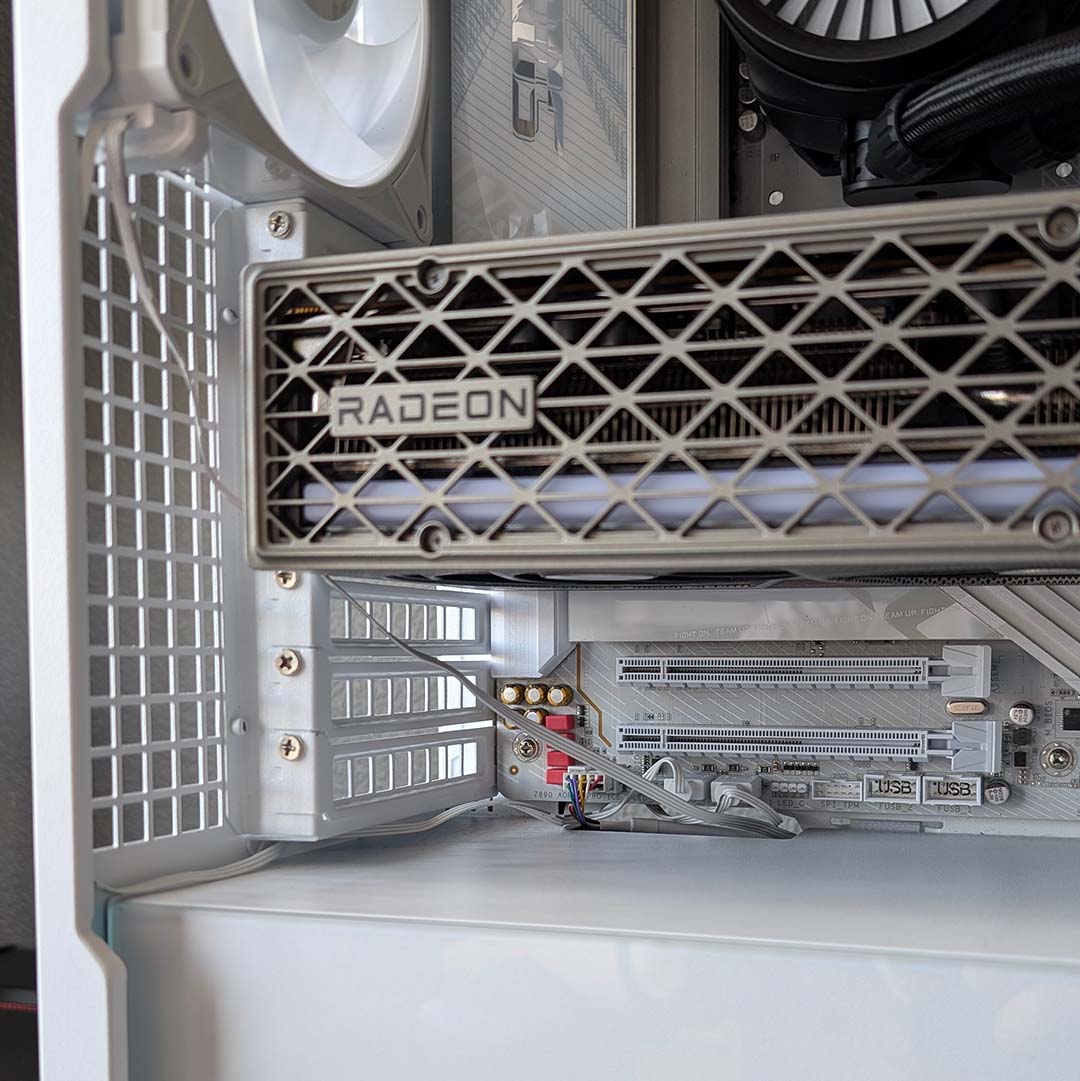
Replacing the rear exhausts proved unfortunately troublesome. I initially intended to feed the bridge cable through the topside of our case, following the same route as the P12 Pros. Sadly, that bulge I mentioned earlier made this impossible, as there’s simply no room in the top of our case to accommodate it. If it were possible to side-mount the connection, I’d be laughing, but instead I’m sighing.
I couldn’t tuck the cable on the far underside of the fan either, again due to a lack of room. My only option is to run it from the bottom nearside, introducing visible fan wires to my interior where there were none prior, defeating the point of this invisible daisy chain. I’ve done my best to hide them away, but there’s only so much you can do once they’re in the main chamber.
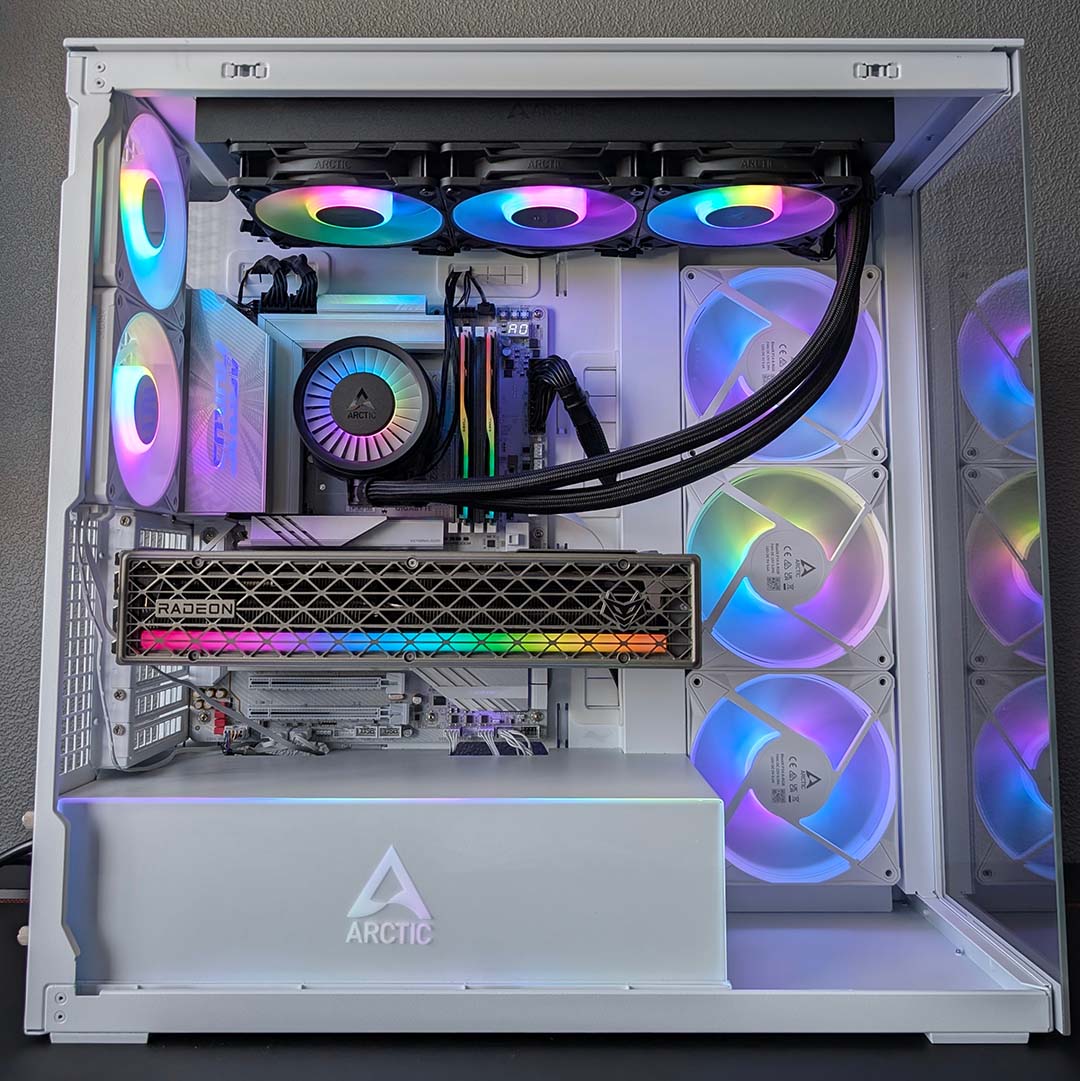
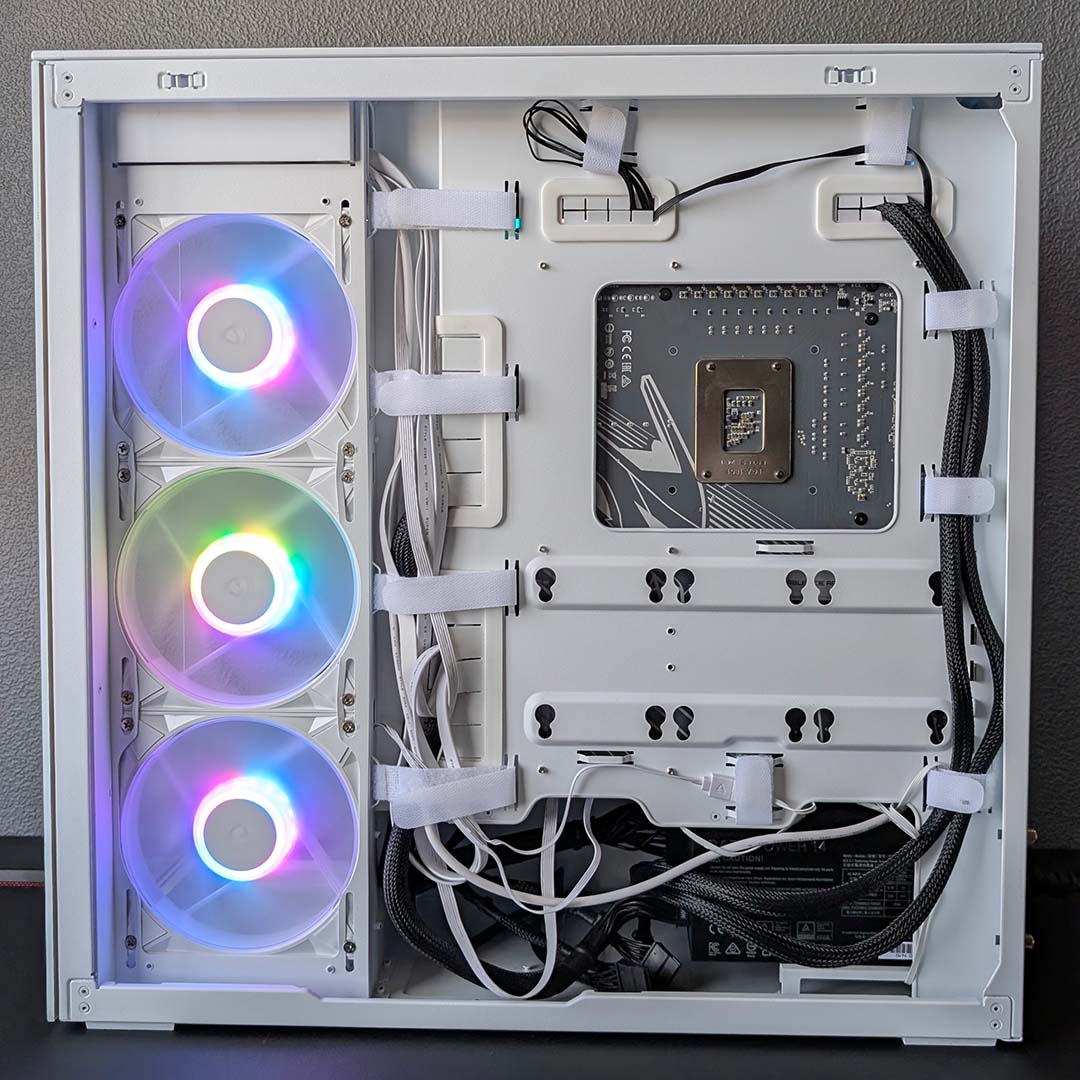
As you can see from the finished build pictures above, the rear chamber is now considerably tidier. I’m so happy to get rid of all that unsightly A-RGB daisy chaining draping across the case’s middle panel. Call me silly, but I take great pride in ensuring my systems are as presentable as possible, regardless of whether any mess is always visible or not.
The finish in the main chamber, however, isn’t quite as pleasing to the eye. Those cables dragging over the PSU shroud irk me, as they’re the only things stopping me from achieving an otherwise practically pristine build. While I’m Impressed with Bionix as a connection technology, this is an especially disappointing result considering this is an Arctic case.
Performance
Before removing my P14 Pro Reverse intakes and P12 Pro exhausts from the Xtender VG, I carried out noise and temperature benchmarks using the case’s stock fans. Since we know the Bionix series is broadly comparable in performance to the latter model, I would expect them to produce similar results facing the same test.
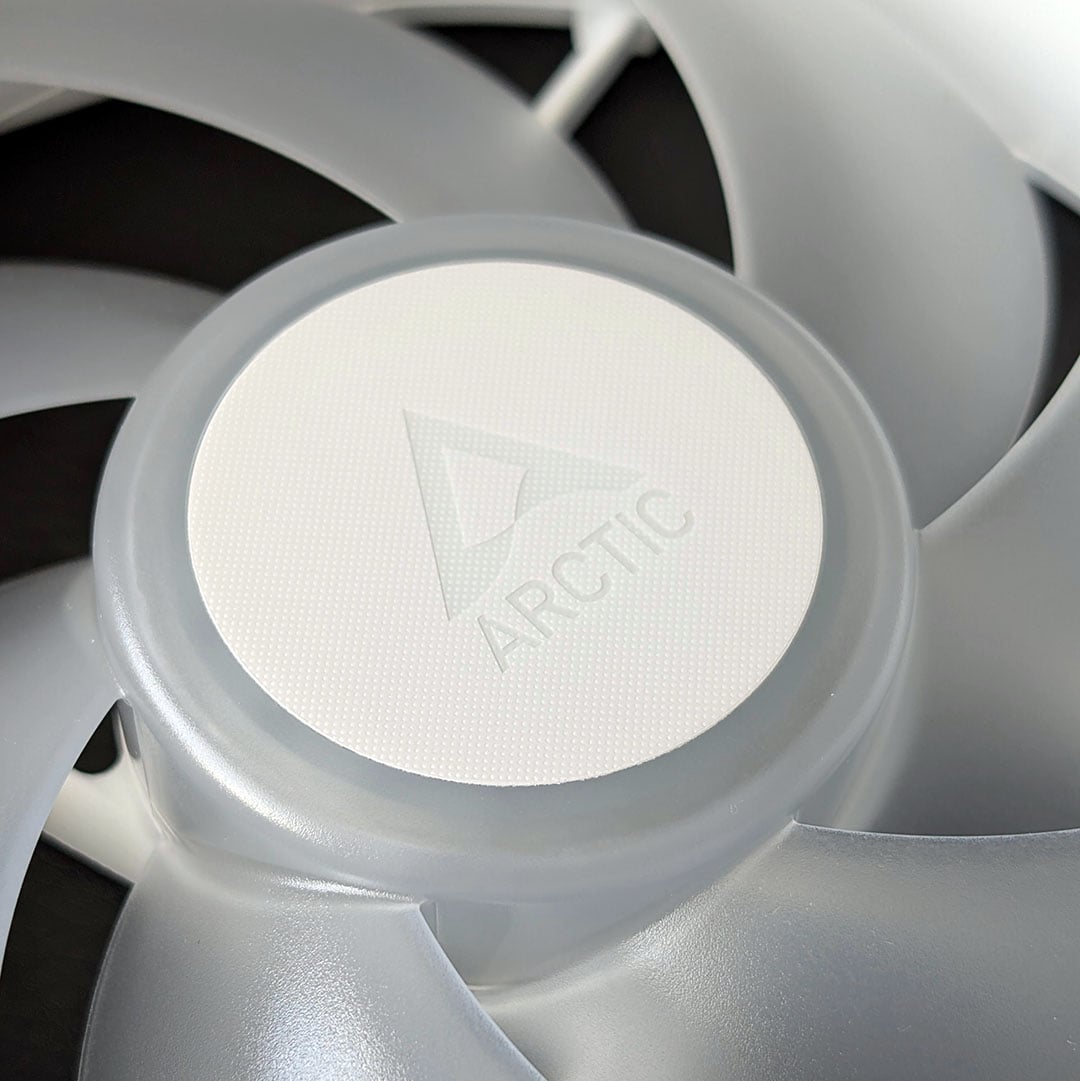
I should note, however, that the P14 Pro Reverse differs in specification from the P14 Pro, more so than the Bionix P14 A-RGB. That fan actually offers considerably less maximum airflow than the latter two (98CFM (167m³/h) with a lower peak static pressure (5.1mm H₂O) too. Regardless, our expectations remain the same as Arctic’s new offering is stronger on paper.
Lo and behold, working alongside an Arctic Liquid Freezer III Pro 360 ARGB (complete with P12 Pro fans) to cool our Core Ultra 9 285K, both system noise and temperatures are near-identical across the two series. It’s safe to say that the Bionix frame with all its technology hasn’t compromised what remains the most important aspects of any fan.
| Speed | P12/P14 Bionix | P12/P14 Pro |
|---|---|---|
| Max. | 61 / 63dBA | 60 / 62dBA |
| 1,200rpm | 36 / 38dBA | 35 / 37dBA |
| 800rpm | ≤30dBA | ≤30dBA |
Measuring 30cm from both the intake and exhaust, we saw noise differences of just 1dBA across all the speeds tested. Pushing the fans to their maximum speeds, the Bionix series ran at 61-63dBA while the Pro blowers ran a smidge quieter at 60-62dBA, but you’d be hard pushed to notice such differences in real-world use.
Shifting to more reasonable speeds, the system hums along at a palatable 36/38dBA with the fans running at 1,200rpm. Again, this is just 1dBA louder than the stock blowers. Finally, shifting down to 800rpm, we reach the limits of our testing equipment, with both fan families’ noise levels falling below 30dBA.
| Speed | P12/P14 Bionix | P12/P14 Pro |
|---|---|---|
| Max. | 86°C | 86°C |
| 1,200rpm | 86°C | 86°C |
| 800rpm | 86°C | 86°C |
Running a 10-minute Cinebench 2026 benchmark places great strain on the CPU cooler above all, but a supply of fresh cold air remains important in keeping temperatures in check. For the sake of completeness, our AIO cooler’s fans are spinning at 30% while our pump runs at 50% across all tests.
Our Core Ultra 7 270K Plus is none the wiser that we’ve swapped new fans into the Xtender VG, as core temperatures peak at 86°C across both series of fans at all speeds. Credit to Arctic, the Bionix series is delivering airflow comparable to its Pro series.
Conclusion
The Bionix P12 and P14 mark a near-perfect debut for Arctic’s alternative to classic daisy-chaining and single frame units, trimming back cable clutter without compromising performance. These are impressive fans both in their design and cooling potential, and would be my ideal recommendation for most builds, if not for the niggling constraints that its bridge cables entail.
While I’ve specifically tested these new models as case replacements, I have no doubt they’ll prove similarly impressive atop a radiator as part of a water cooling loop too. I sincerely hope we see Arctic launch variants of its existing stock with these Bionix connectors, as the gains there for tidiness are just as palpable.
By nature of their bespoke technology, there aren’t any like-for-like alternatives to the Bionix P12 or P14. The closest we get are the P12 and P14 Pro, which you can find on the market for ~€26.49 as a trio. Given that performance is similar across the fans, you’re paying a ~€10 premium for the ability to trim back on cable clutter. This is a reasonable price bump if, like me, you place a great deal of value on tidiness.
Regardless, a trio of Bionix fans make more economic sense than a single-frame model like the NZXT F360X. While prices for that option have fallen to a more palatable £60-65, you can enjoy a similar finish while retaining the ability to swap out individual blowers should replacements be necessary.
If Arctic can reduce the bulge of its bridge cable, and provide a reversible option, there’s practically nothing left to improve on this new method of daisy chaining.