

This step-by-step guide will help you on your way to a clean of install of Microsoft’s flagship operating system, but first, a few frequently asked questions:
Why clean install?
There’s a temptation to carry out an in-place upgrade, yet such a process is not without risk. And let’s face it, nothing quite beats the feeling of a clean Windows 11 install. Say goodbye to all the clutter, derelict apps, and iffy downloads, and say hello to a shiny-looking desktop.
Do I need to backup my data?
A clean install will effectively wipe your PC, so be sure to backup local data. This includes documents, photos and passwords you wish to keep. Be mindful a clean installation leaves no opportunity to rollback. Should you require such an option, consider creating a backup image of your entire PC.
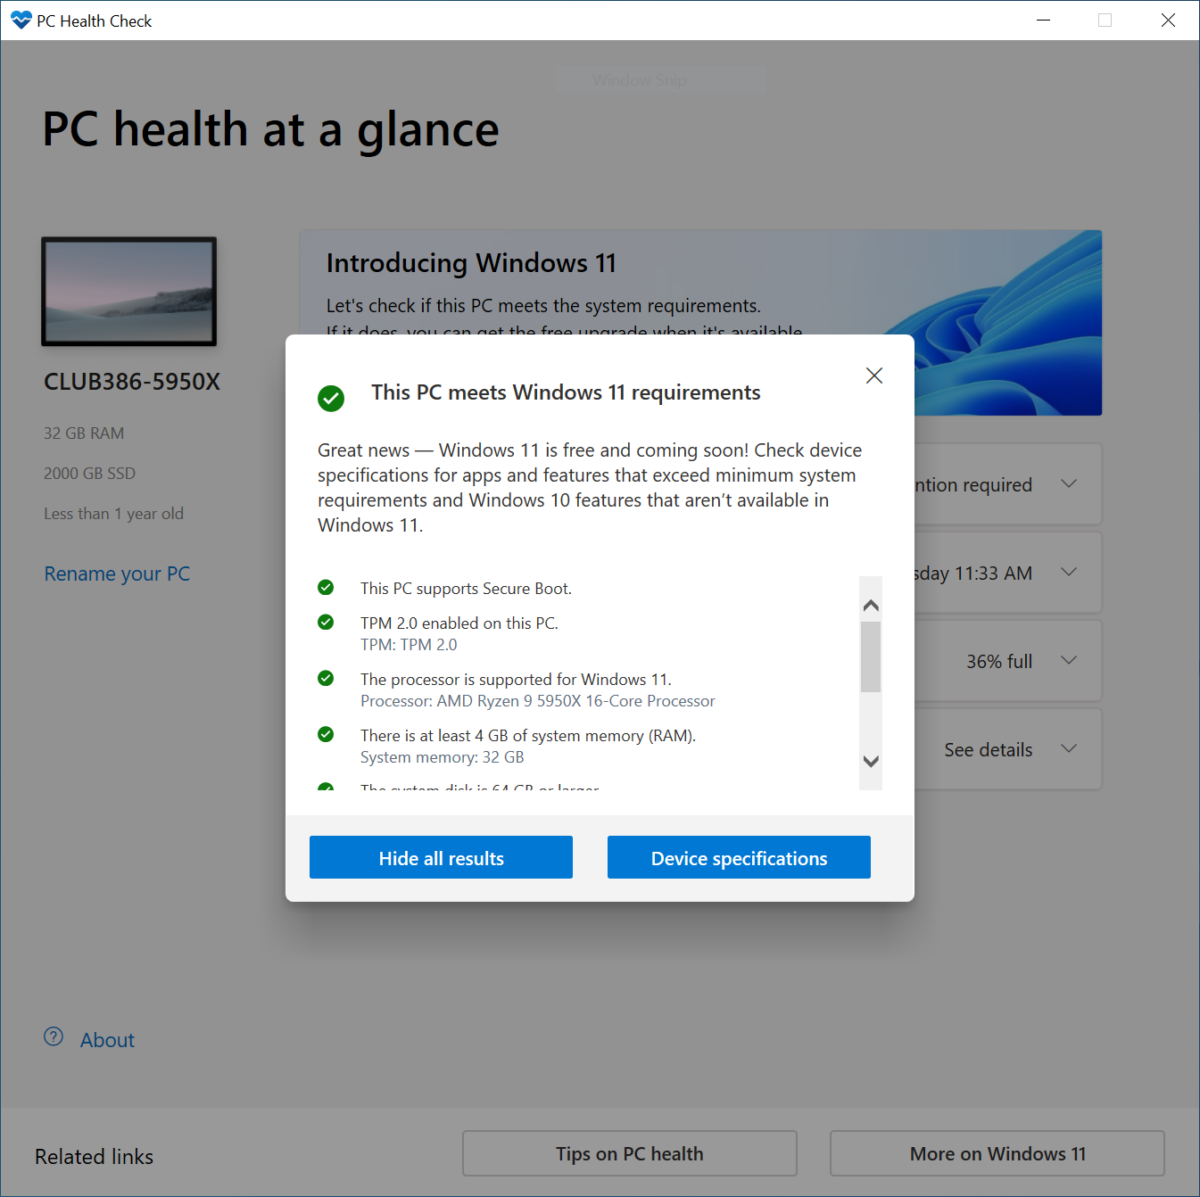
Is my PC compatible with Windows 11?
Microsoft’s stringent requirements for Windows 11 have received plenty of scrutiny. The best way to check if your PC meets the criteria is to run the official PC Health Check App. PCs failing to meet the minimum requirements can unofficially be upgraded. To avoid any complications, such workarounds are not recommended and will not be covered by this guide.
Is Windows 11 ready for the prime time?
The days of bulletproof operating systems are seemingly behind us. It has become common practise to receive bug fixes, patches and course corrections after the initial release. The same is true of Windows 11, yet the software has matured significantly since initial release and now feels fully stable. Club386 has been running Windows 11 across a number of test platforms since 2021 and would have no hesitation in recommending the upgrade.
What tools do I need?
Not a lot, really. Just a USB stick with at least 8GB of space, and of course a PC on which to carry out the installation.
How much does it cost?
Windows 11 is a free upgrade from Windows 10. If your PC currently runs the most current version of Windows 10, Windows 11 will activate automatically after installation. Please note this applies to like-for-like installations, so Windows 10 Home users can upgrade free of charge to Windows 11 Home, but not to Windows 11 Pro.
Preamble out the way, let’s get to it.
Step 1 – Create a USB installation stick
Head to the official Windows 11 Download Page and download the free Media Creation Tool (direct link). Once downloaded, run the executable MediaCreationToolW11.exe and follow the on-screen wizard as follows:
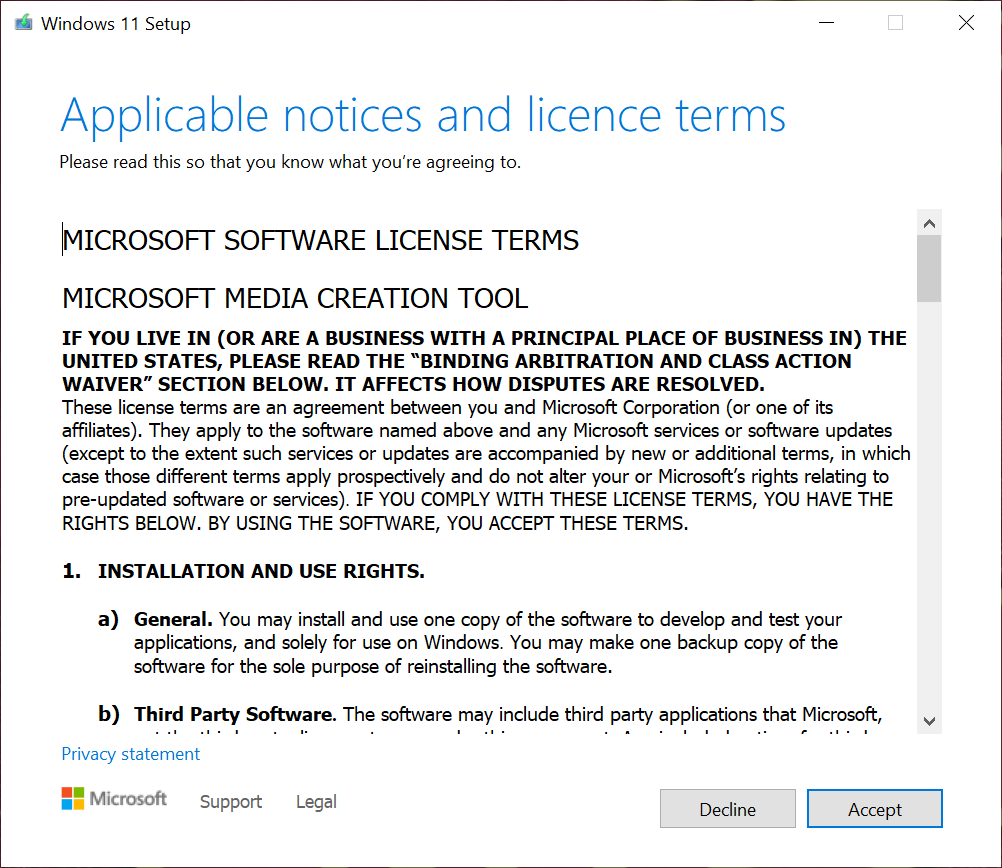
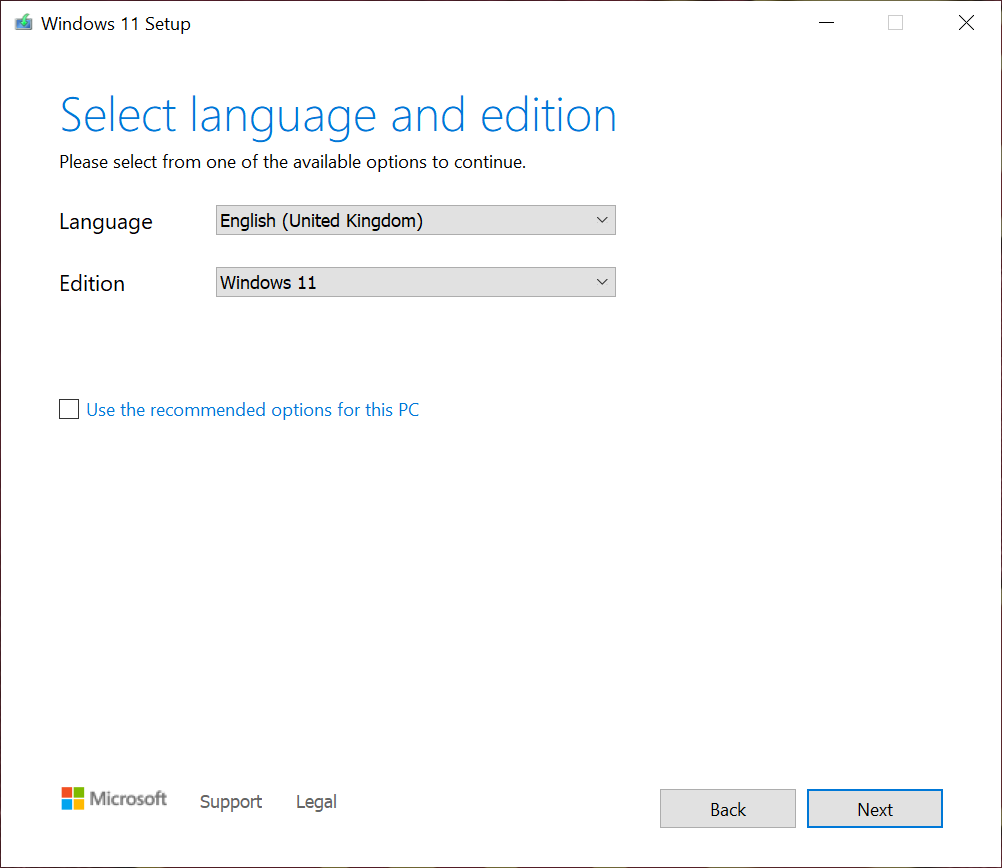
Accept the licence terms (credit to those who read the whole lot!), then choose the applicable language and Windows edition.
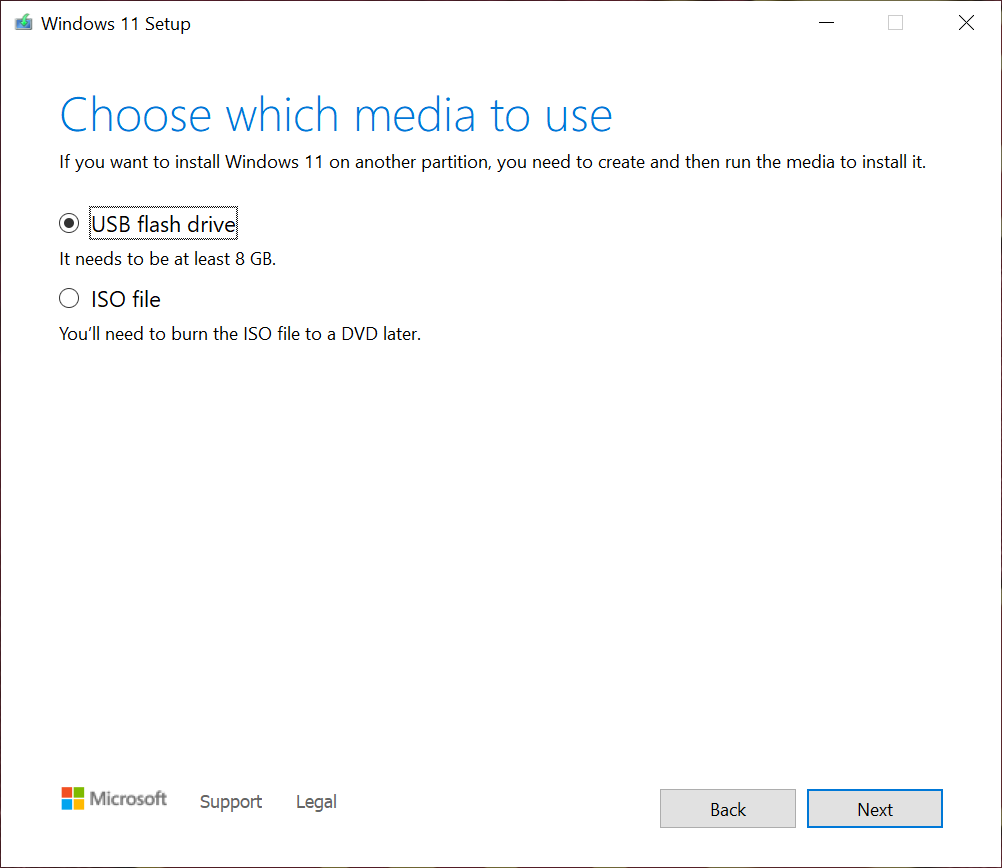
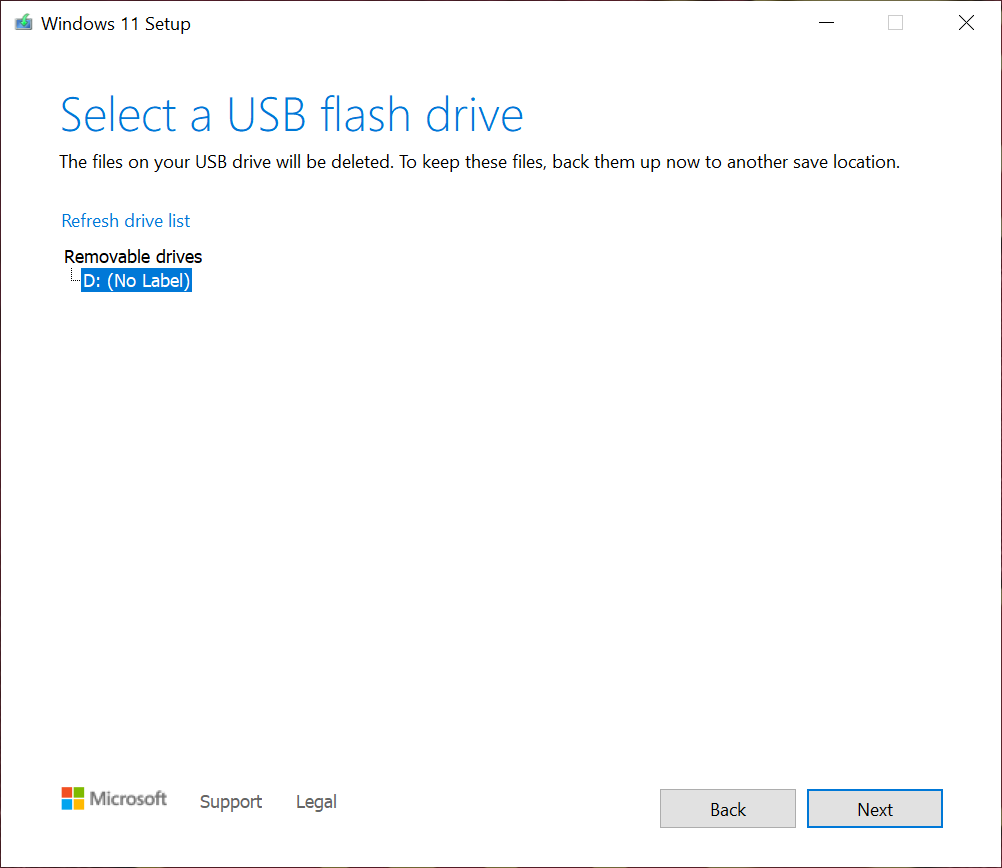
Select ‘USB flash drive’ as your media of choice, and then select your preferred USB drive from the list. Take a moment to double-check the selection; all content on said drive will be deleted.
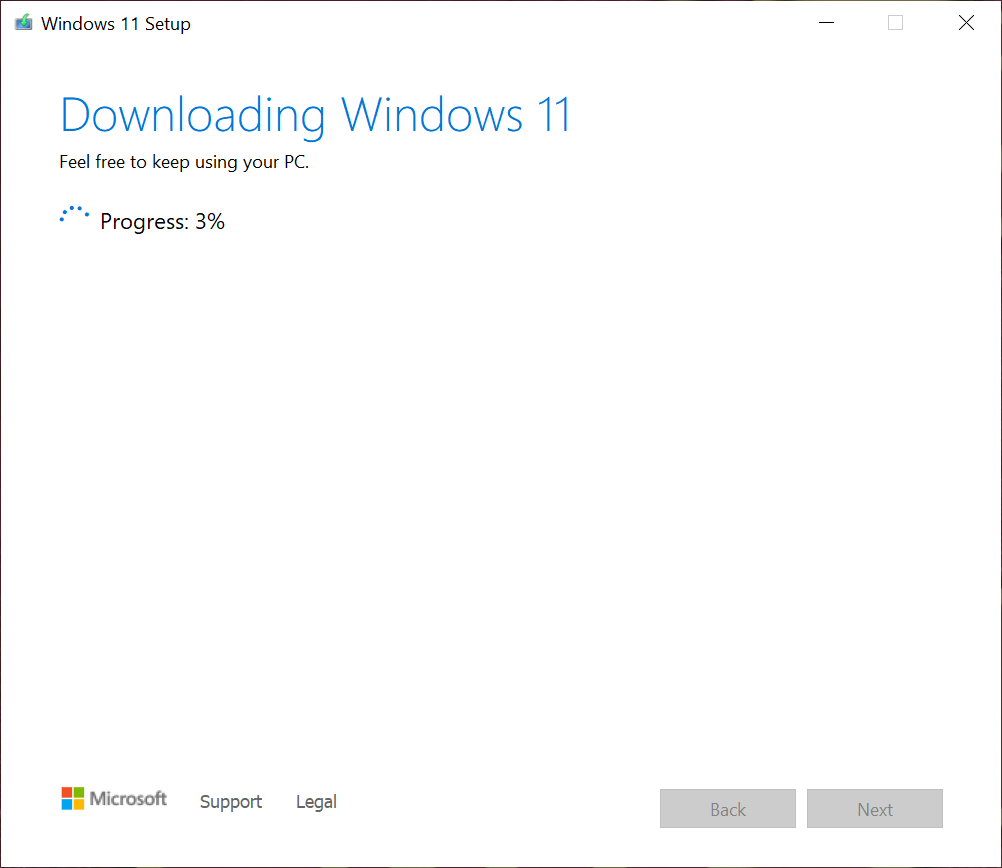
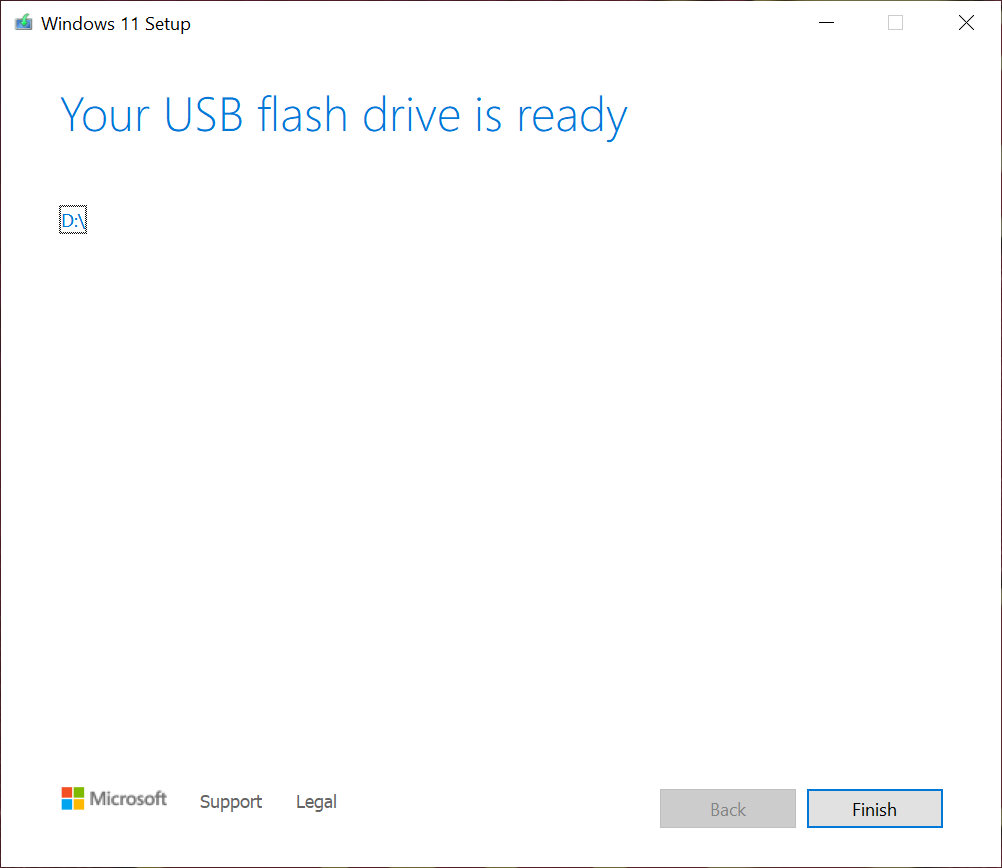
Microsoft’s Media Creation Tool will then proceed to download Windows 11 to the USB drive in preparation for step two. This process can take a while, so now is as good a time as any to put the kettle on.
Step 2 – Boot your PC from the USB installation stick
USB flash drive ready? Cup of tea to hand? Great, now let’s go ahead and boot from the drive. Turn on the PC on which you want to clean install Windows 11 and enter the boot device selection menu. This can be achieved by pressing the relevant key during the boot sequence – F10/F12/Esc – or alternatively enter system BIOS and manually select the boot device.
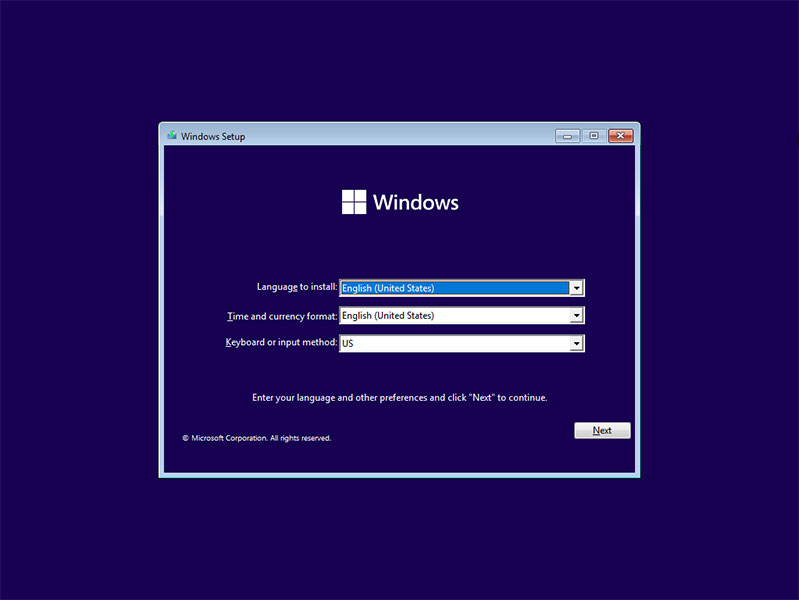
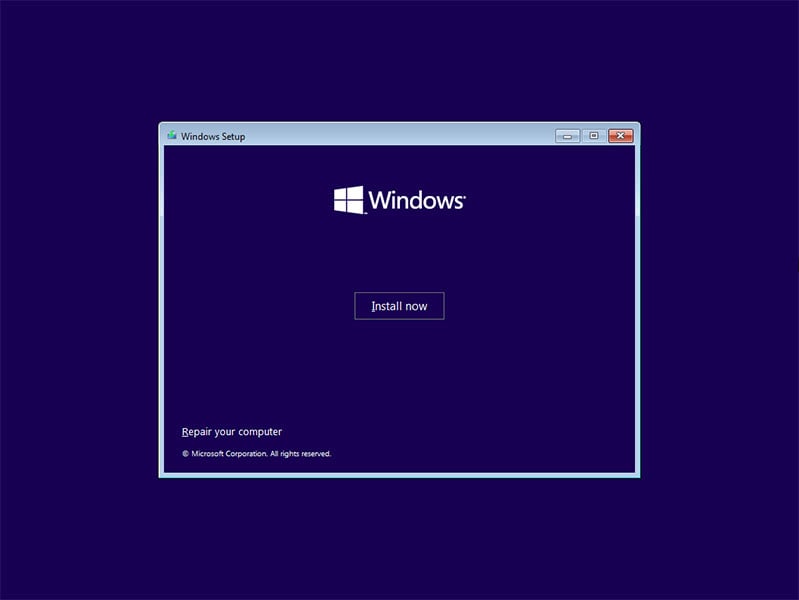
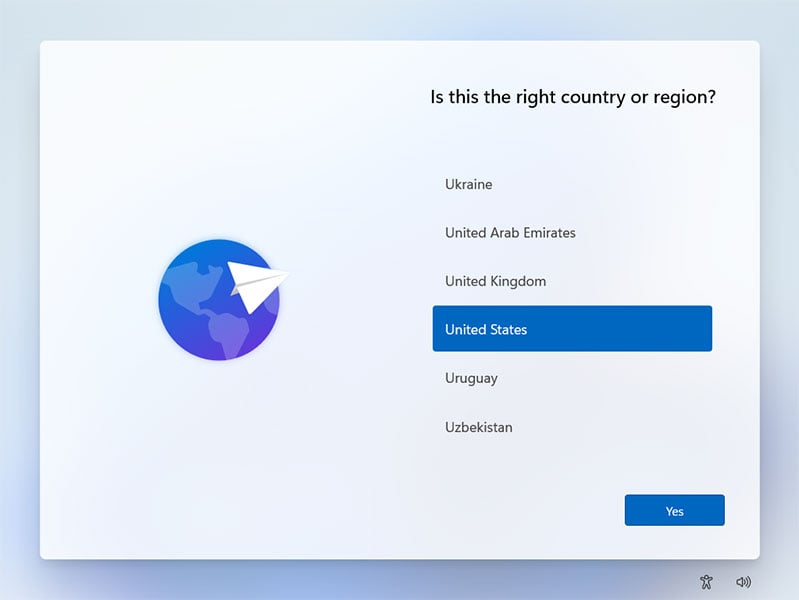
Upon boot, the installation wizard will now begin with a set of regional preferences. Choose the correct language and input method, and then Install now.
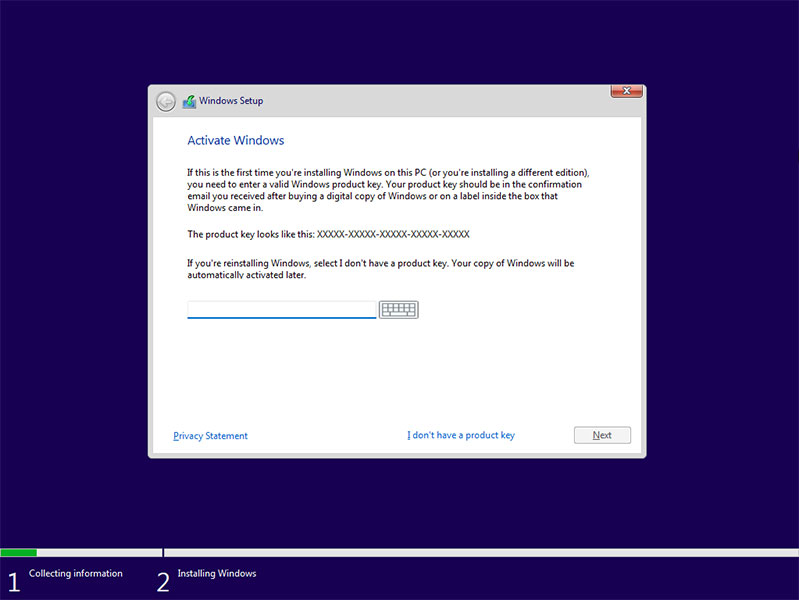
Do not be alarmed by the Activate Windows prompt. As stated earlier, a PC running a licensed version of Windows 10 is eligible for a free upgrade to Windows 11. Select ‘I don’t have a product key’ and the software will automatically activate upon connection to the web.
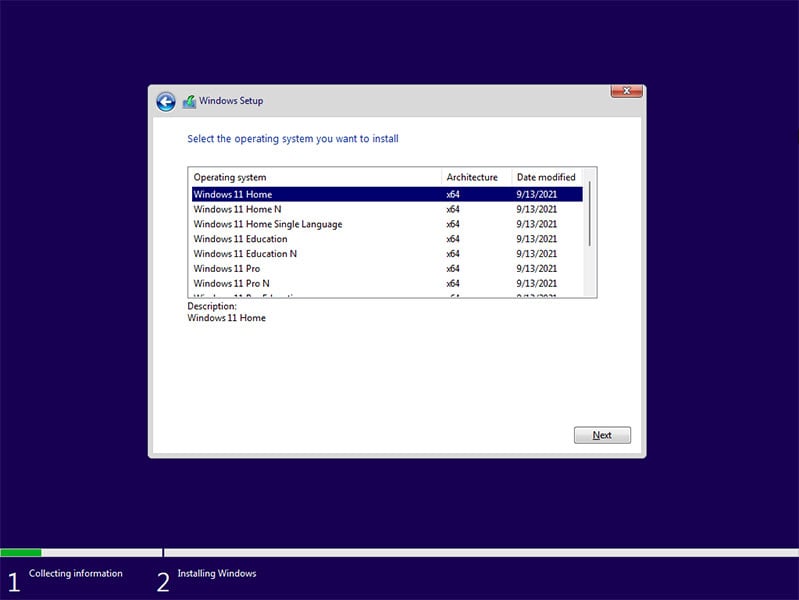
On the next step remember to choose the relevant version of the operating system you want to install. For Windows 10 Home users, that’s Windows 11 Home.
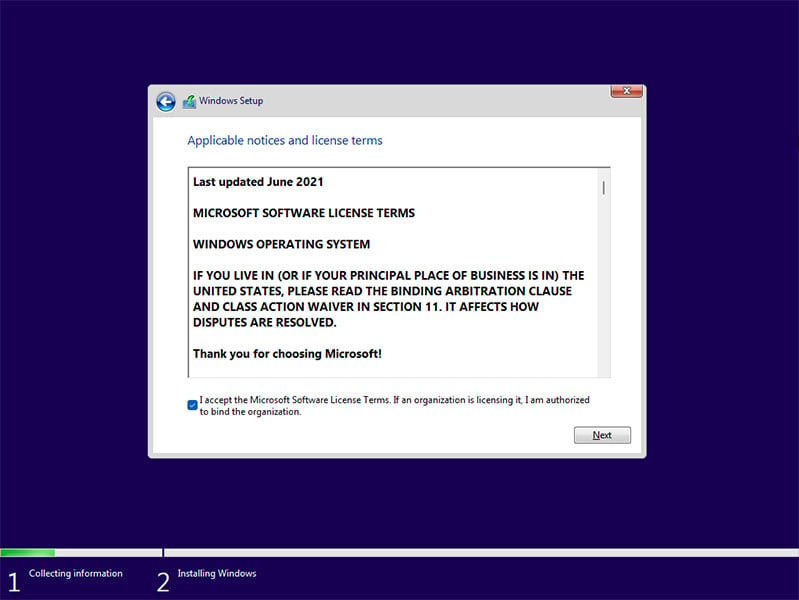
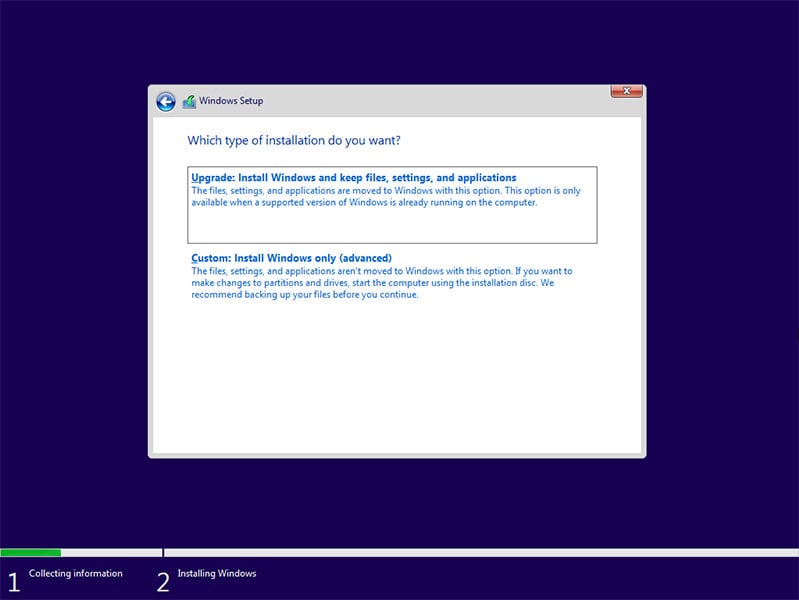
Accept the Microsoft Software License Terms and when asked which type of installation you want, select ‘Custom: Install Windows only (advanced)’ to allow for a clean install.
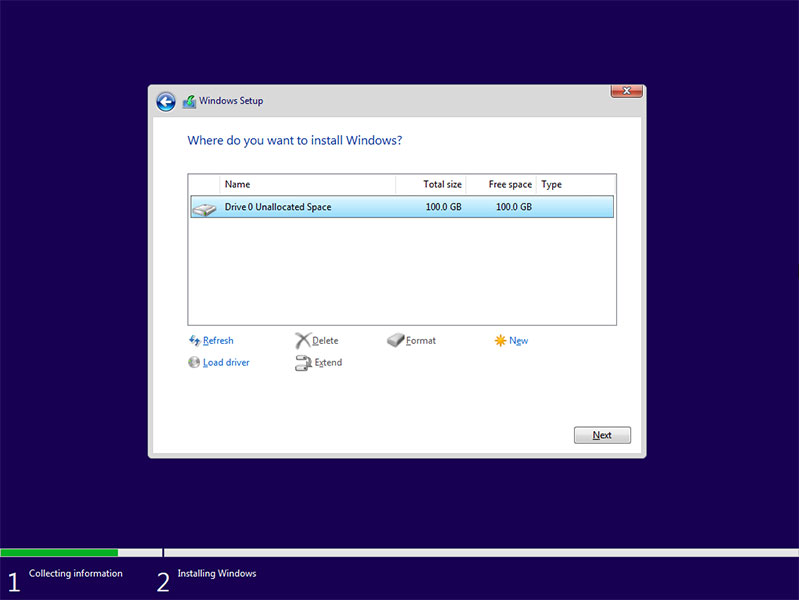
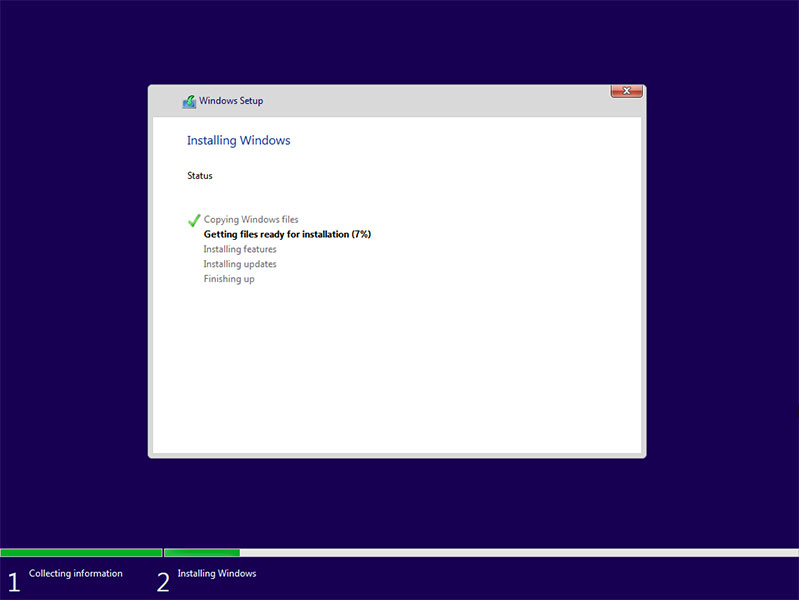
Lastly, choose the drive on which you to want to clean install Windows 11. Users seeking a full format can choose to delete any existing partitions but remember to make sure you’ve backed up any important data as there’s no going back. Once you are ready to proceed, click Next and the installation wizard will automatically create the required partitions, install Windows 11 and restart your PC.
Step 3 – Configure Windows 11
Well done, you’re almost there! Upon restart you will be facing a snazzy-looking Windows 11 configuration wizard. This final phase of your journey should be self-explanatory, though do note that Windows 11 will by default ask you to sign in with a Microsoft Account. To proceed with a local account, refer to our guide on how to install Windows 11 offline.
Give yourself a pat on the back, you’ve successfully managed to clean install Windows 11.