
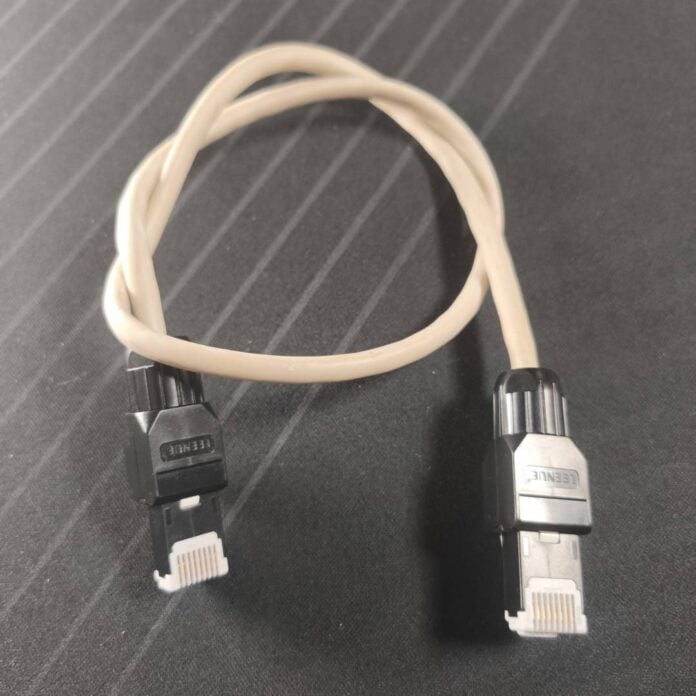
Whether you’re upgrading an existing network run through your house, or you just want to fix a damaged cable, assembling your own Ethernet wiring gives you loads of flexibility, and it’s cheap too. On top of adapting to your exact distance and speed needs, making one yourself helps you avoid wasting cable. For example, if you need a cable that is exactly 11.5m long, or want a very long run, such as 70m or more, you may not find a pre-made cable at that size in your local store.
Starting from a non-terminated cable also lets you push it more easily through tight conduits without worrying about damaging the RJ45 connector. The same goes if you need to drill holes through a wall or a door frame to pass through a cable, which is likely to be the only option for those laying Ethernet cables inside an old house for the first time. To put it simply, making your own Ethernet cable has plenty of advantages, and I’ll take you through the whole process in this guide.
What you need
To make your own RJ45 Ethernet wiring, you will need the following items:
Ethernet cable
You’ll need to use Cat 5e, Cat 6, or Cat 6A Ethernet cable with four pairs of wires inside (eight total). The main difference between these standard is maximum speed, rated at 1Gbps on Cat 5e and 10Gbps over up to 55m on Cat 6. If you want 10Gbps at distances reaching 100m, look for Cat 6A cables. Unless you have a fancy 10Gbps PC, switch, and router, I recommend sticking with Cat 6; it’s the sweet spot for home DIY, striking a balance between cost and ease of installation.
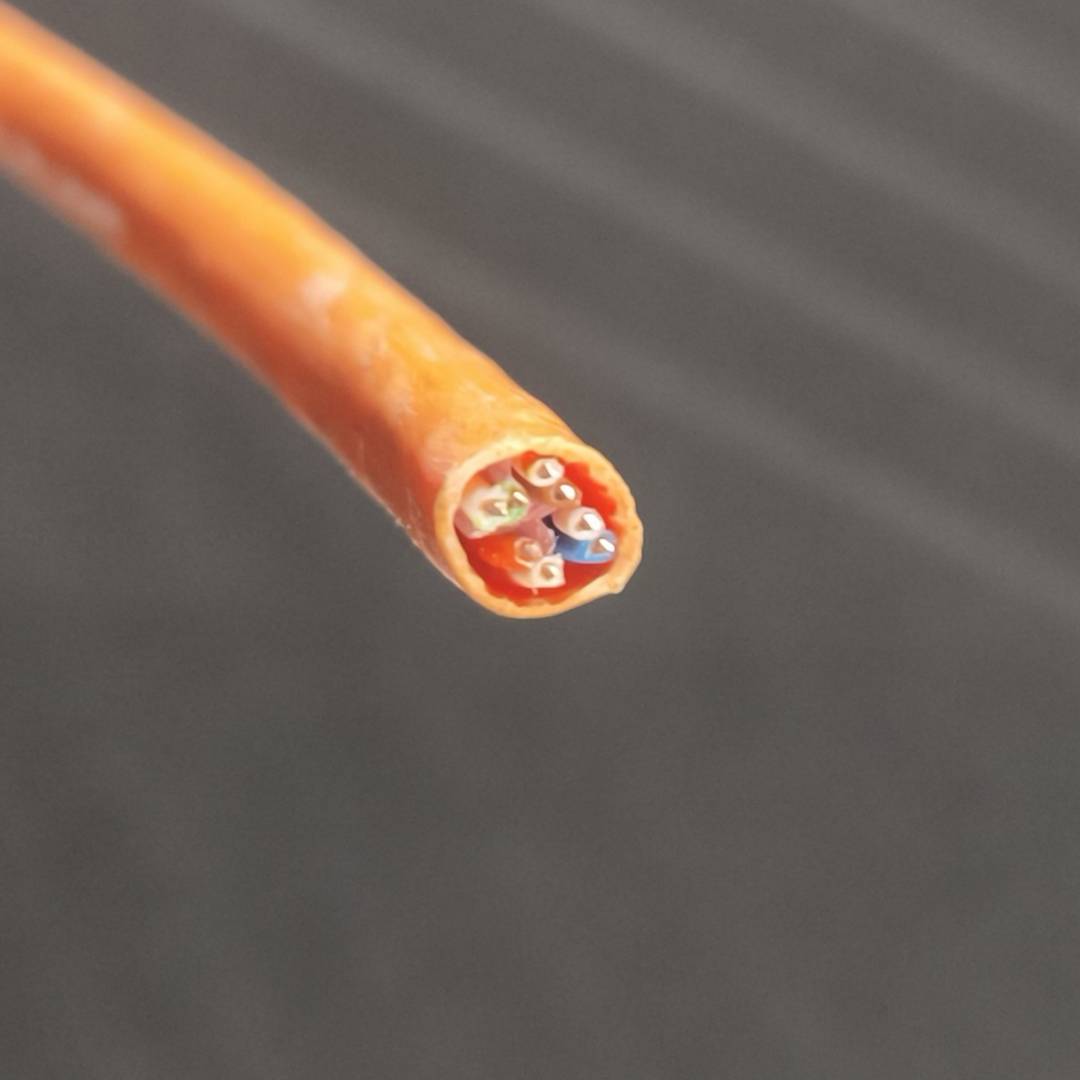
You may also notice that some cables are labelled U/UTP, F/UTP, U/FTP, etc.; these acronyms describe the type of shielding inside the cable and how the internal wires are wrapped. Don’t overthink it – U/UTP (commonly just called UTP) is cheap and does the trick for a home installation. It’s also highly flexible, and doesn’t require you to worry about grounding or metal connectors. A 305m spool of Cat 6 UTP cable only costs £65. Understandably, you don’t have to buy this much; take whatever length you need.
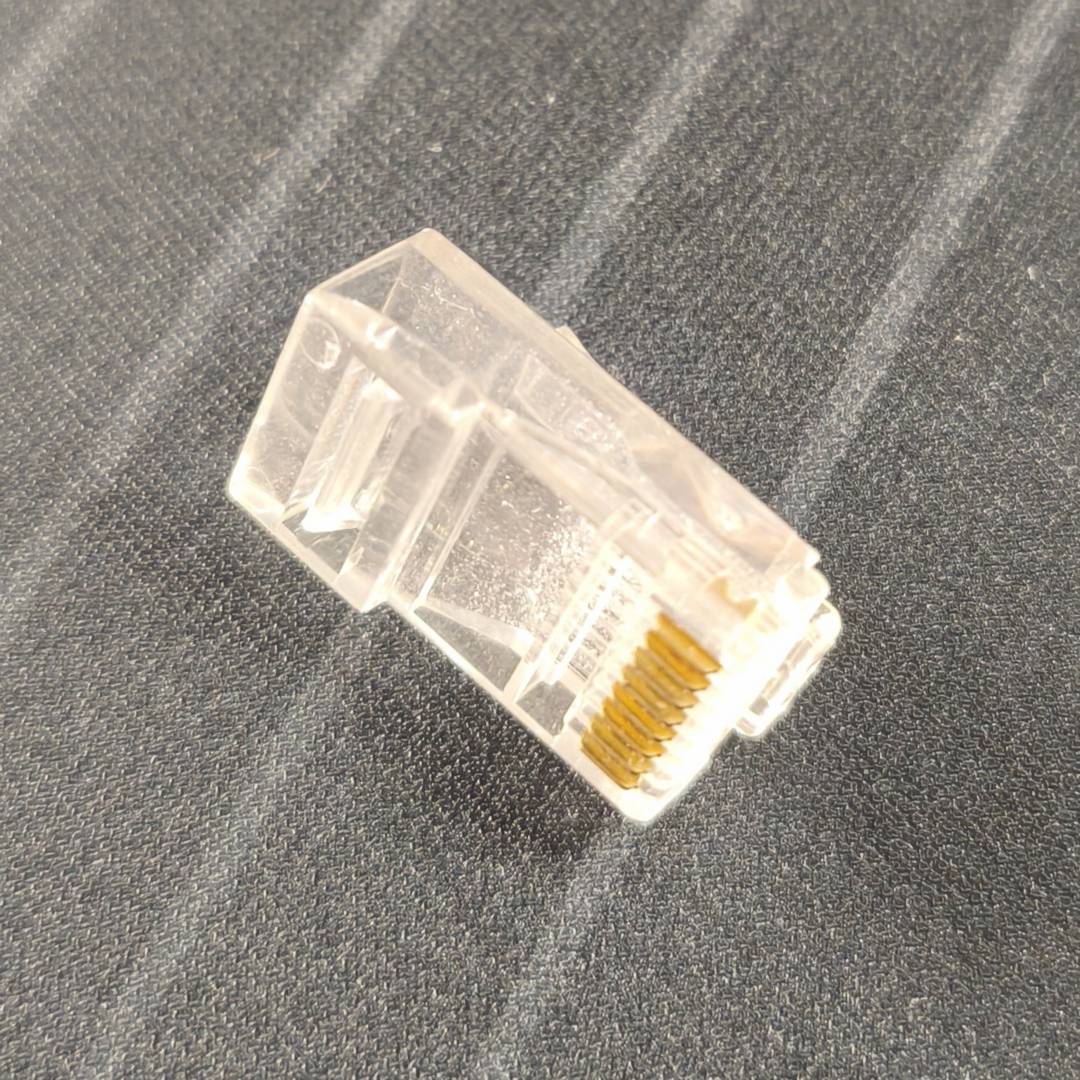
RJ45 plugs/connectors
These are the plugs you put on each end of the cable. I recommend you choose connectors that are listed as bring compatible with your cable category, but generally speaking, they’re mostly the same. For example, you don’t need expensive shielded RJ45 plugs if you have Cat 5e or Cat 6 cable. Also, avoid those labelled as Cat 7 or higher, since these use different standards and offer no benefit for home use.
RJ45 connectors come in three variants: the standard plastic ones that require a crimping tool, pass-through ones which are easier to work with but still require a crimper, and toolless ones, which are the simplest to work with but cost more money.
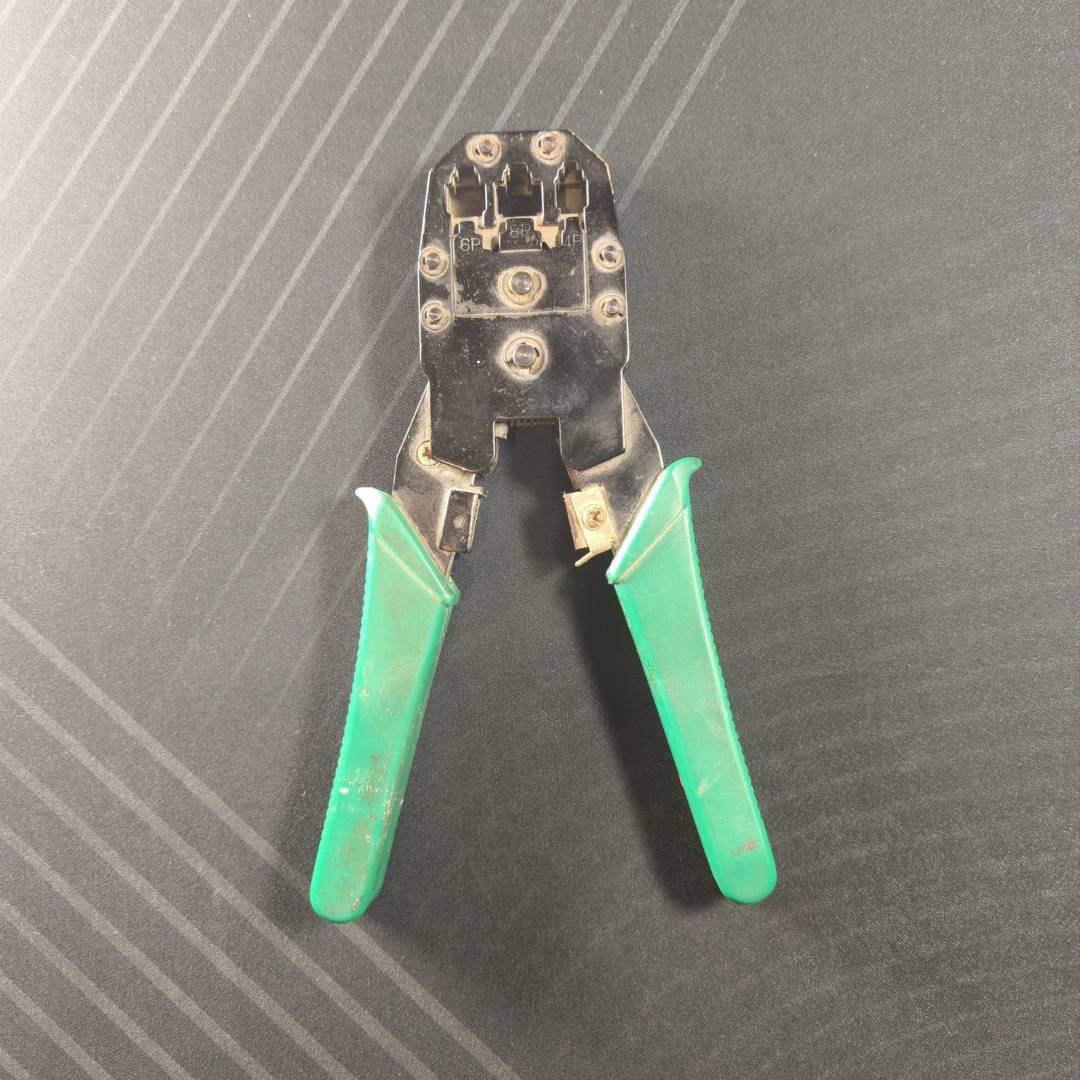
Crimping tool
A variety of RJ45 crimping tools are available. Some are barebones kits, while others pack plenty of handy features. All do the same job when it comes to crimping RJ45 connectors, so don’t shy away from picking the cheapest one available. That said, nowadays, you can find cheap bundles that include a crimp tool, cable tester, and a bunch of RJ45 connectors for around £35, complete with pass-through plugs.
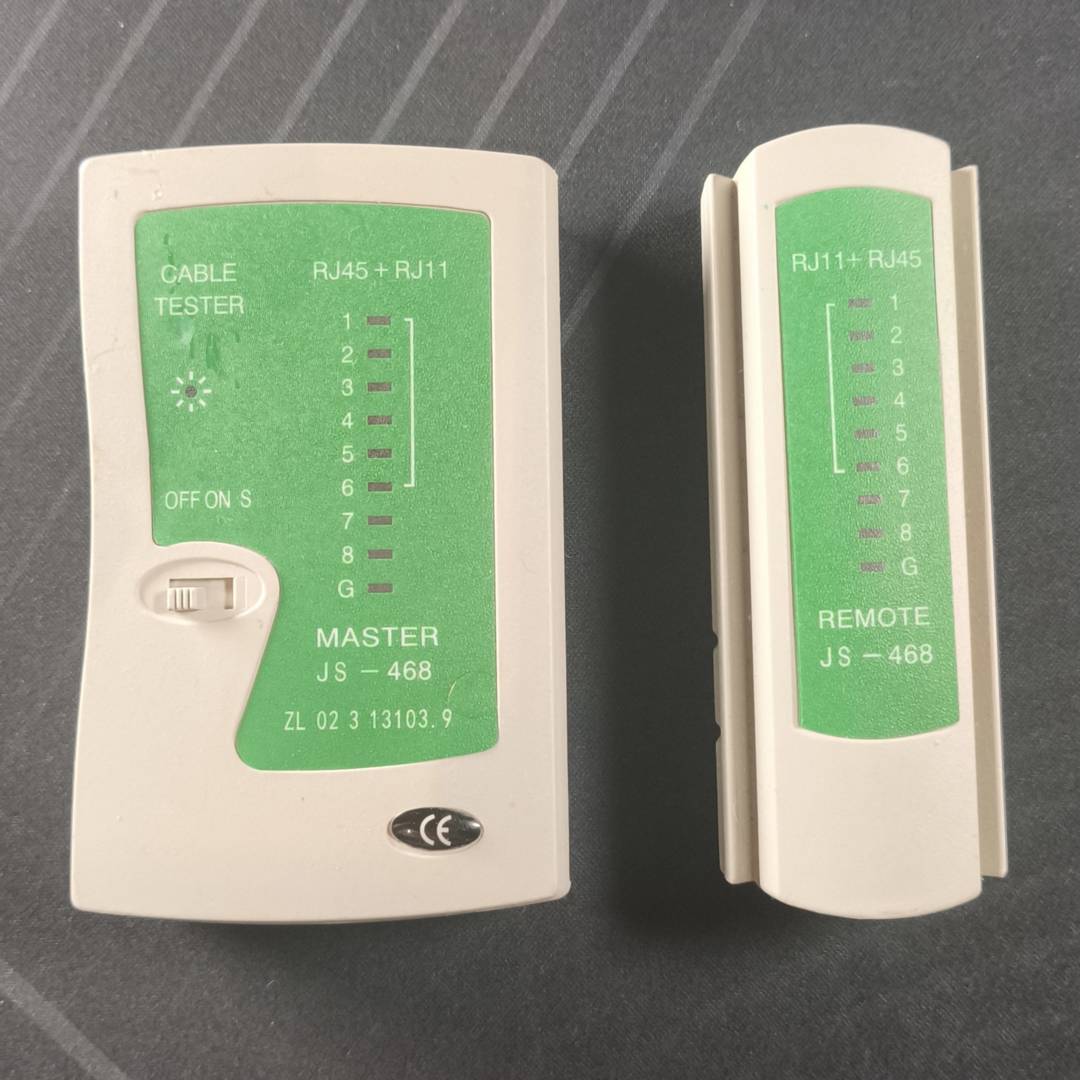
Optional: Ethernet cable tester
Finally, a network cable tester can be handy to monitor electrical connections and tell you if there is a problem. This is useful if both ends of your cable are a long distance from each other. A tester comes included in the bundle I mentioned earlier.
Wire configuration
Before we hop into installation, we need to discuss the different wire configurations you can use on your Ethernet cable: straight vs crossover. Crossover is an old layout used to connect one computer or device to another without going through a router, switch, or hub. Since modern devices no longer require crossover cables, even when connected directly to each other, I will focus on the straight layout.
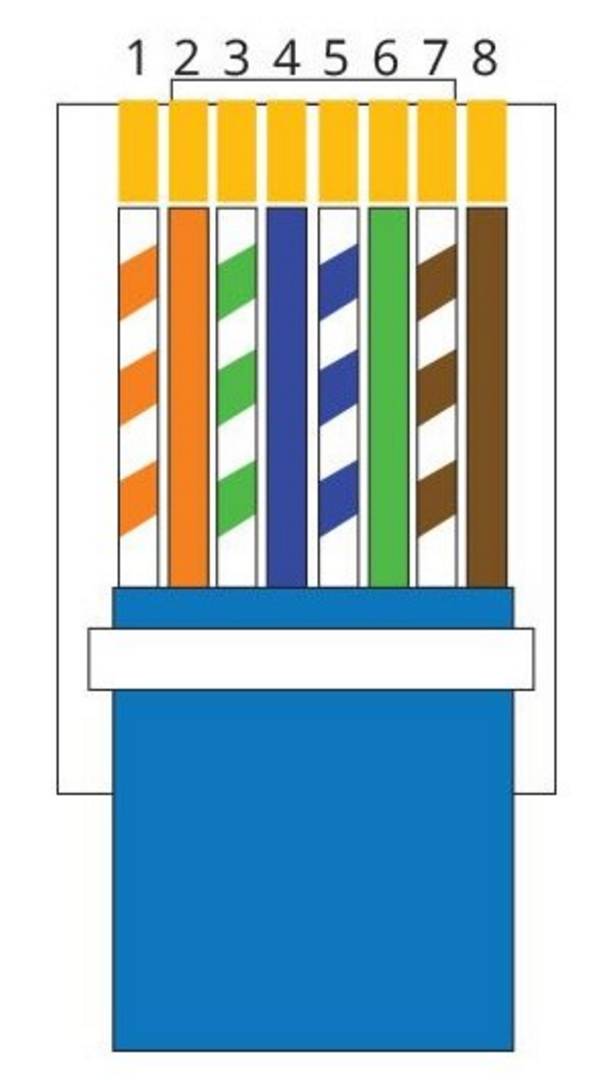
The straight layout keeps the wire order identical between both cable ends, so if connector A uses orange-white, orange, green-white, blue, blue-white, green, brown-white, brown in order, connector B will also use the same colour order. You can use whatever order you like, as long as it’s the same on both ends, but the order above (called T-568B) is the recommended one for long-distance runs.
Making an Ethernet cable with a crimper
Start by measuring the exact length you need, or better yet, route the cable from point A to point B as you plan it to sit in the end. Either way, make sure you leave a small margin – 30cm or so – in case you fail the first attempt. Personally, I leave at least 1m on each end in case I want to reposition my router or PC in the future.
After finding the correct distance you need, cut off the excess cable. If you bought an RJ45 connector with a strain relief boot, insert it into the cable now to avoid forgetting about it. That said, not having it or forgetting it isn’t a big issue; the cable will still work the same.
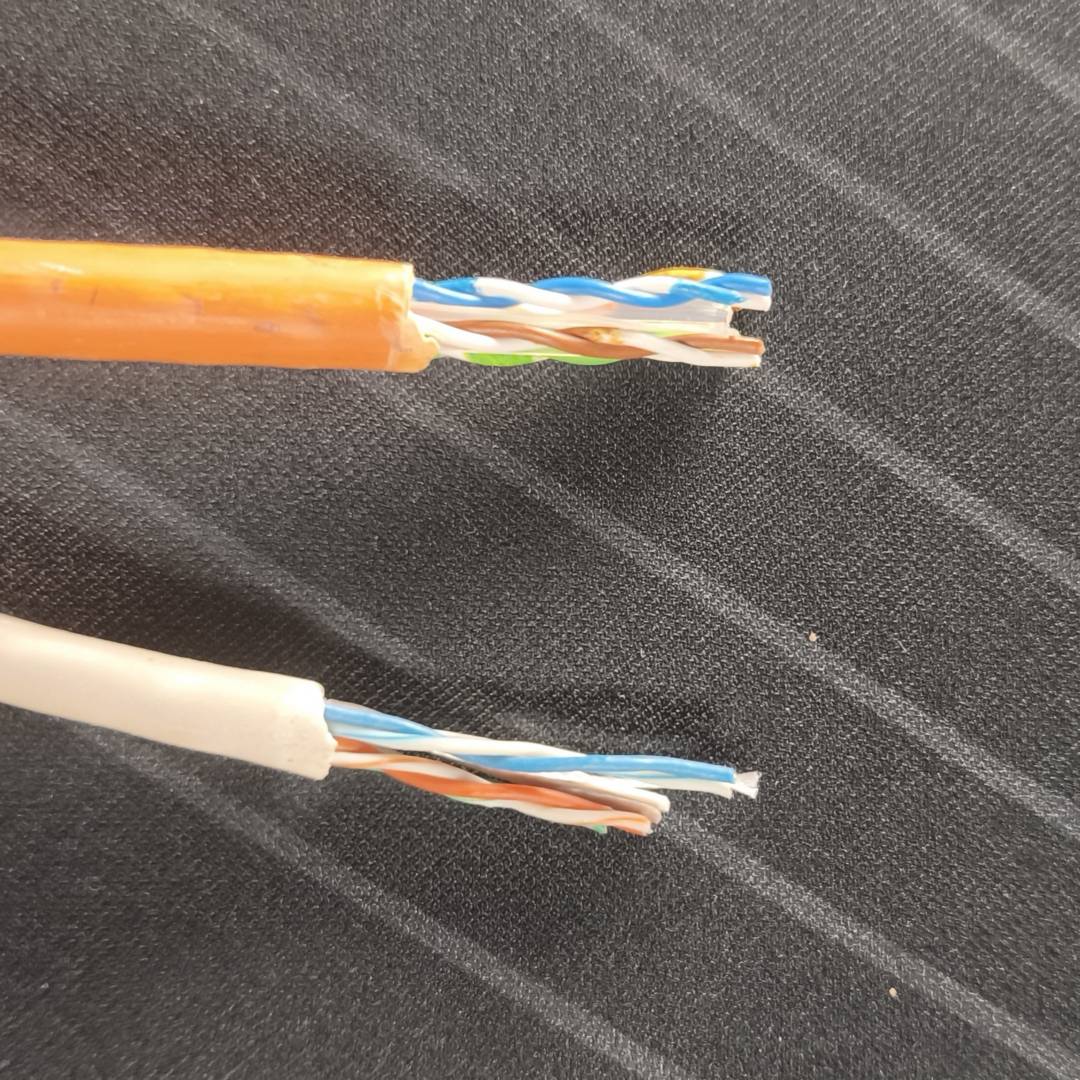
Now, measure about 3cm from the cable edge and strip its outer jacket. For this job, you can use any tool you want: the crimper’s built-in razor, a pair of scissors, or a kitchen knife. Just make sure you don’t cut too deep, so you avoid damaging the internal wires that transmit data. If your cable has a protective foil or a separation plastic core, you can remove these parts too; all you need are the four colour-coded pairs of wires (eight in total).
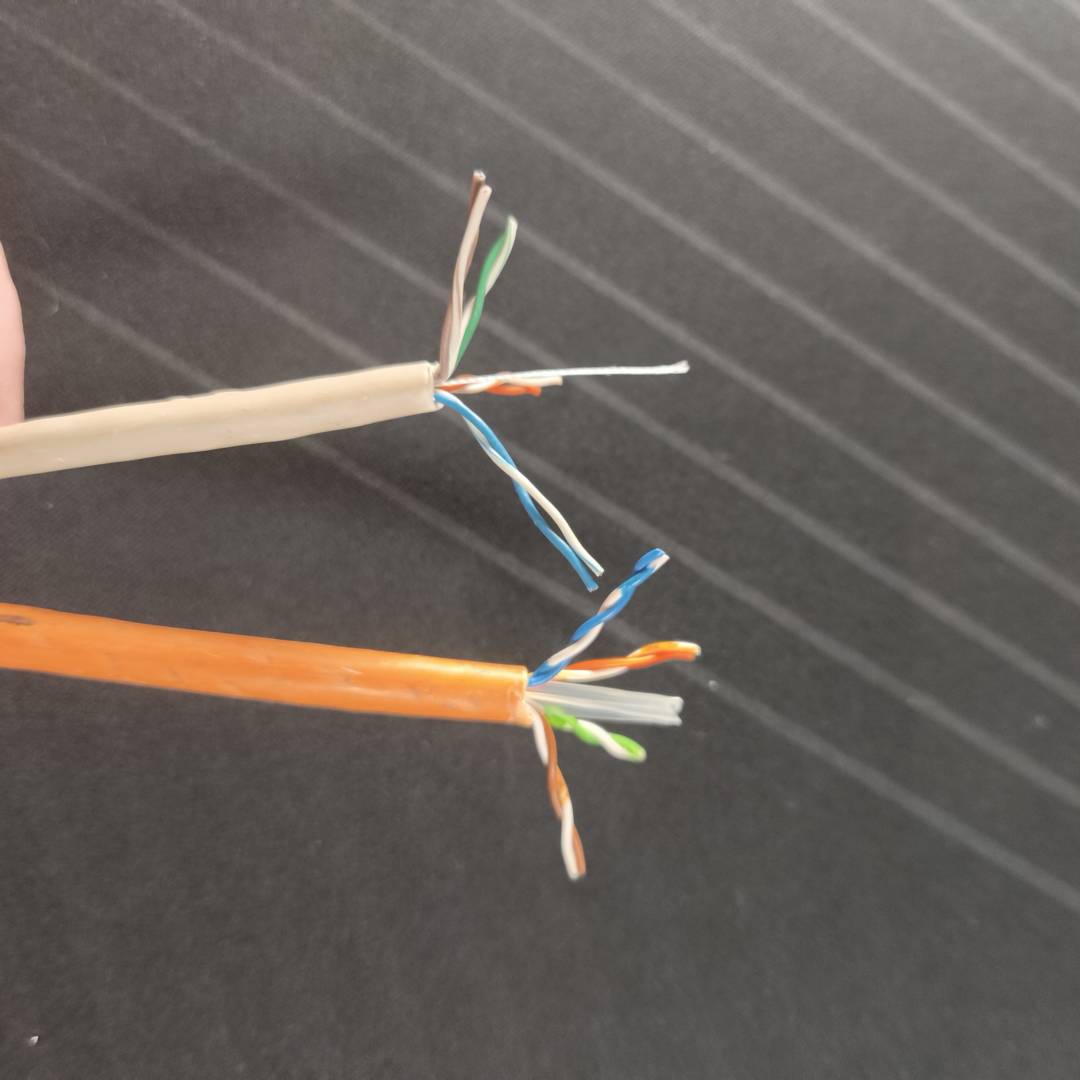
Untwist and straighten all eight individual wires as close to the jacket as possible. To straighten them up, simply hold each wire between your thumb and index finger and squeeze it to reshape it into a straight line. Don’t be afraid to pull and bend them as needed to make them straight.
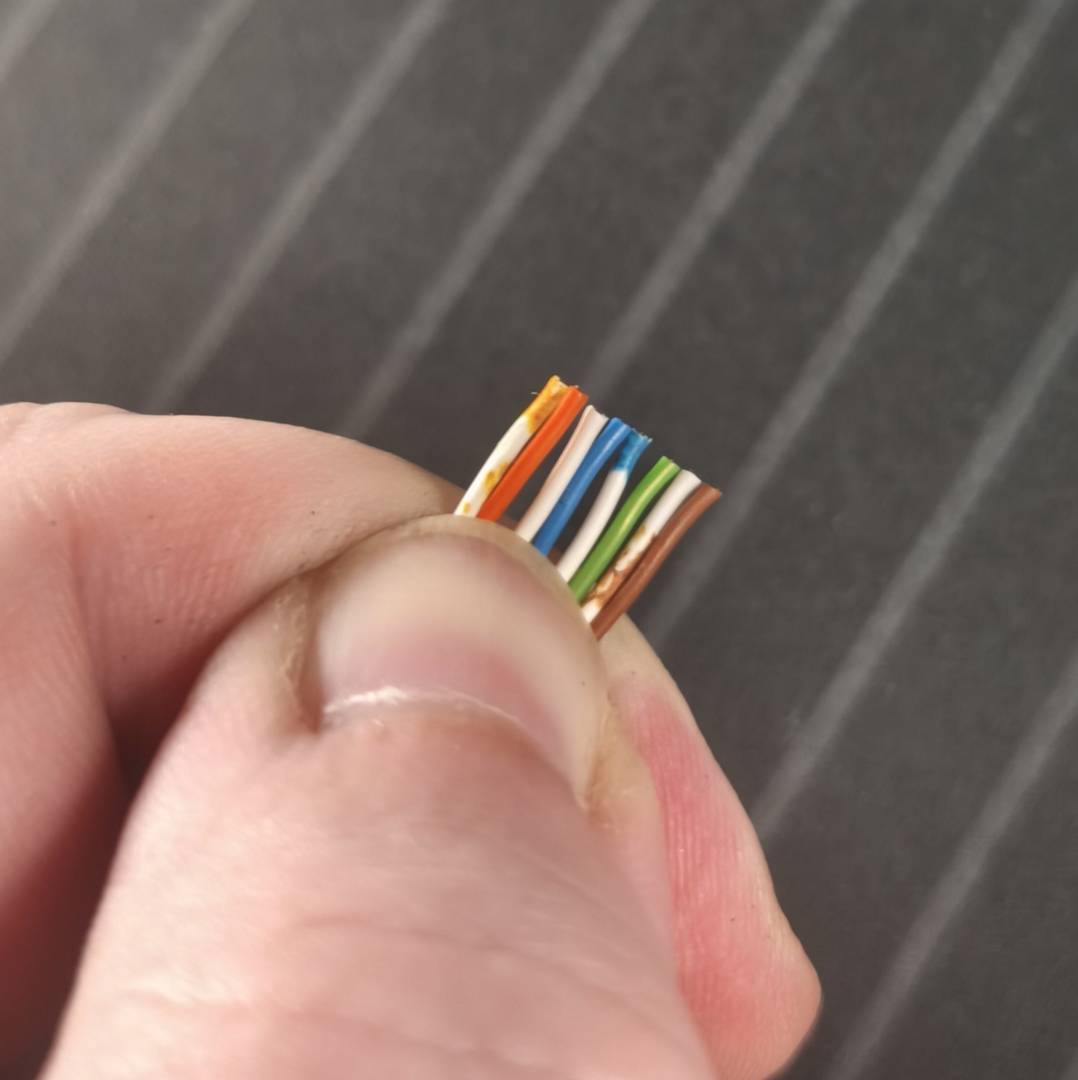
Organise the coloured wires into the order shown in the T-568B diagram above, from left to right: orange-white, orange, green-white, blue, blue-white, green, brown-white, brown. Note that if you’re repairing an existing cable, you don’t need to replace both ends; simply copy the order from the broken or damaged connector you want to replace.
Now, trim the ends of all the wires so they’re all level, while holding them in the correct order, then slide them all at once inside the RJ45 connector. If you’re not sure how much to trim, you can position the cable on top of the RJ45 connector to get an idea. Note, however, that this is mainly a concern for closed-end connectors. If you’re using the pass-through ones recommended with the £22 bundle and the toolless ones (more on them later), you can trim the wires at a later stage.
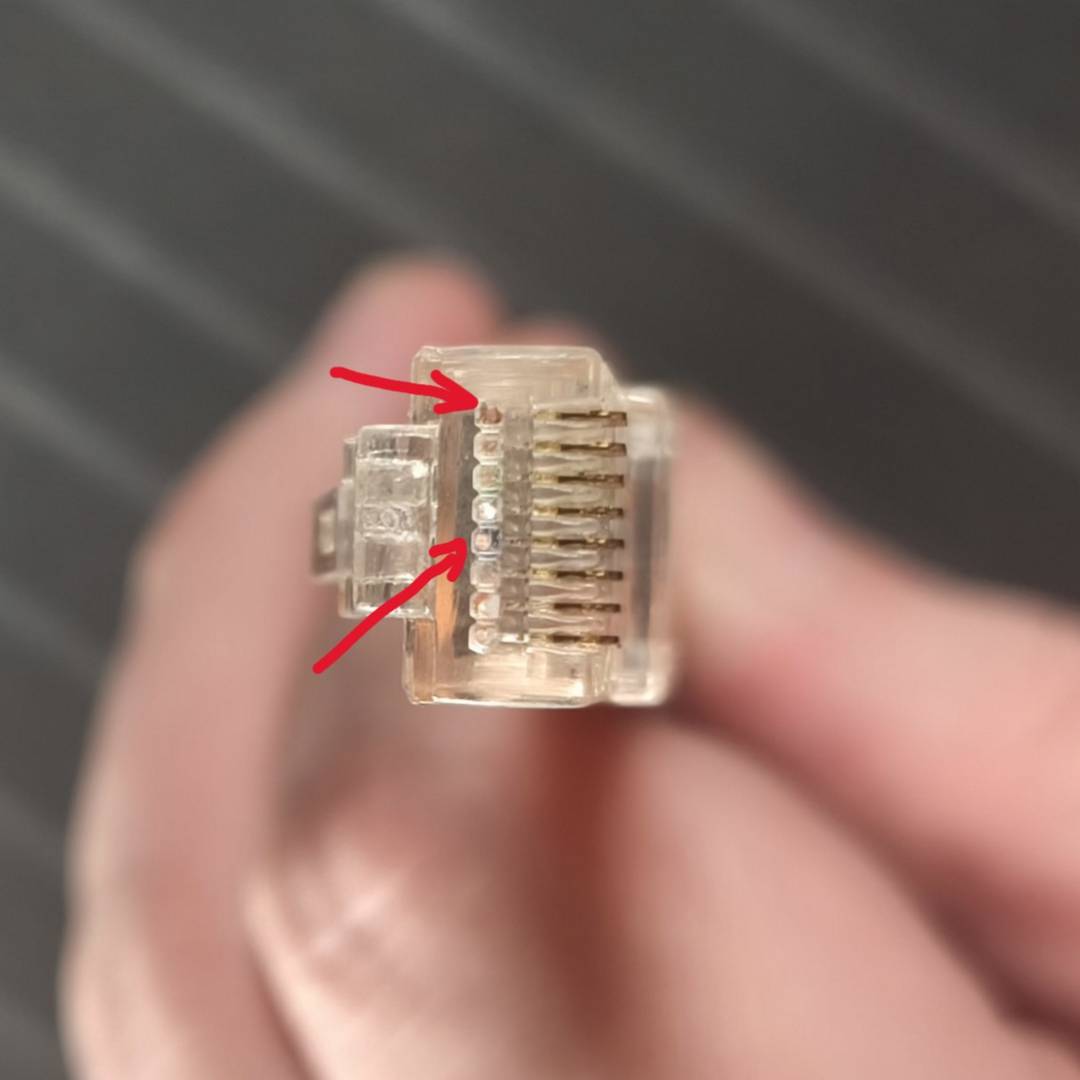
Make sure all wires are fully inserted by looking through the transparent connector. If you’re using pass-through plugs, you can simply slide all the wires inside the connector until they protrude from the opposite end. This also allows you to quickly double-check if all your wires are still in the correct order. If needed, push a bit of the outer cable jacket inside the plug. This last step isn’t essential for the cable to function, but doing so gives it a cleaner look while protecting the individual wires from wear.
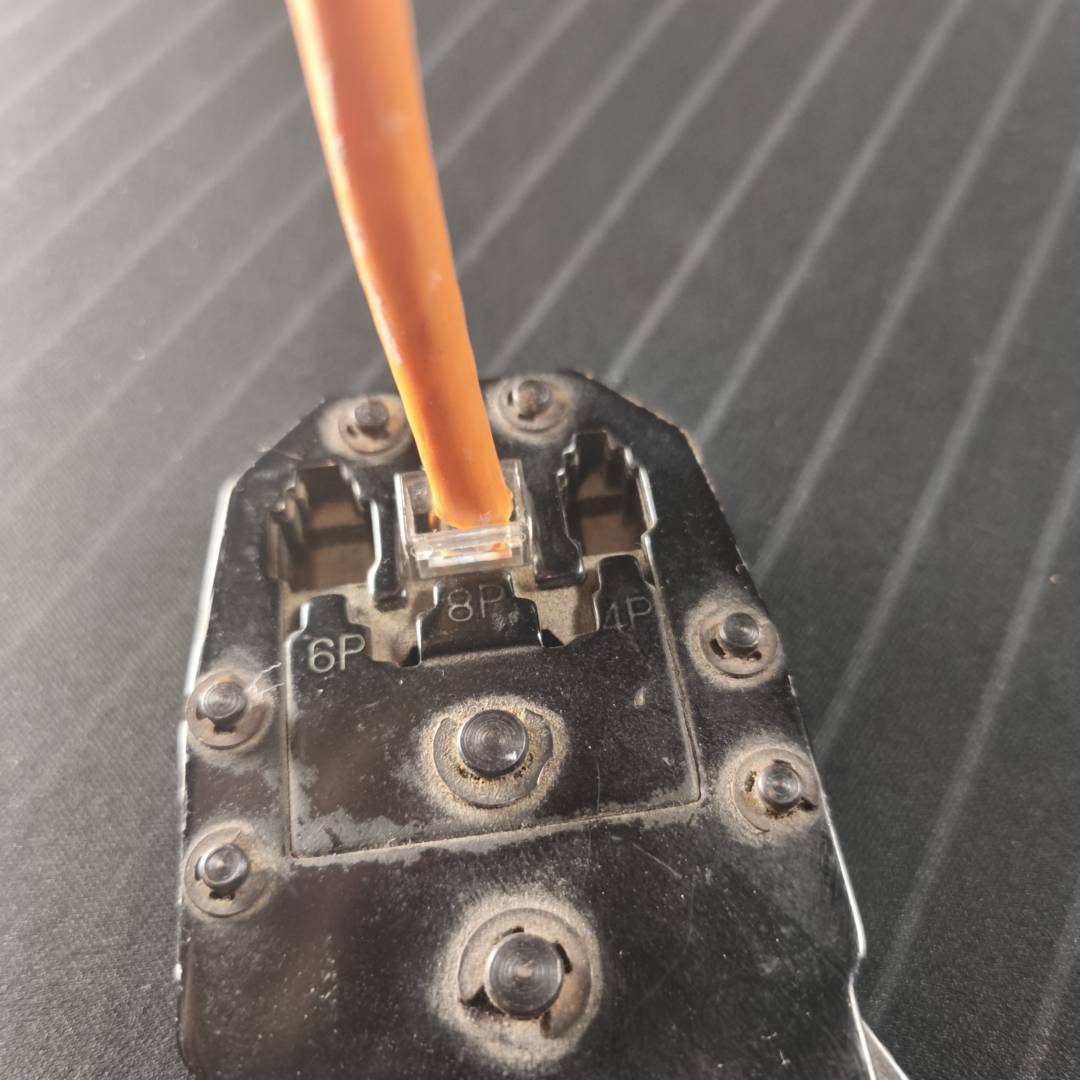
Now, put the finished connector inside your crimping tool while making sure the wires are still in place, then squeeze the handles firmly until it clicks or locks. Doing so will push the copper splicing tabs of the connector into each of the eight wires, making electrical contact while locking them in place. Note that some crimpers have multiple size openings for different connector sizes; the one you need is likely to be the largest, with eight teeth.
You now need to repeat the entire process for the connector at the other end. Once that’s done, grab your cable tester if you have one, and make sure each wire is making contact at both ends. To test your cable, simply plug one end into the main testing unit, and the other into the Remote part. Turn on the tester and monitor whether each LED lights in the same order on both plugs. If one cable end is in another room, simply go to the location where you’ve connected the receiving part of the tester (labelled Remote in the picture above) and see if the LEDs light up in order from 1 to 8.
This is mainly an electrical test, showing if there is a mistake in the wiring order or a bad connection with one of the wires. Some tools offer bandwidth tests too, but you don’t need them to test a home installation; a basic speed test or file transfer can do the trick once your PC is hooked up. Going back to our cheap tester, if one LED doesn’t light up, or any of the lights are in the wrong order, you will need to redo your connections, requiring a new plug.
Making a cable with toolless connectors
Using toolless connectors are much easier. You simply insert the plastic nut into your cable before stripping the outer jacket, then untwist the pairs.
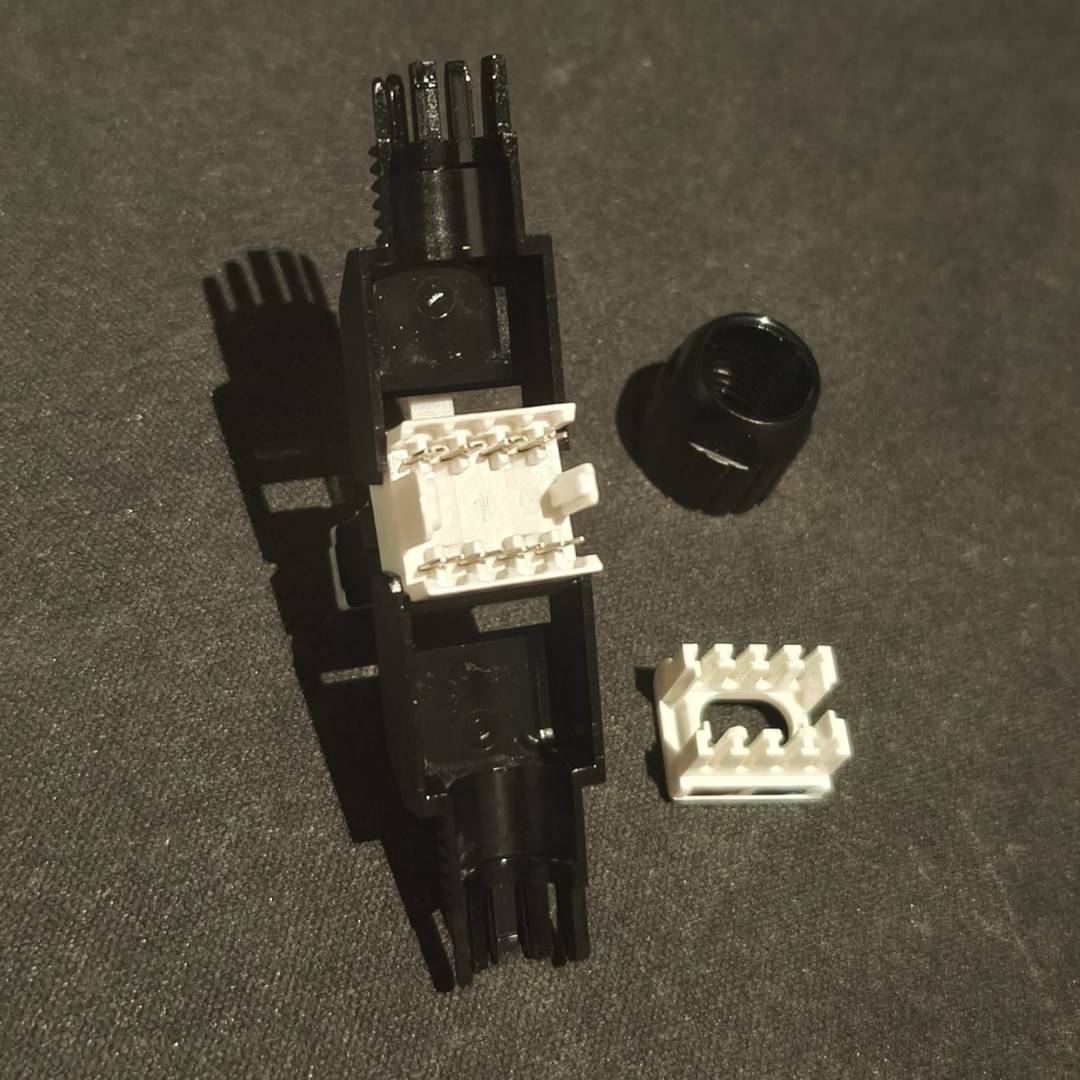
Arrange the eight wires in their colour-matching positions on the included holder and push them down so they’re locked in place. Note that, depending on the model you bought, you may need to insert your cable into the wire holder before positioning each wire.
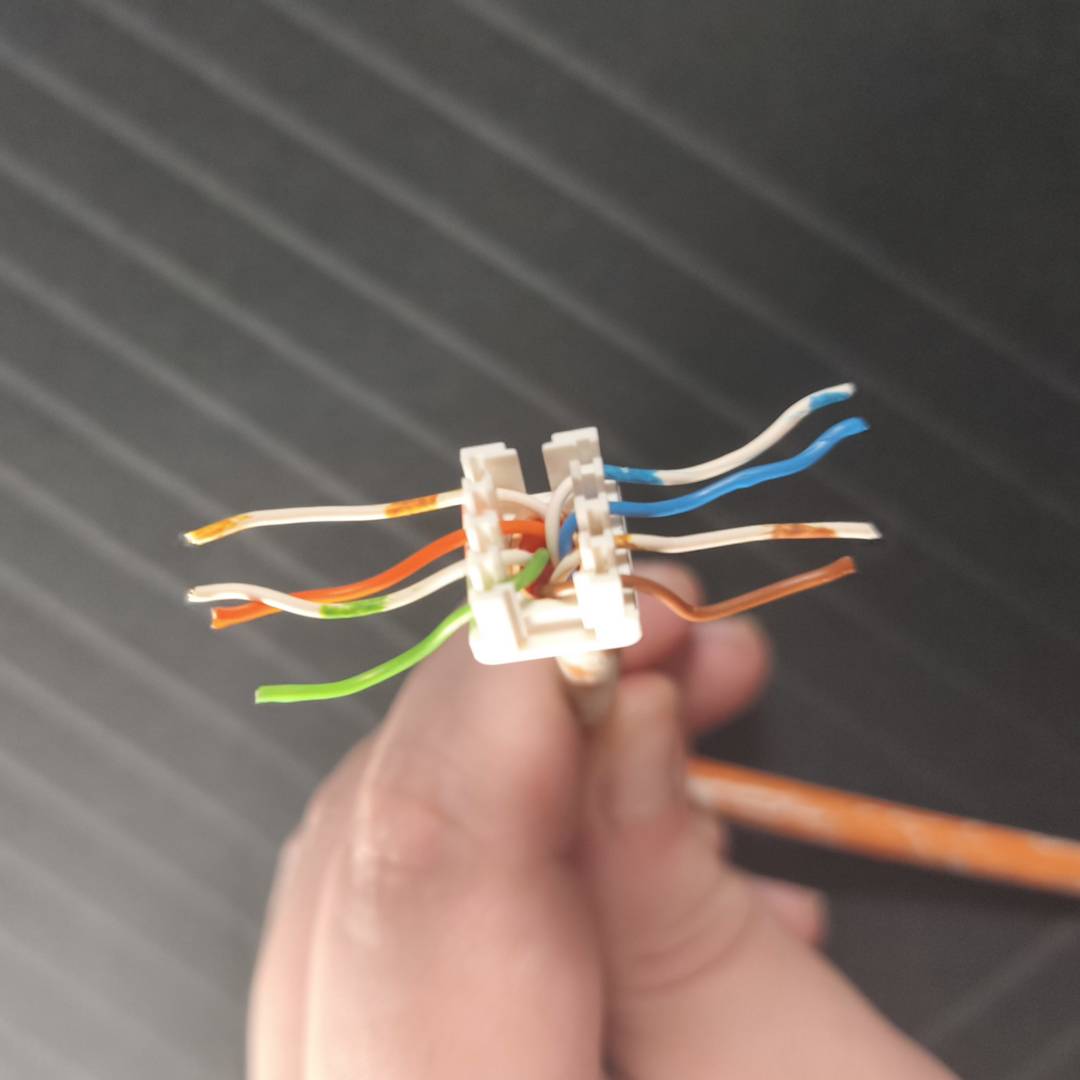
Your next job is to trim any excess wire protruding from the holding pins, wither using a cutting tool or a sharp knife.
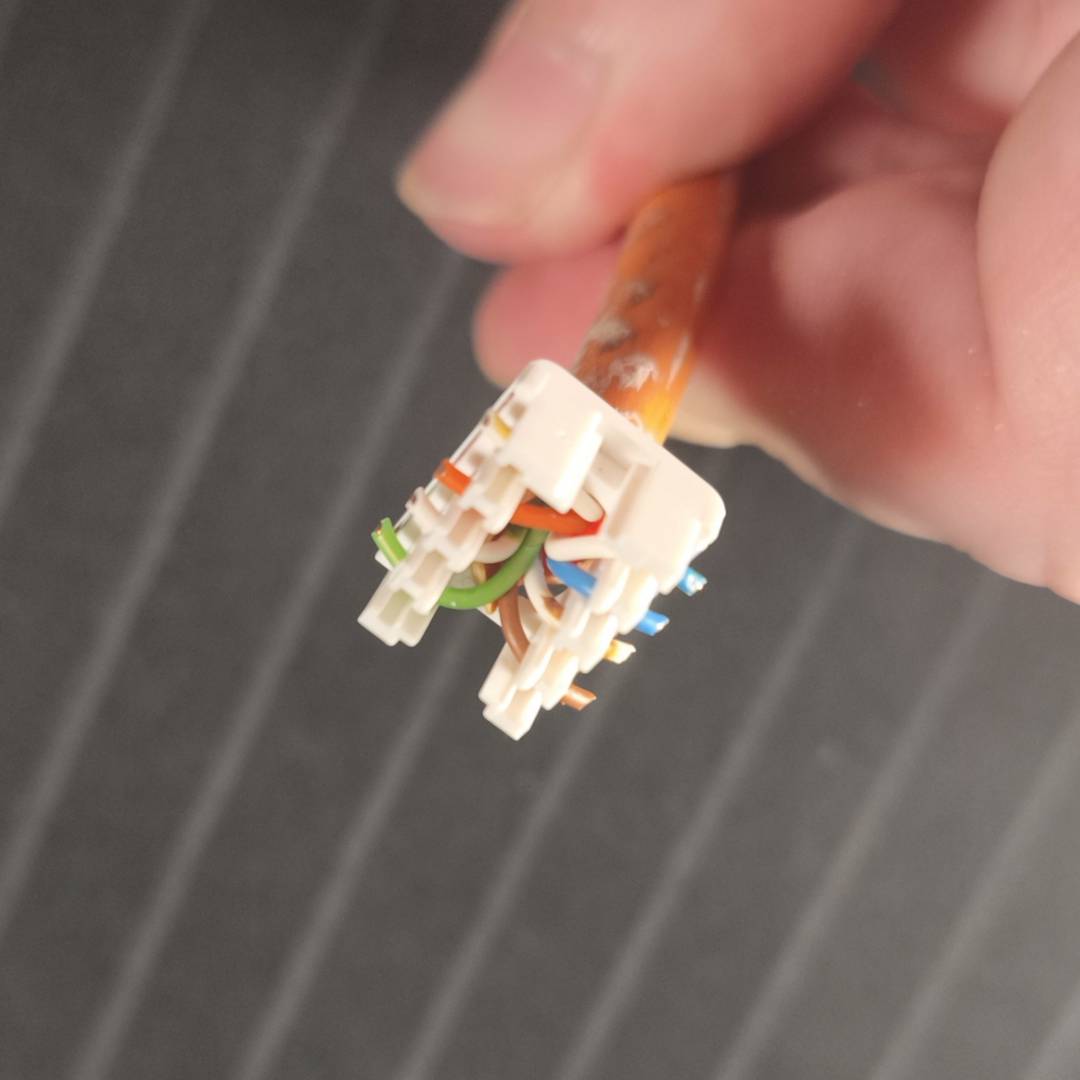
Next, slot your connector into the plastic wire holder and push it firmly into place – it will only fit if it’s the right way round. The locking mechanism may vary from one connector model to another, but it’s basically like LEGO; you should be fine.
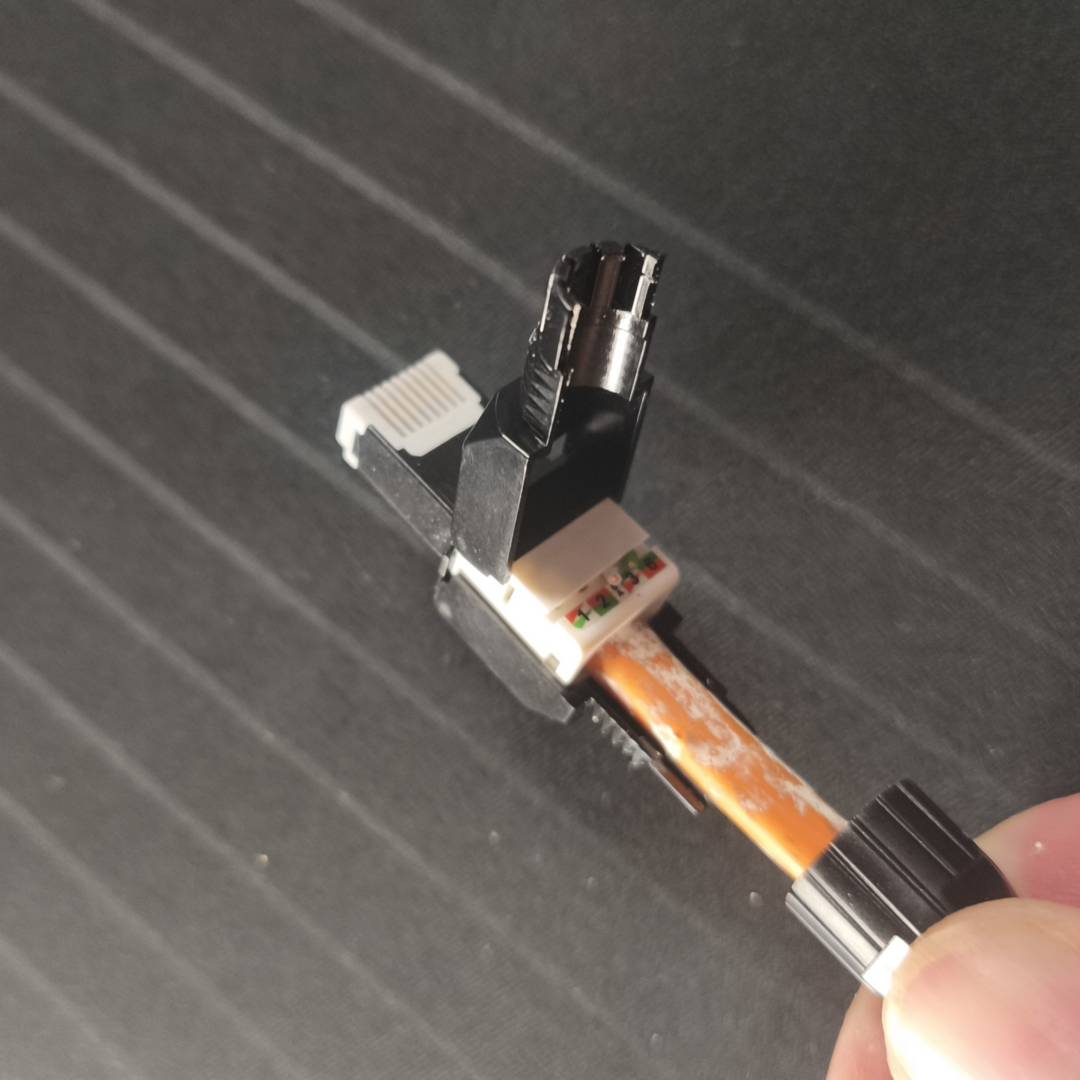
All that’s left is to screw the nut/cap in place and test the cable if you have the gear for it. As you can see, this is much easier than using the traditional method with crimpers. Now, it’s just a matter of doing it again on the other cable end of your cable.
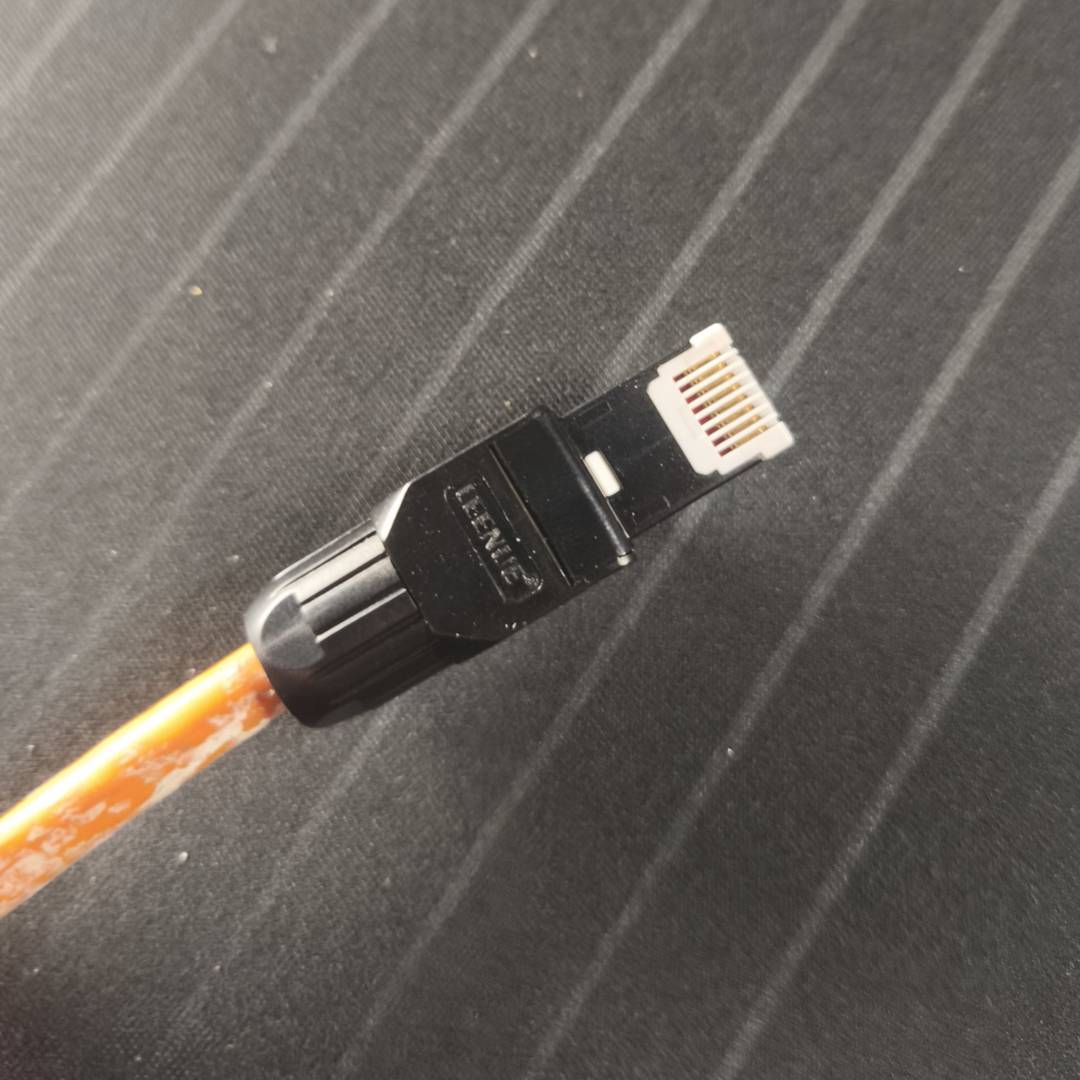
Whether you opted for the good old fashioned closed connectors, some new pass-through plugs, fancy toolless designs, or a mix, you should now have a functioning cable. Get your gear all hooked up and enjoy your fast wired network.
If you’re thinking about making the jump to a faster network, check out our full feature on the benefits of 10GbE Ethernet, as well as our NAS vs cloud explainer.