
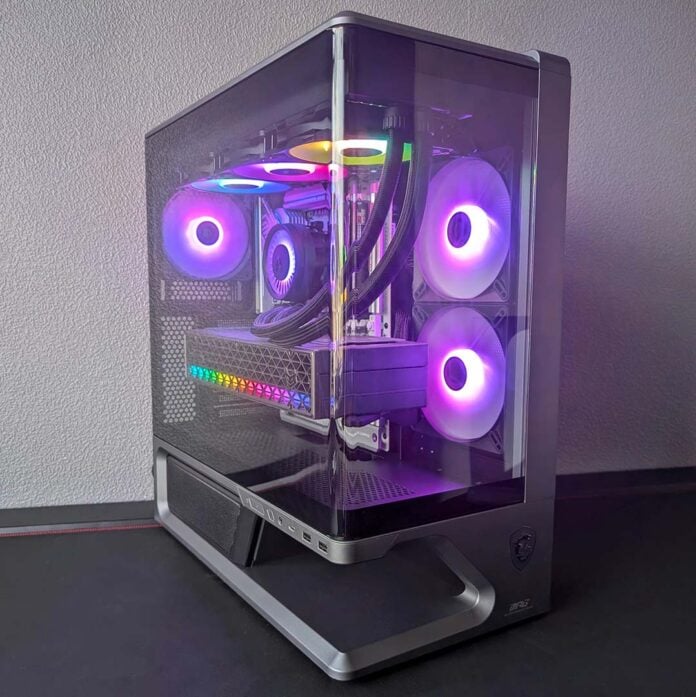
MSI has delivered something a little different with its latest case, the MPG Vixta 300R PZ, featuring a floating base design that the firm claims can elevate airflow beyond typical tempered glass offerings. This approach tweaks the space available to the power supply, giving the chassis a distinct and undeniably attractive appearance combined with a number of other tasteful touches.

MSI Vixta 300R PZ
£119 / $129
Pros
- Tasteful aesthetics
- Built-in fan & RGB hubs
- Three A-RGB fans included
- Solid airflow
- White version available
Cons
- Tight PSU chamber
- Fiddly GPU Holder
Club386 may earn an affiliate commission when you purchase products through links on our site.
How we test and review products.
As one might expect from an MPG product, the Vixta 300R PZ is geared for high-end builds and starts at £119 / $129. While the black or white tempered glass models of the Vixta cost the same, there is an alternative mesh design which carries an additional £10 / $10 premium.
Specifications
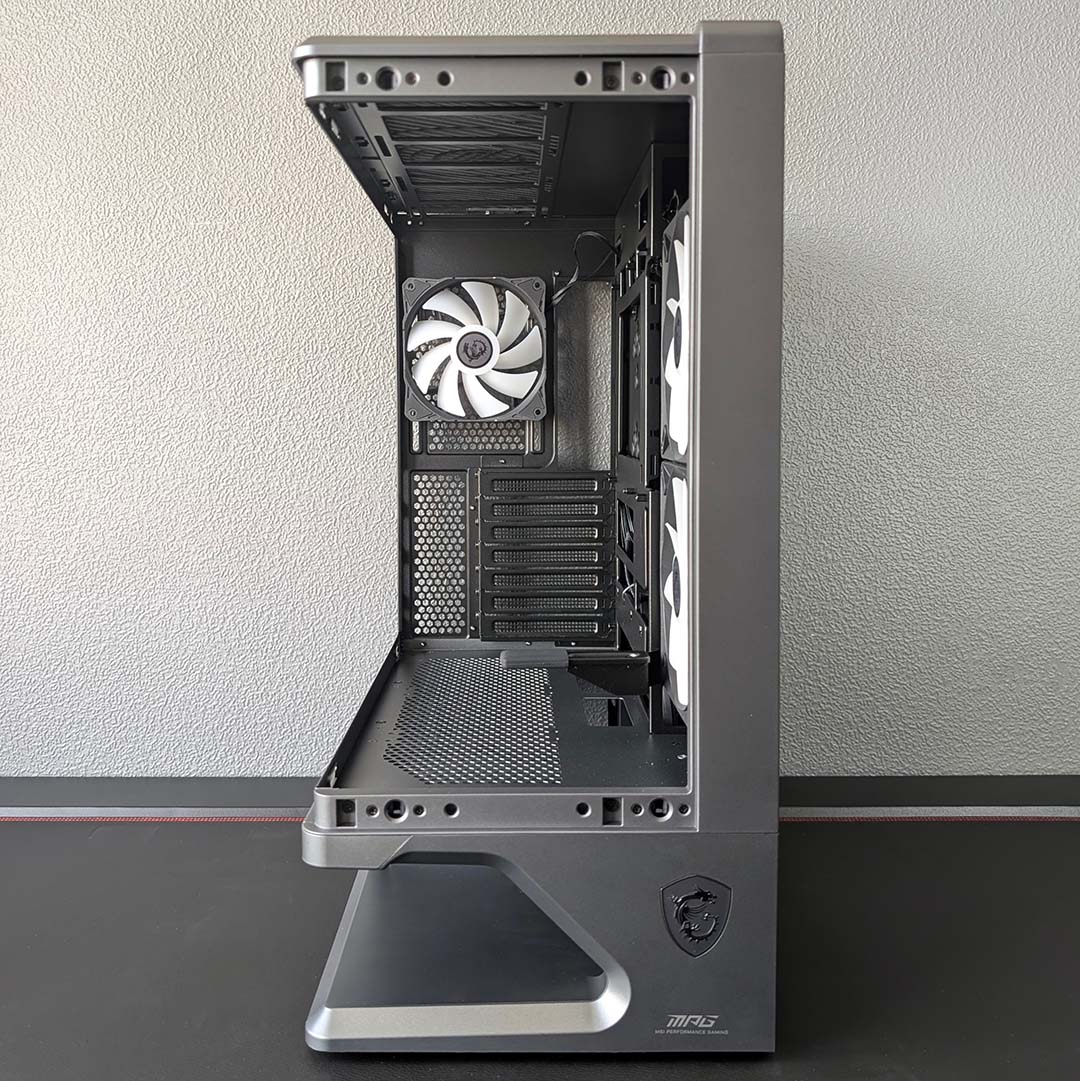
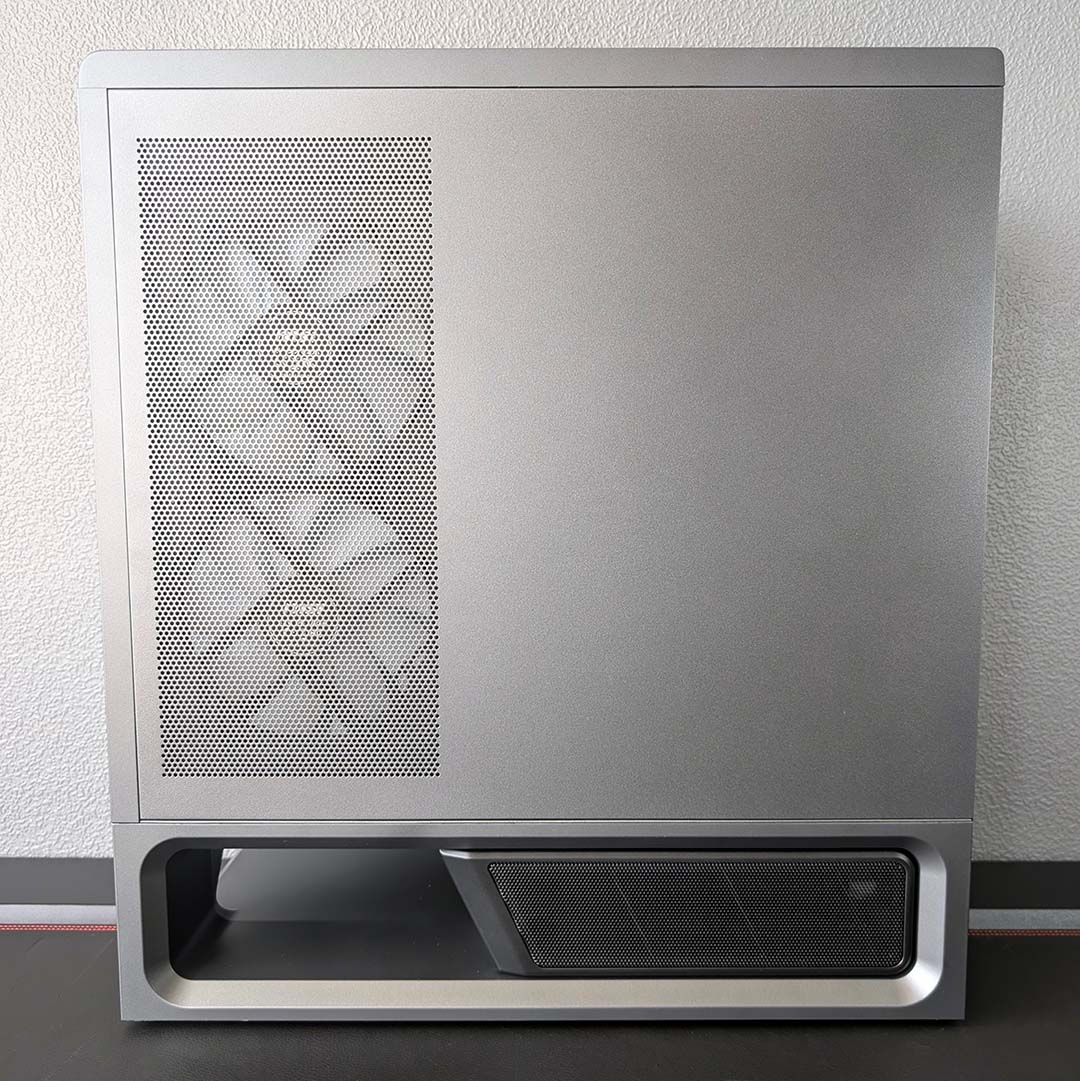
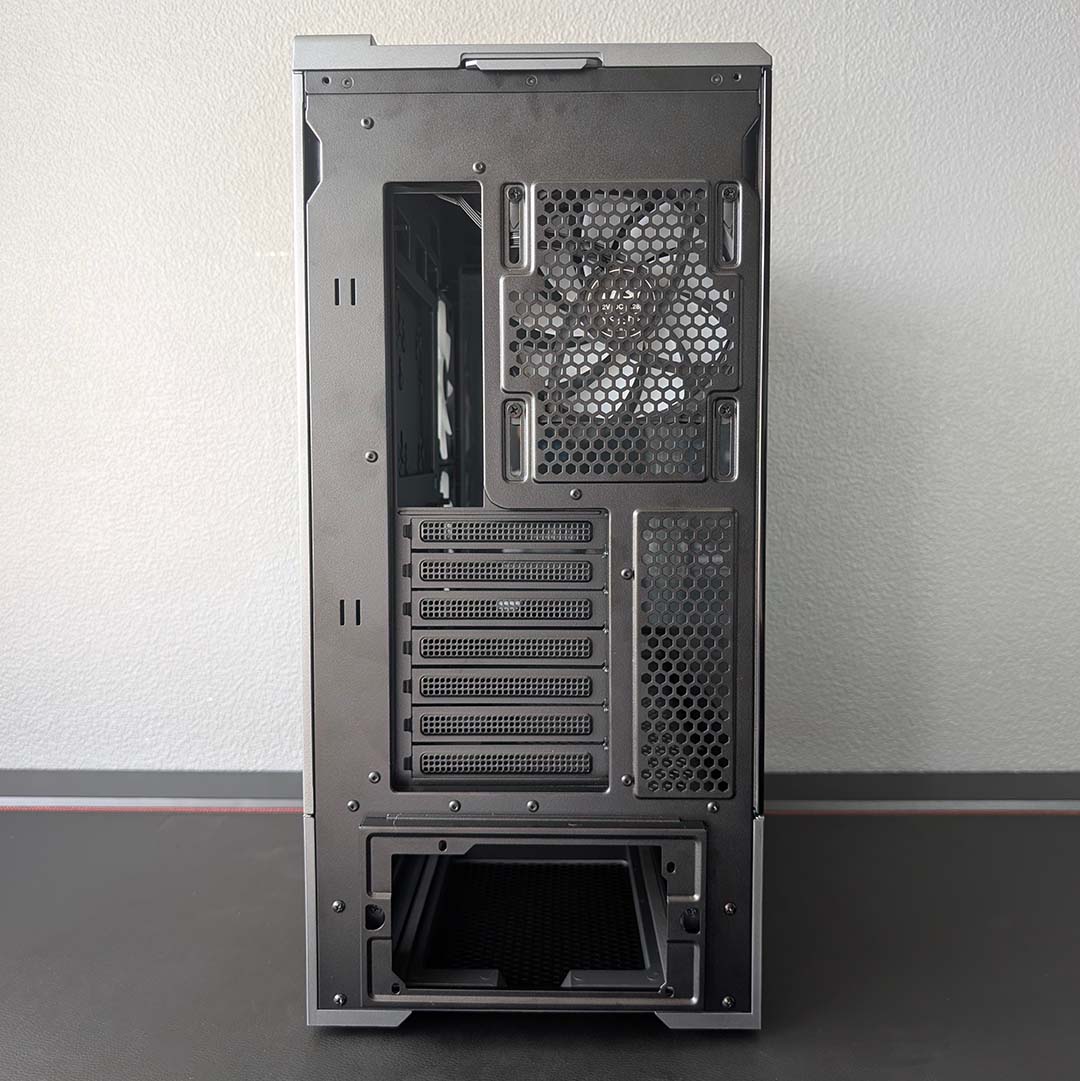
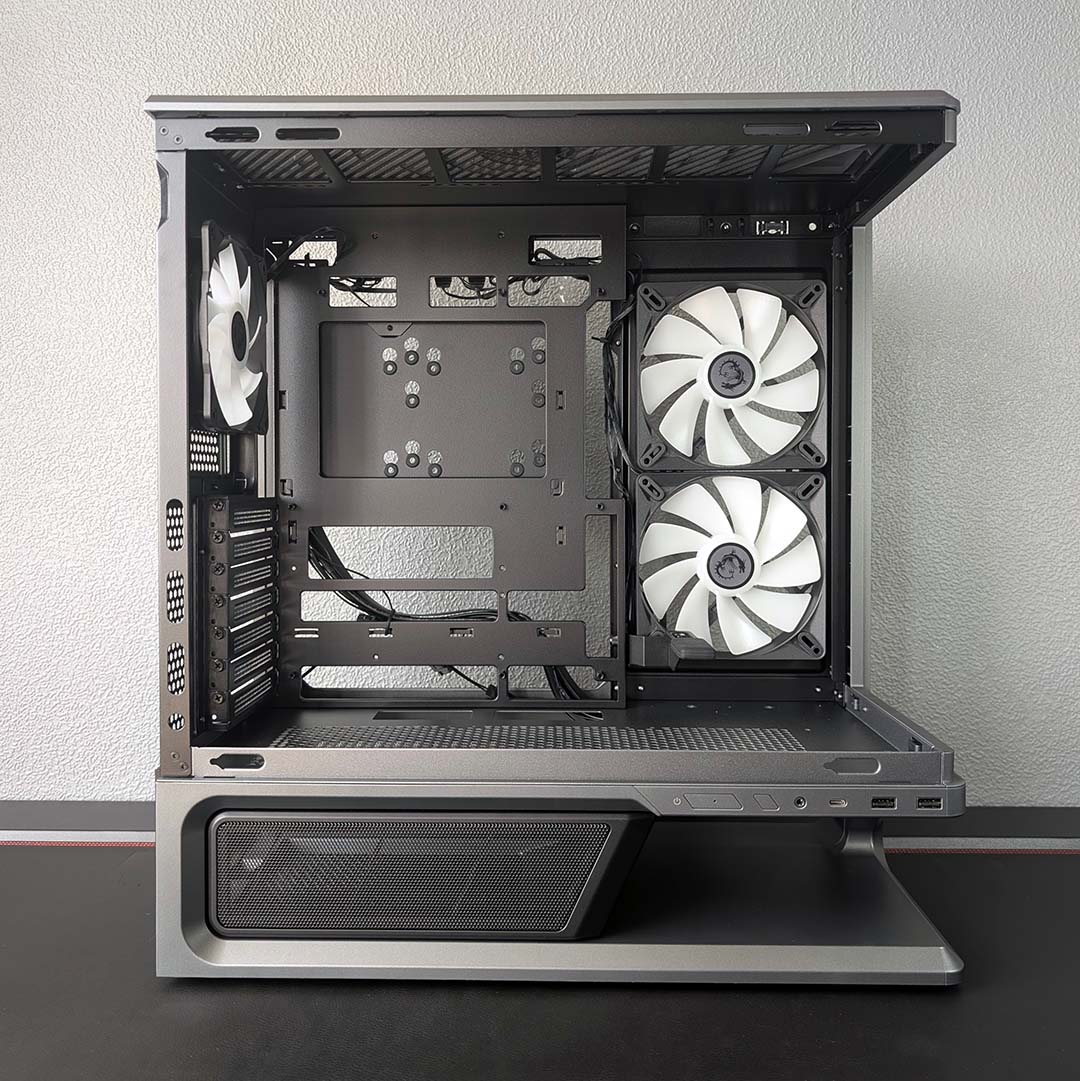
Standing at a relatively tall 497mm, the MPG Vixta 300R PZ has a surprisingly commanding yet elegant aura. However, MSI keeps dimensions trim elsewhere, with a 235mm width and 455mm depth. This gives the case a total volume of ~53 litres, just a touch smaller than the likes of Endorfy’s Fishtank 6000 Corona.
There’s not enough room in the main chamber to support eATX motherboards, but you’ll be able to fit ATX, Micro-ATX, and Mini-ITX models without any fuss. As a ‘PZ’ (Project Zero) case, the internal frame naturally features a wealth of cut outs for back-connect boards, but front-facing headers will slot in just fine too.
| Specifications | MSI MPG Vixta 300R PZ |
|---|---|
| Dimensions (H x W x D) | 497 × 235 × 455mm |
| Motherboard support | ATX, Micro-ATX, Mini-ITX |
| Back-connect compatible | Yes |
| Fan support | Bottom: 120mm (x3) Rear: 120mm (x1) Side: 120mm/140mm (x2) Top: 120mm (x3) |
| Radiator support | Rear: 120mm Side: 120/240mm Top: 120/240/360mm |
| CPU cooler height | ≤165mm |
| PSU length | ≤190mm |
| Graphics card length | ≤420mm |
| Connections | 3.5mm audio-out/mic-in (x1) USB-A 5Gb (x2) USB-C 20Gb (x1) |
| Drive bays | 2.5in (x1) 2.5/3.5in (x1) |
| Warranty | Two years |
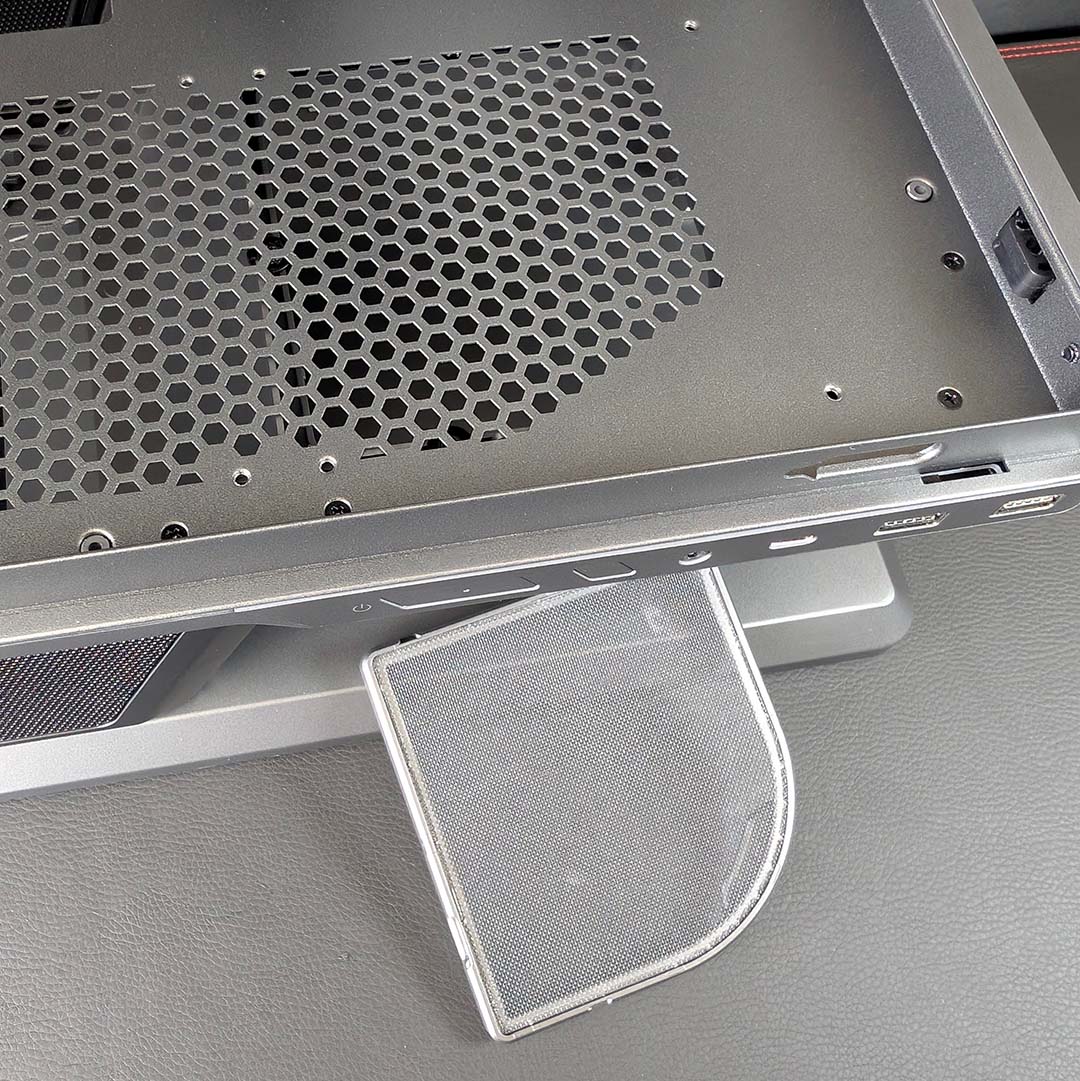
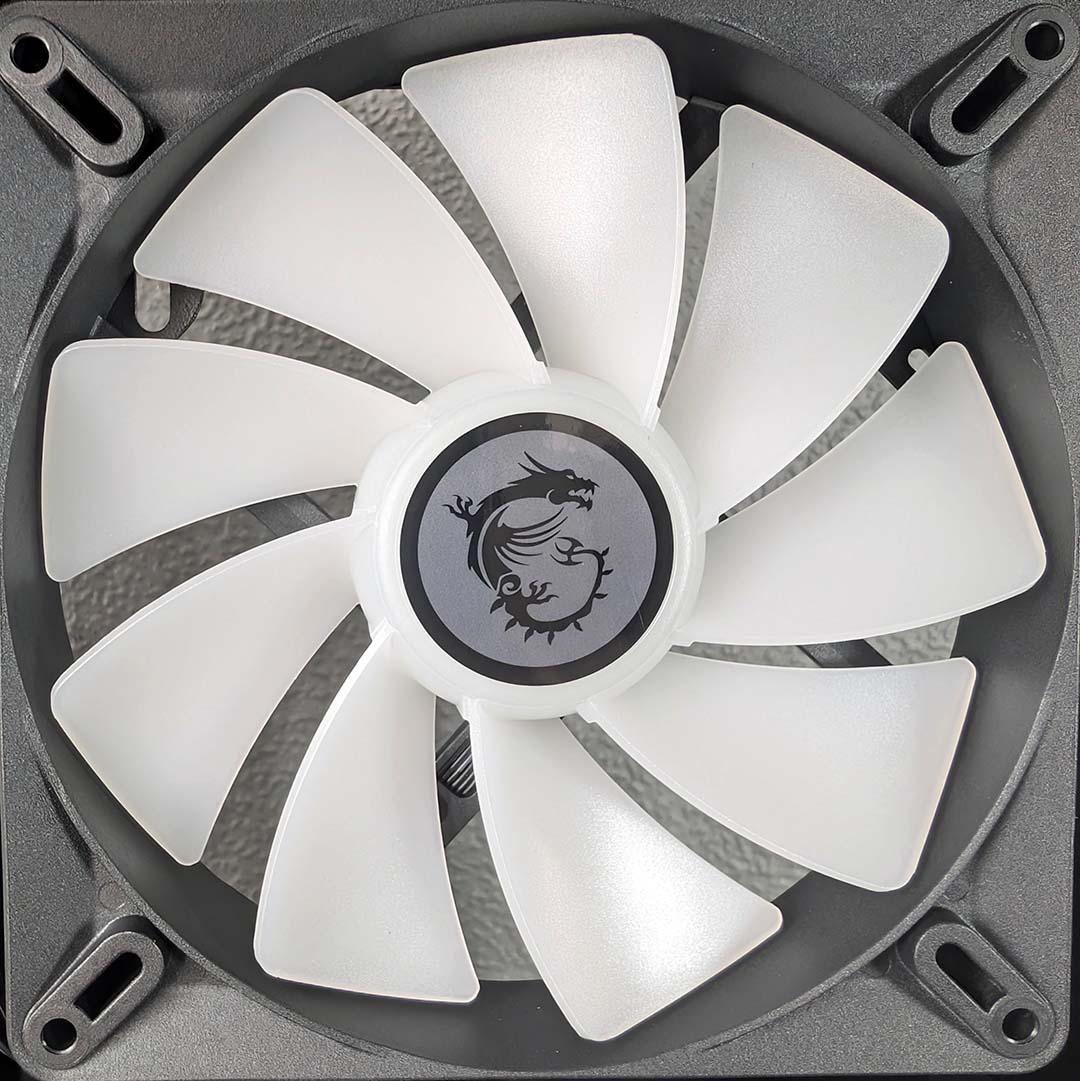
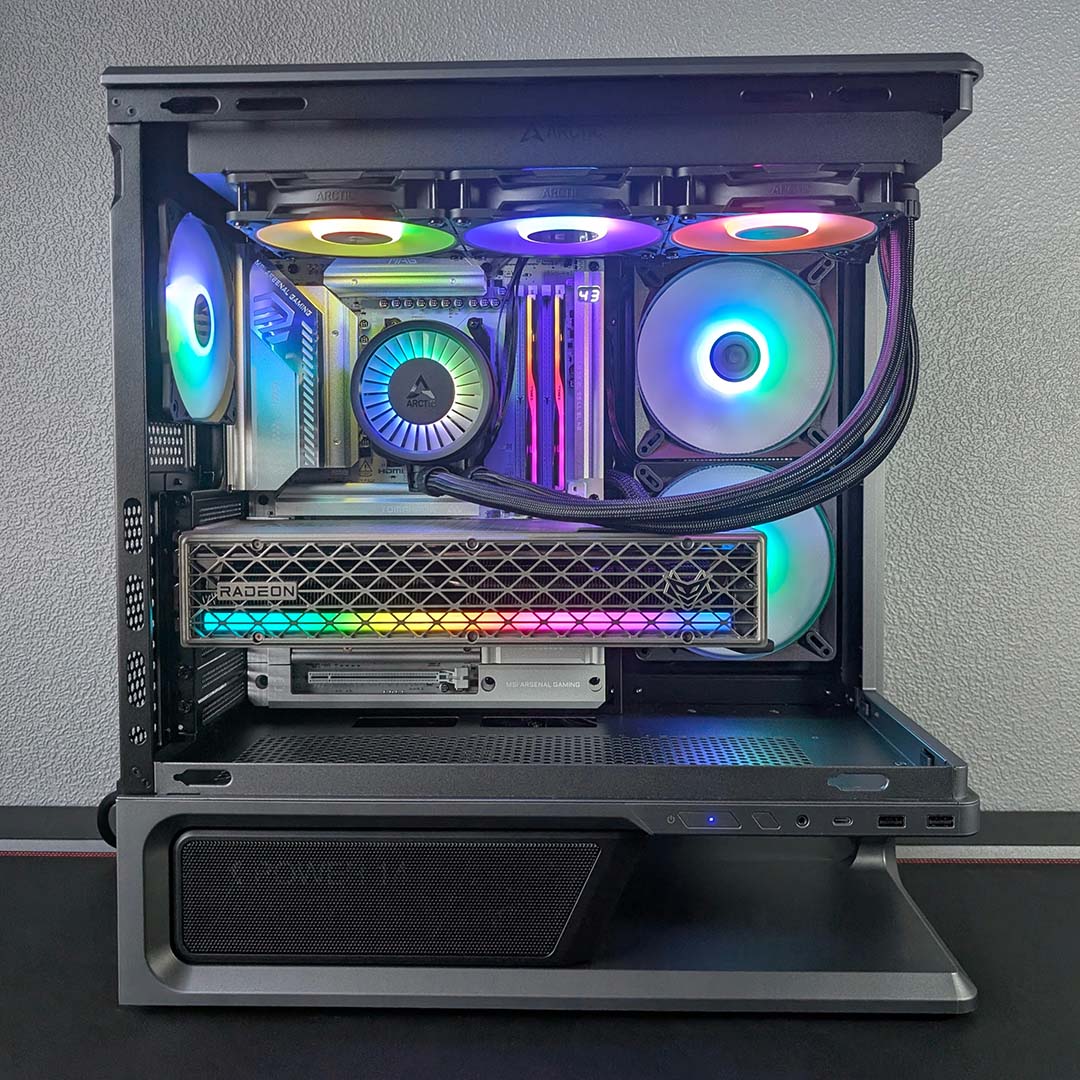
For all the fuss MSI kicks up about improving airflow via the case’s floating base design, the company doesn’t actually include any bottom fans to maximise this potential, but does provide a removable dust filter. This feels like quite the missed opportunity. Instead, you’ll find two 140mm reverse blade intakes on the side and a single 120mm exhaust, all with A-RGB LEDs.
Building up from this stock trio, there’s room to expand airflow via another three 120mm fans along the bottom of the main chamber, as well as three more along the top. That makes for nine blowers in total, giving the MPG Vixta 300R PZ impressively high airflow potential for a chassis this size.
Those that prefer air CPU cooling have 165mm of clearance to play with. This does mean the beefiest options on the market are off the table, but you can still throw a be quiet! Dark Rock 6 and similarly competent coolers into the case with millimetres to spare.
In terms of water cooling, you can outfit the main chamber with either a 120, 240, or 360mm along the top of the case, with room to install a 120mm on the rear and either a 120 or 240mm on the side. There’s sadly no official support for 140mm blocks in this setup.
Graphics card clearance clocks in at a healthy 420mm, meaning you’ll have no trouble fitting in the meatiest pixel pushers on the market. While the MPG Vixta 300R PZ does support vertical mounting, you’ll need to purchase any mounting kits separately.
Both the top and rear chamber side panels are removable sans any tools, marrying to the frame via ball-peg joints. Meanwhile, the L-shaped tempered glass requires the removal of a single screw that hides underneath the top panel. This does make access a touch fiddly, but it’s a drawback I’m willing to accept for a more secure fit on the glass.
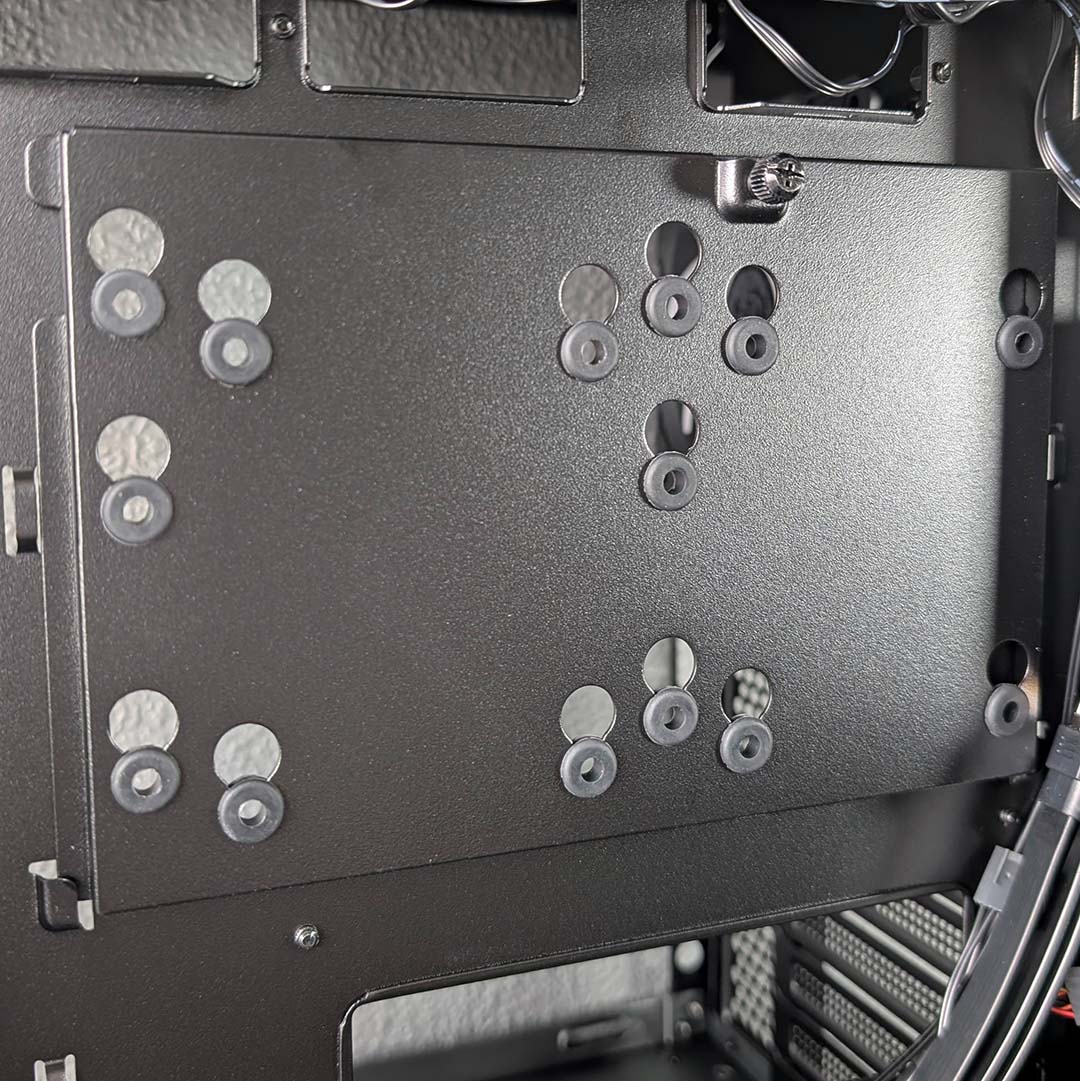
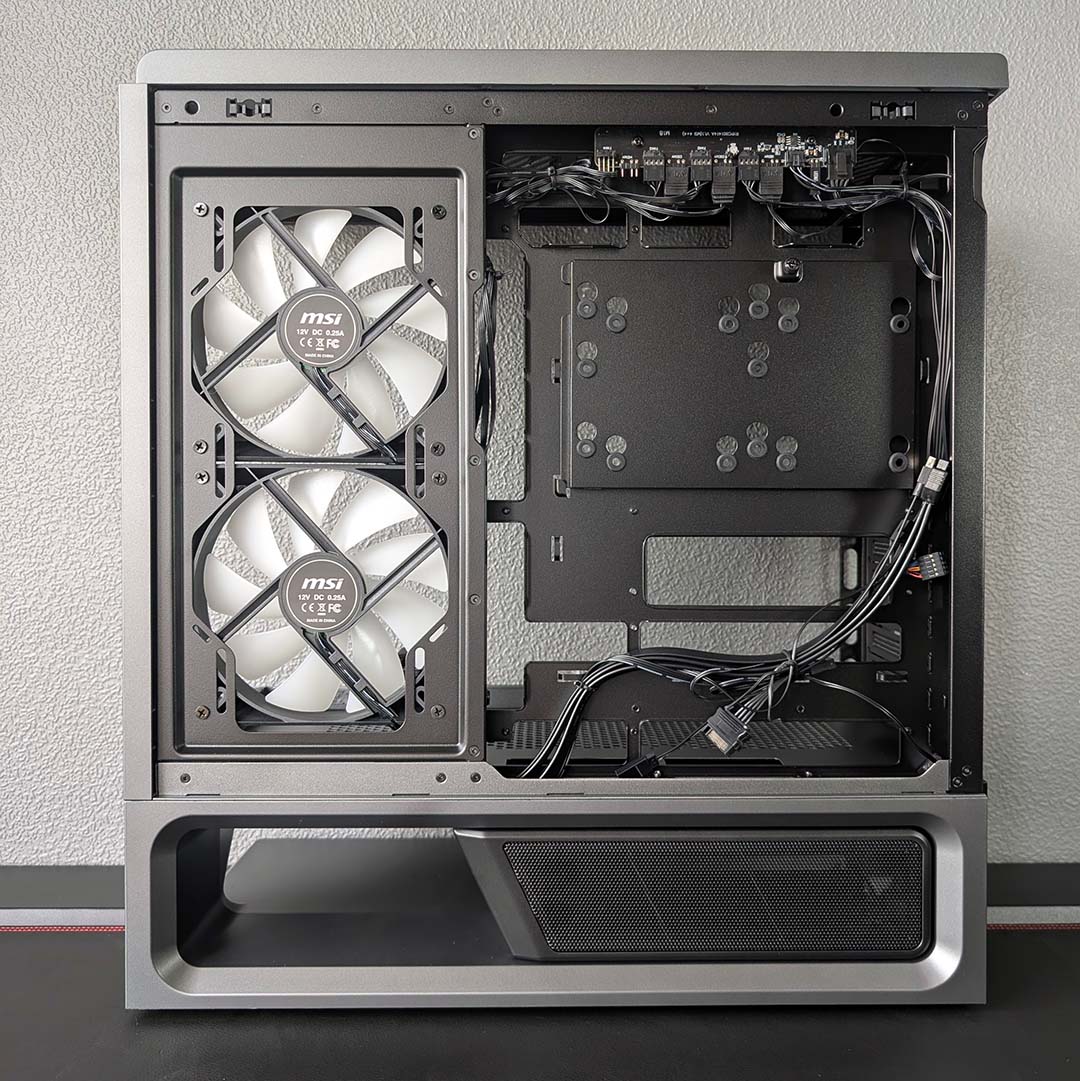
Popping off the rear panel reveals the case’s removable SATA drive bracket, which sits just behind the CPU socket. You can either fit two 2.5in SSDs to this tray, or swap one of those out for a 3.5in HDD.
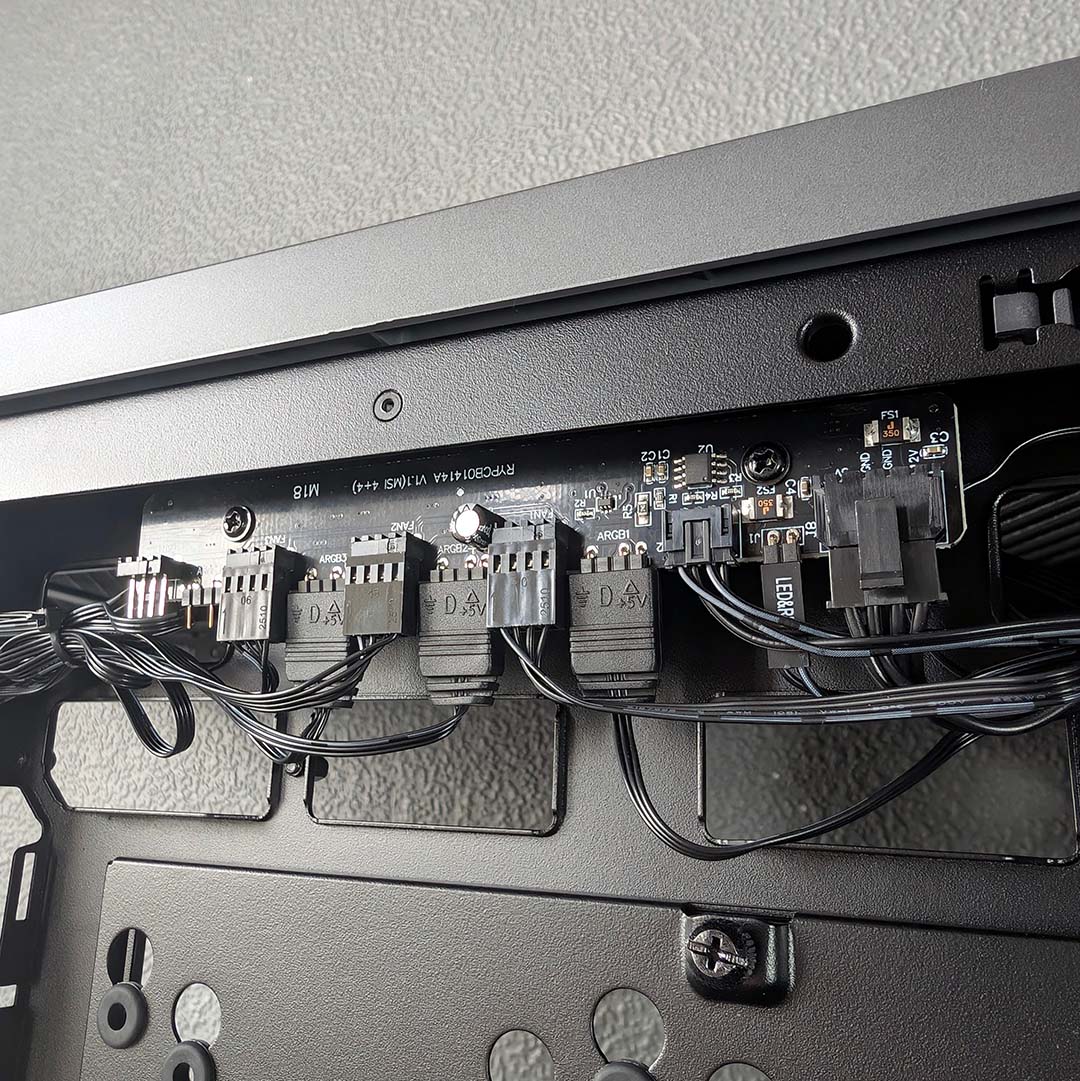
MSI places built-in fan and ARGB hubs towards the top of the MPG Vixta 300R PZ. There’s only one remaining free header for each connection type on the board, but it’s a nice-to-have that helps make overall cable management simpler.
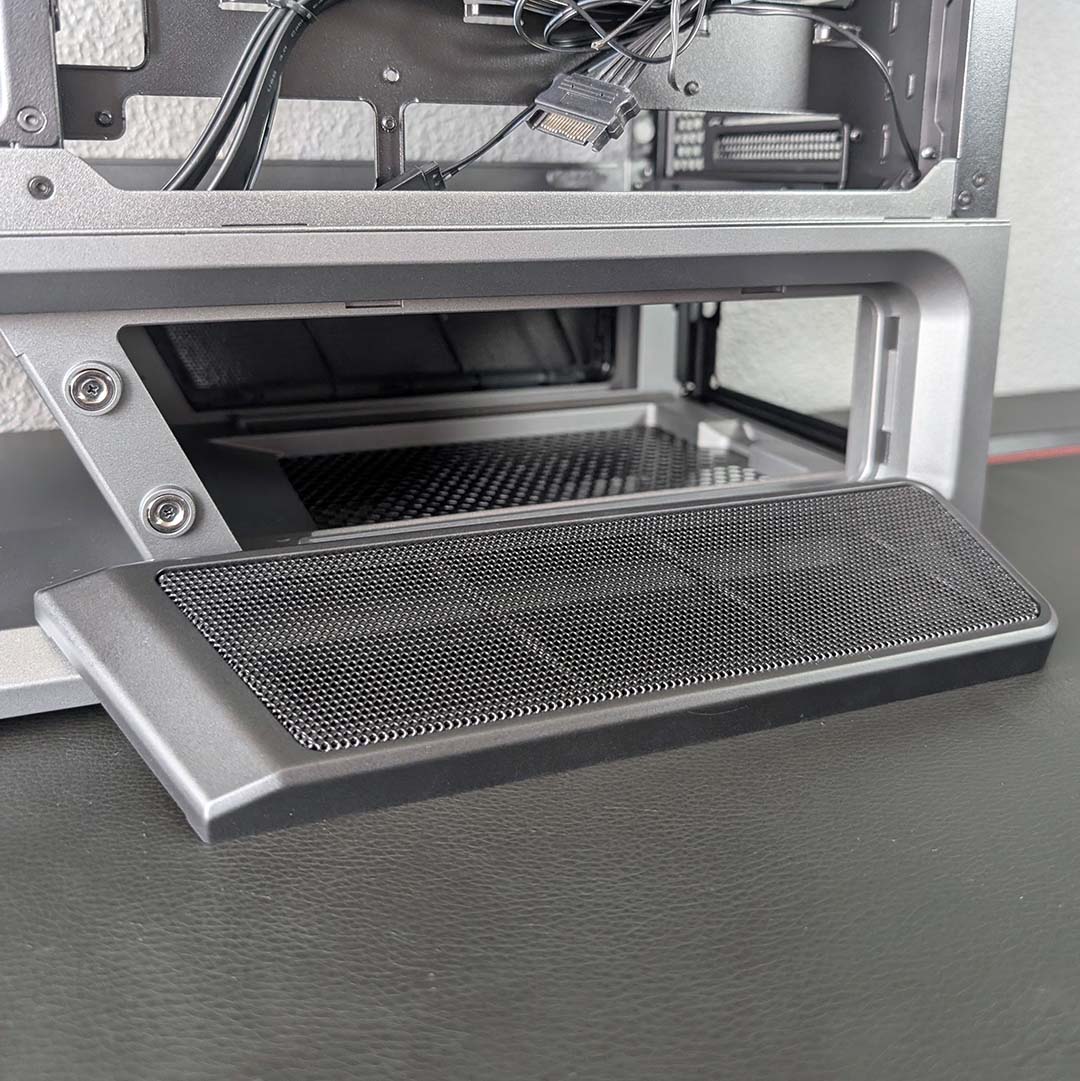
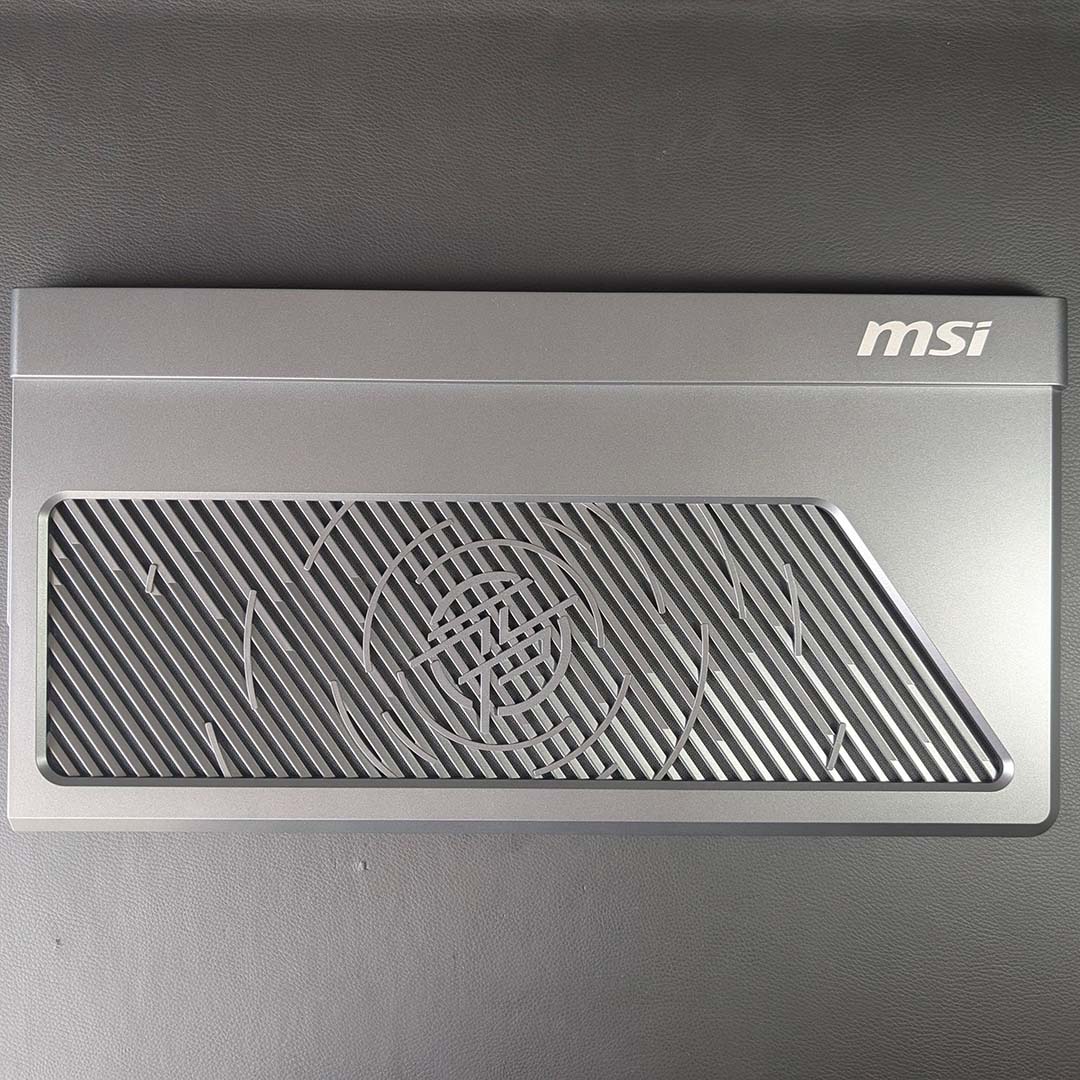
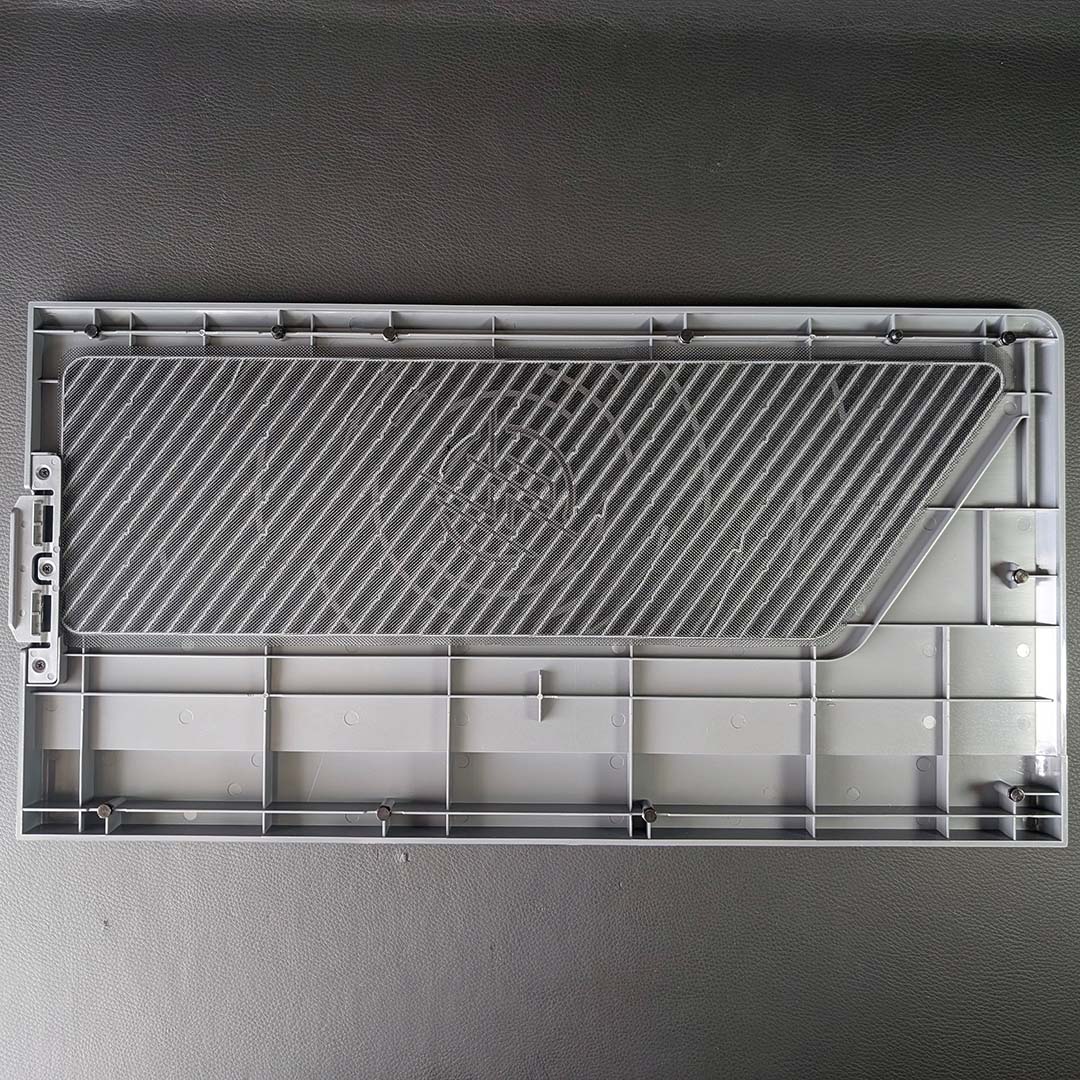
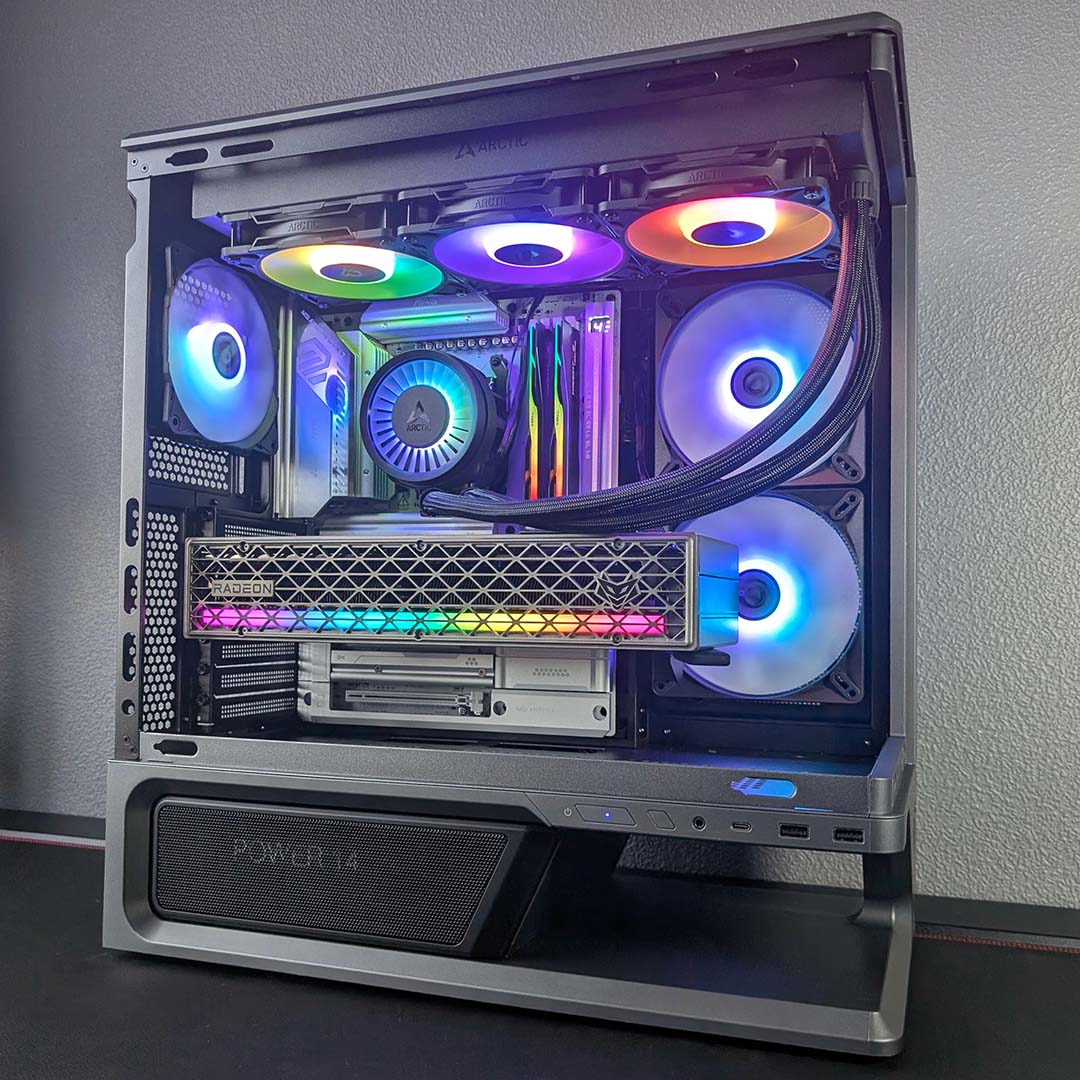
A lack of conventional base requires novel access to the power supply chamber by way of two magnetic covers either side of the case, which snap all the more satisfyingly and securely via two plastic teeth. Perforations allow for passive airflow, while also giving a peek at your PSU.
ATX power supplies will fit into this snug, but maximum length tops out at 190mm. This means there’s enough room for many high capacity power supplies, like our own be quiet! Dark Power 14, but does rule out some larger models.
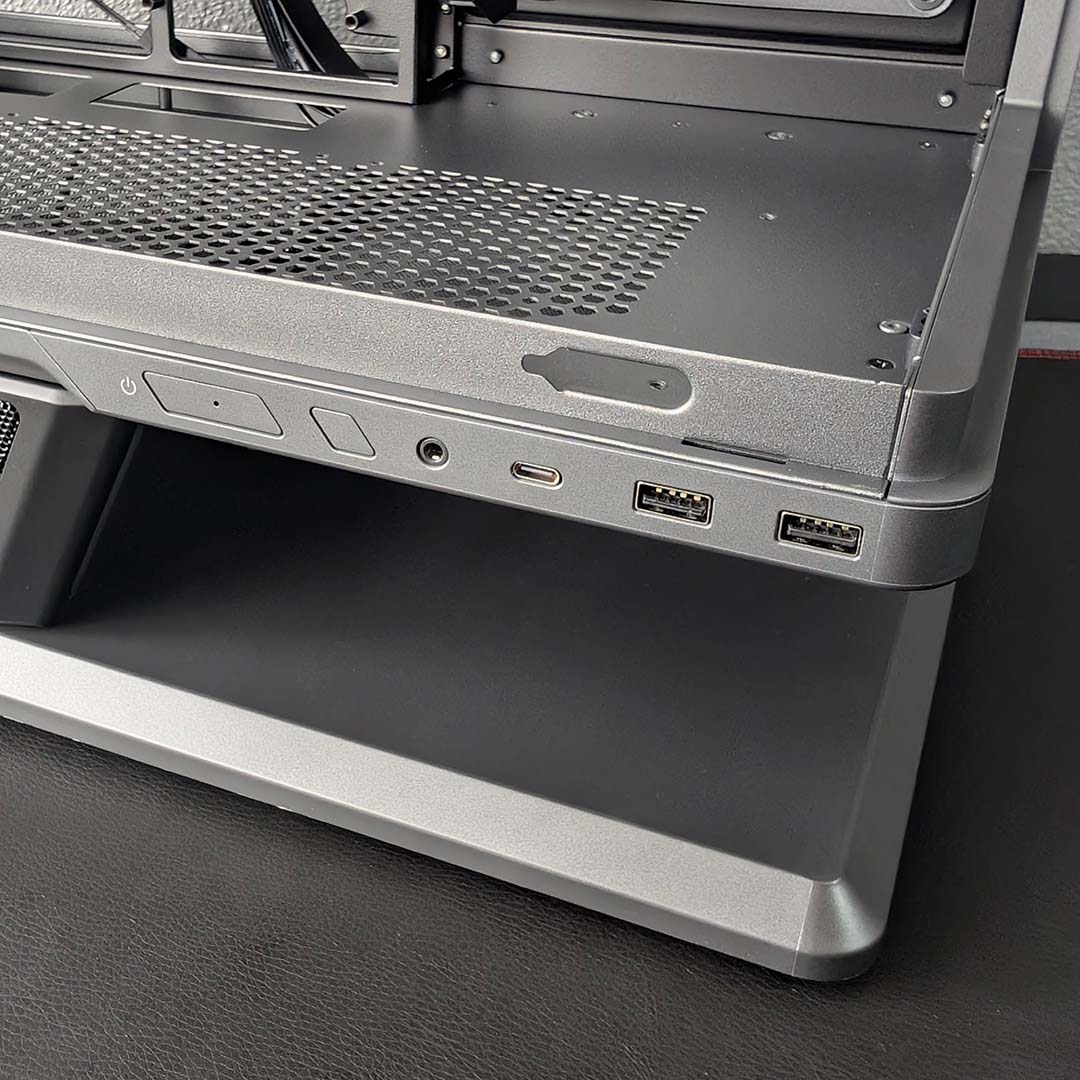
Front I/O sits on the side of the case, just above the gap in the base which is practically begging for a figurine or two to sit in. There are two 5Gb USB-As and a lone 20Gb USB-C ready to receive peripherals and providing plenty of easy-to-access bandwidth. There’s also a convenient audio-out/mic-in port for those still using wired 3.5mm cans.
Finally, the MPG Vixta 300R features an LED button in place of a classic reset switch. Pressing the slanted square will cycle through preset colour effects across fans connected to the built-in hubs. However, I’d recommend holding for a few seconds instead, which will sync everything up with your motherboard.
Test components
Putting together a traditional system inside a case that MSI has specifically built to accommodate back-connect motherboards is possible, but feels wrong. As such, I’ve swapped out our usual LGA1851 testing setup for a PZ AM5 motherboard, complete with the most-powerful processor available for the platform.
I’ll be discussing what it’s like to build a back-connect system inside the MPG Vixta 300R PZ, as well as exploring how noise levels and acoustics stack up. Here’s a list of the components I’ll be using:
- CPU: AMD Ryzen 9 9950X3D2 Dual Edition
- Cooler: Arctic Liquid Freezer III Pro 360 A-RGB
- RAM: G.Skill Trident Z5 Neo RGB DDR5-6000 CL28 32GB
- Motherboard: MSI MAG X870E Tomahawk Max WiFi PZ
- GPU: Sapphire Nitro+ Radeon RX 9070 XT
- SSD: WD_Black SN8100 2TB
- PSU: be quiet! Dark Power 14 1,200W
Build experience
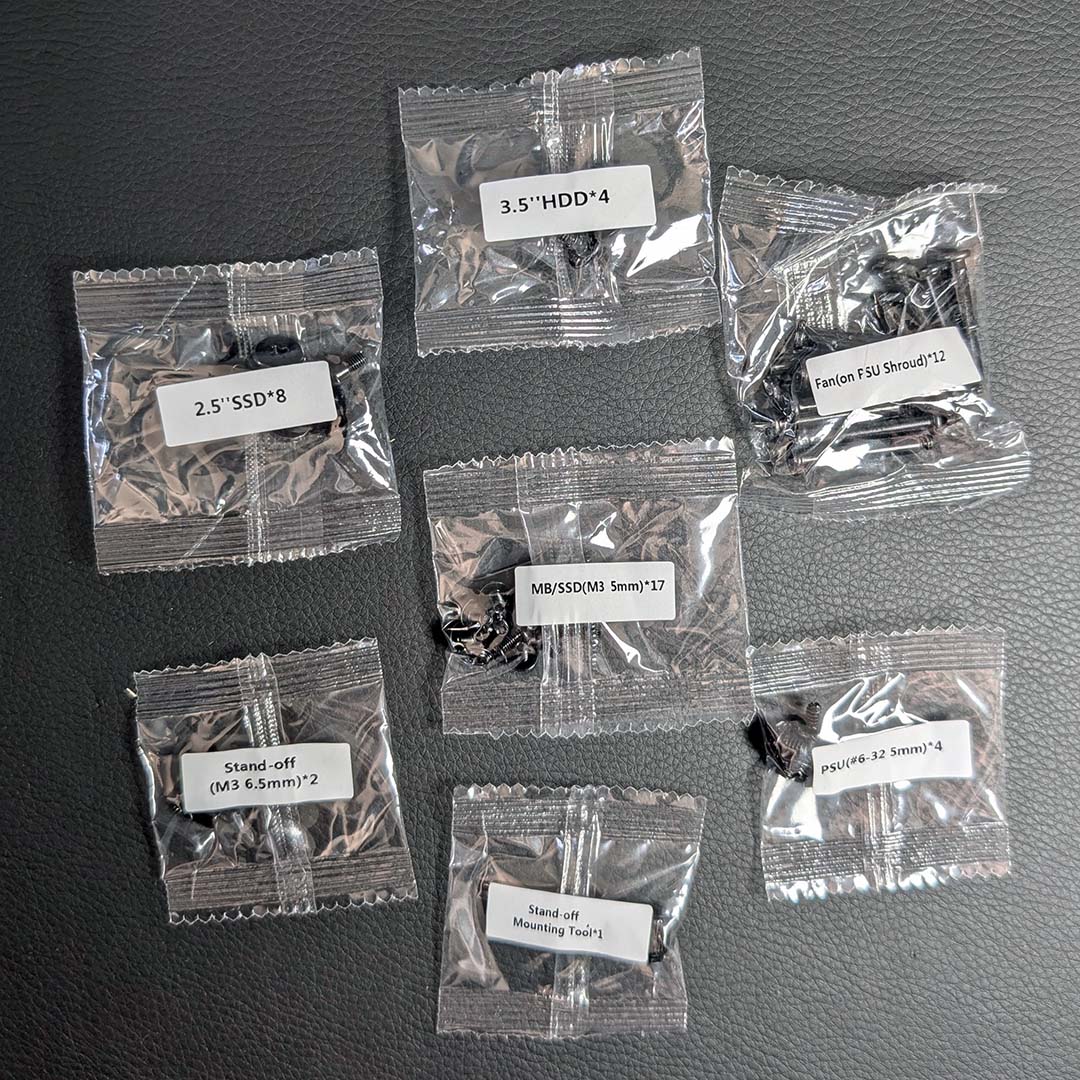
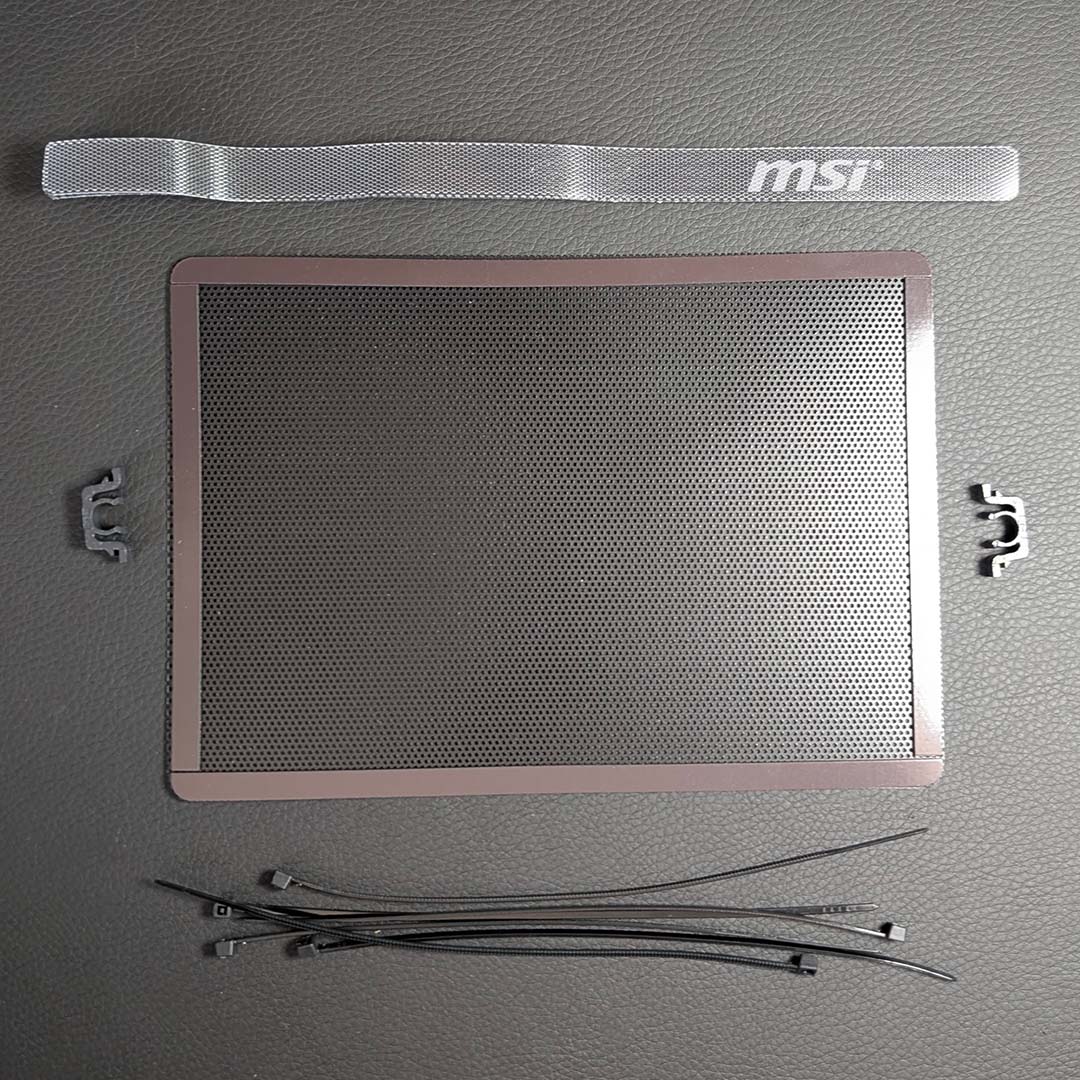
Before cracking open any component boxes, I first unpack the case’s bundle of accessories. These arrive unceremoniously tucked away in the chassis’ foam packaging in a slim cardboard box, so prospective buyers would do well not to miss them.
Inside a resealable bag, we have individual non-resealable bags for each of the chassis’ screws. MSI does make sorting through the collection easier with distinct labels for each type, so you spend less time faffing and can get to building all the quicker.
The remainder of the assortment is standard fare, with six cable ties, two Velcro straps, two U clips, and an optional magnetic dust filter. MSI isn’t the only one guilty of this, but I wish manufacturers would scrap plastic cable ties altogether in favour of Velcro, for the sake of reusability.
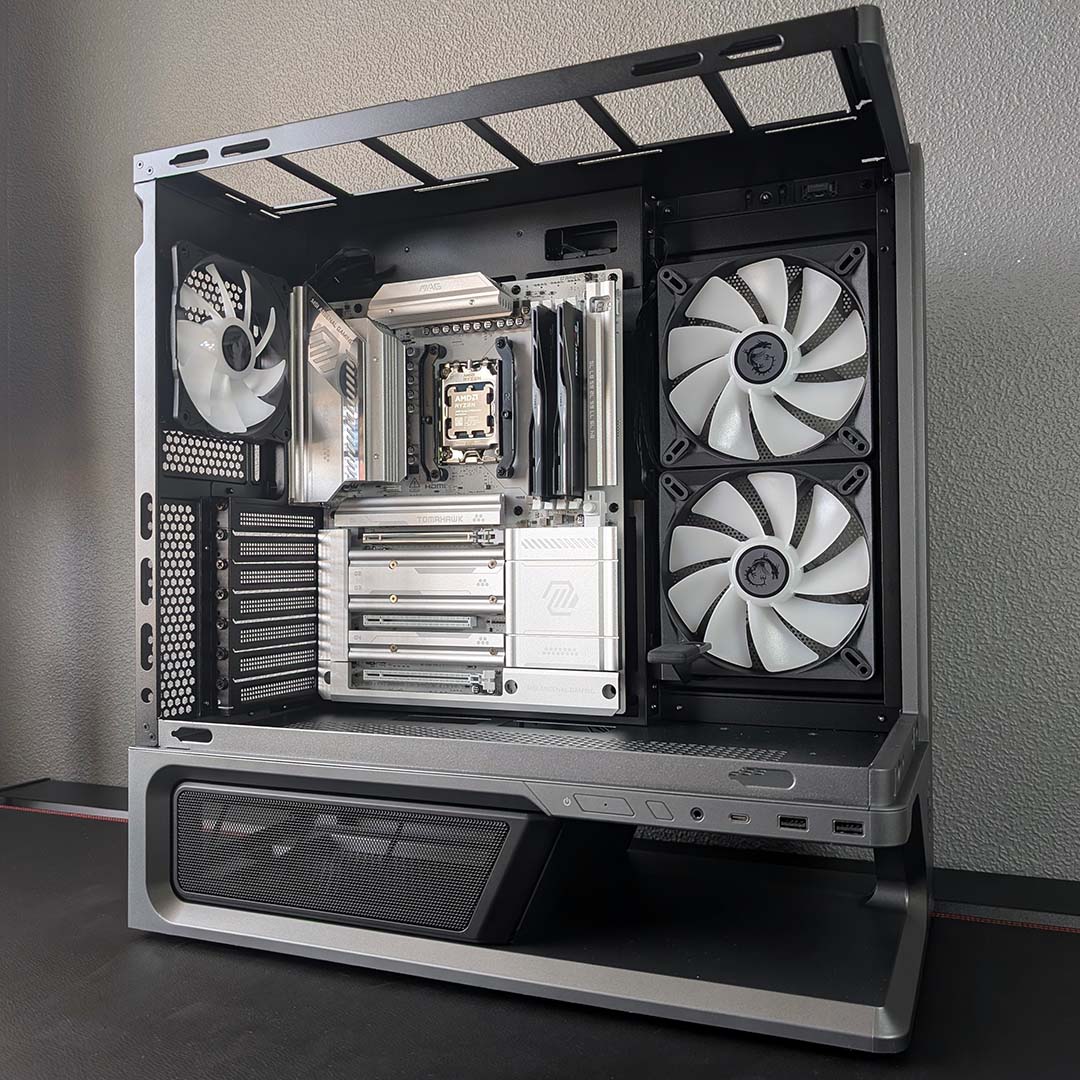
As any experienced PC builder will tell you, it’s best to bring your motherboard together with your CPU, RAM, and SSD outside of the case for ease of installation. After doing just that, I slide in the MAG X870E Tomahawk Max WiFi PZ atop the chassis’ standoffs with no issue, as MSI preconfigures the layout for ATX boards out the gate.
While I’d normally turn my attentions to the power supply next, I’m going to save this task for last as all my cable management will take place in the rear chamber. For now, I’m going to follow the MPG Vixta 300R PZ manual and move on to our graphics card.
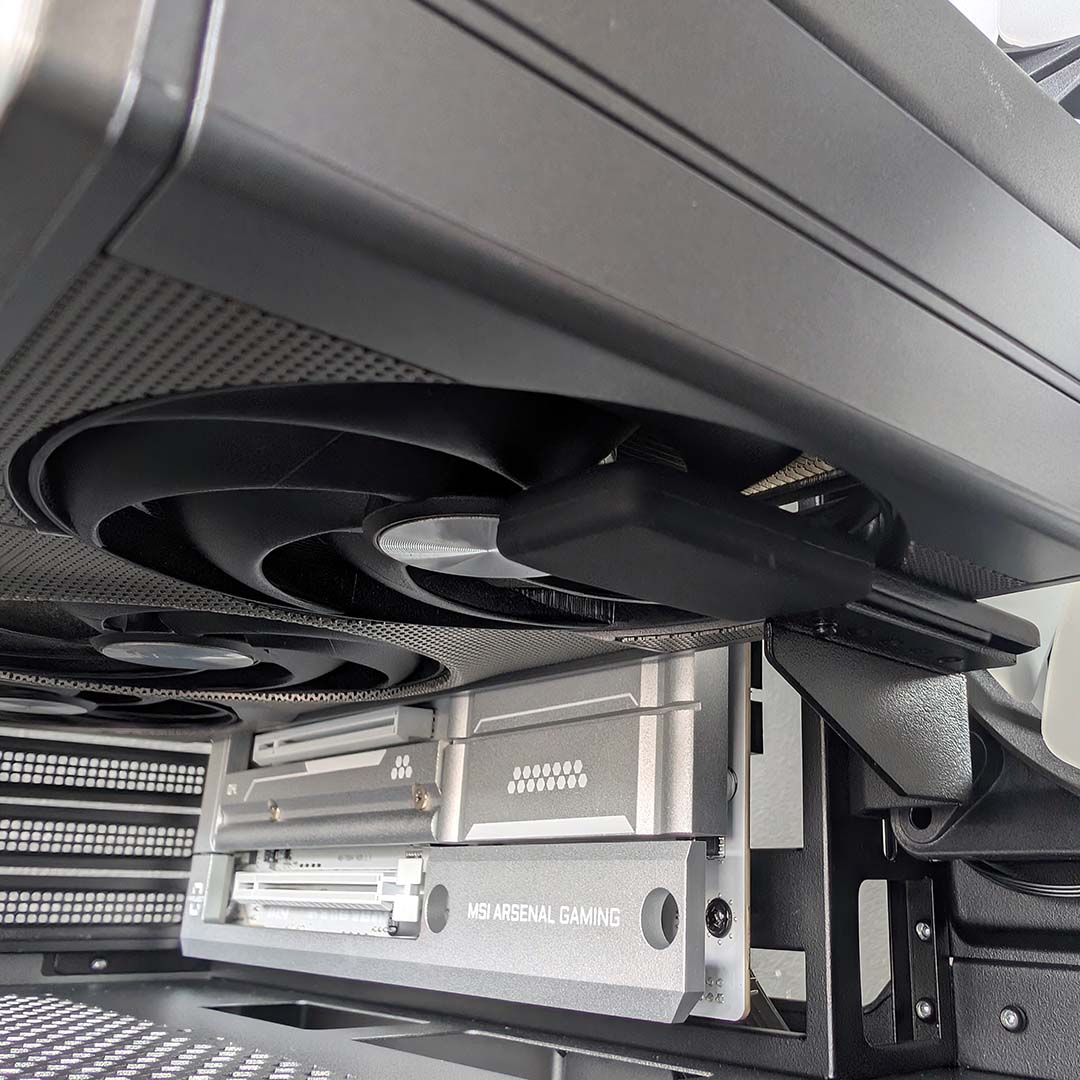
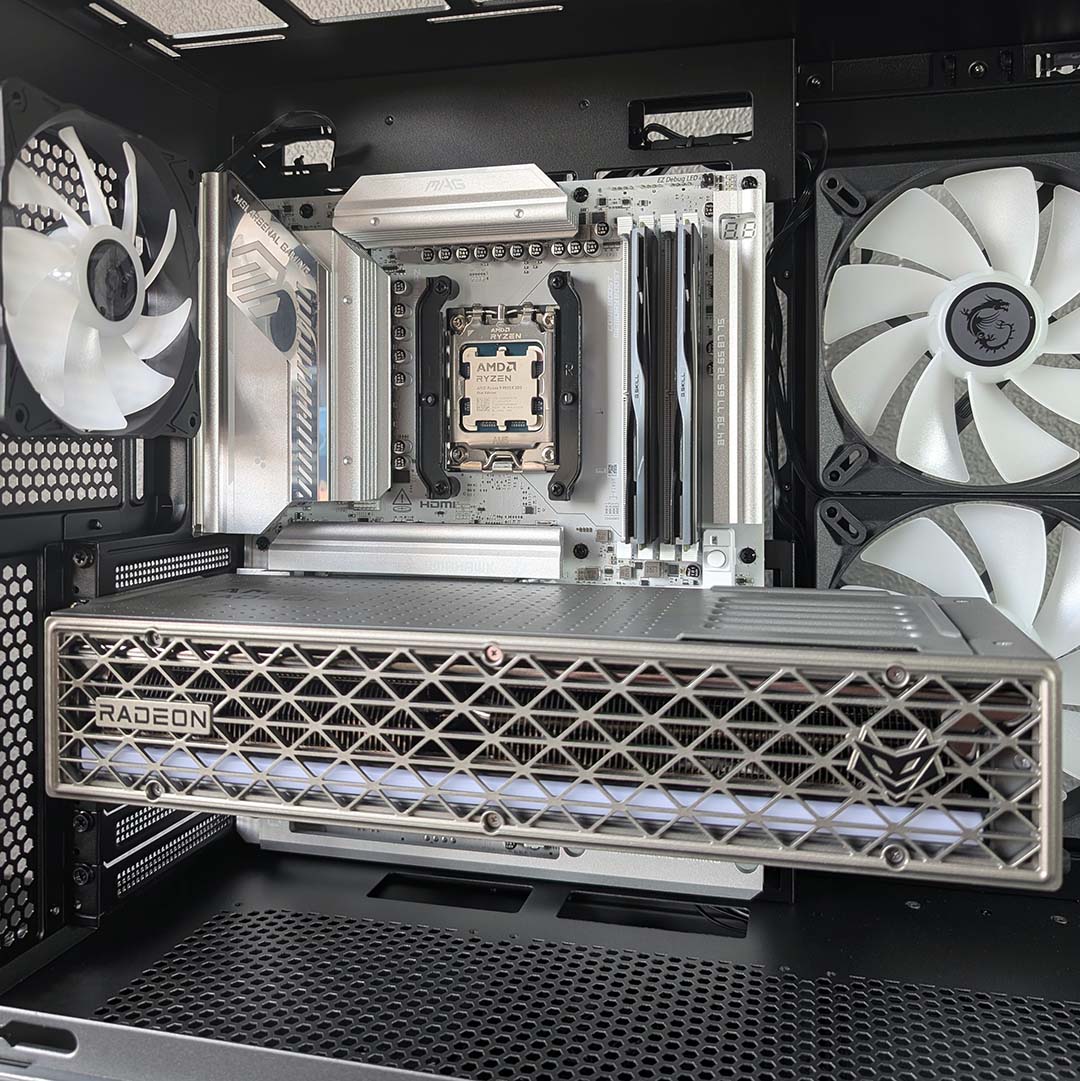
Our Sapphire Nitro+ Radeon RX 9070 XT isn’t back-connect, meaning we’ll need to route a 16-pin cable through later in the build. However, the card’s hidden port underneath its backplate does help maintain our clean back-connect aesthetic as much as reasonably possible. You can feed standard side-mounted ports via the two cut outs in the base.
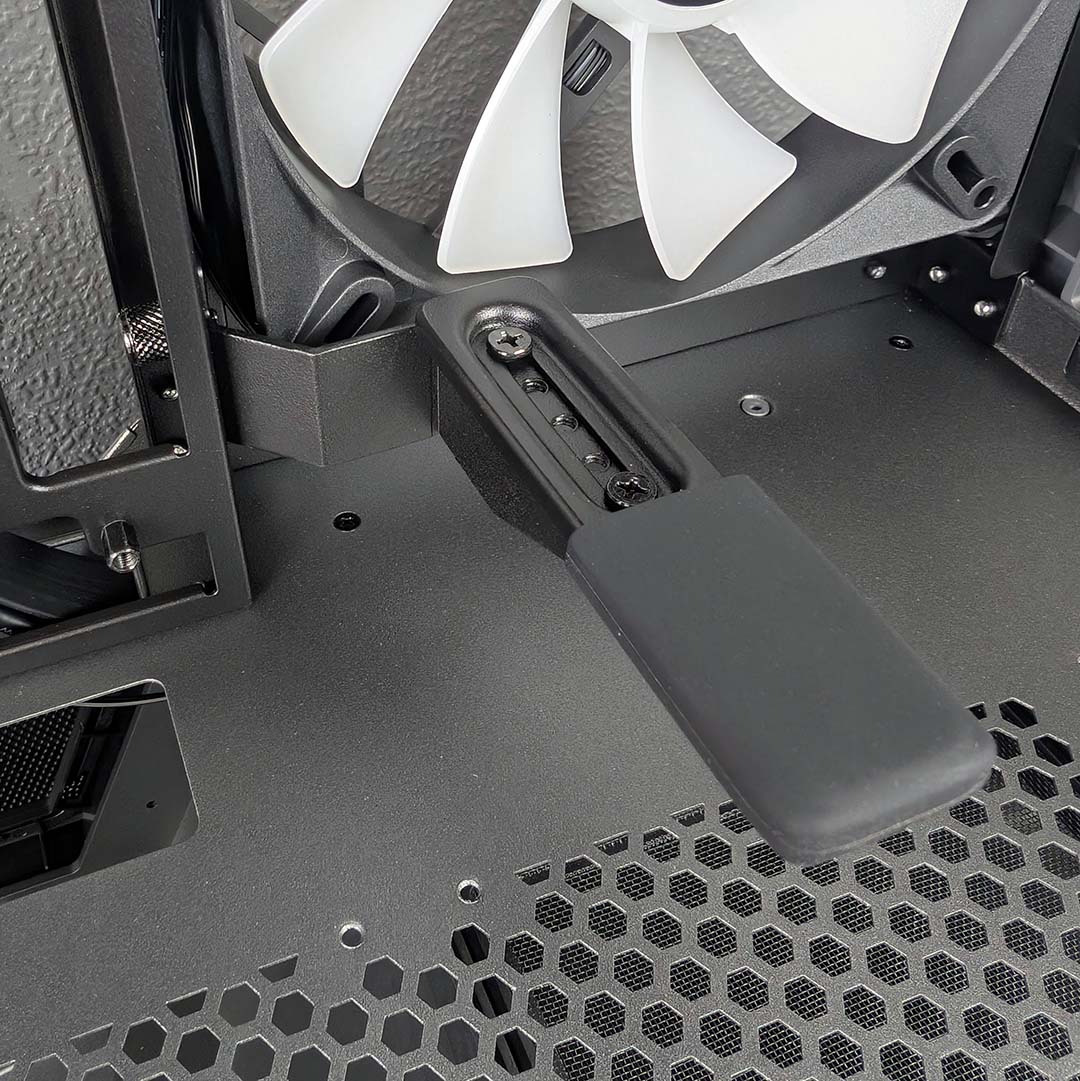
MSI includes a ‘GPU Holder’ in the MPG Vixta 300R PZ, which can prove useful in supporting larger graphics cards and mitigates visible sagging. However, getting this support in place is fiddly, as the arm’s rotation and lock depends on screws that become inaccessible once you have a pixel pusher in place.
As a result, I found myself having to unscrew the GPU Holder, temporarily install my graphics card, remove it, lock the support bracket in place, before properly installing the Raden RX 9070 XT. There’s also no guidance from MSI on how to approach setup in the manual. This process could be smoother, though the end result is helpful.
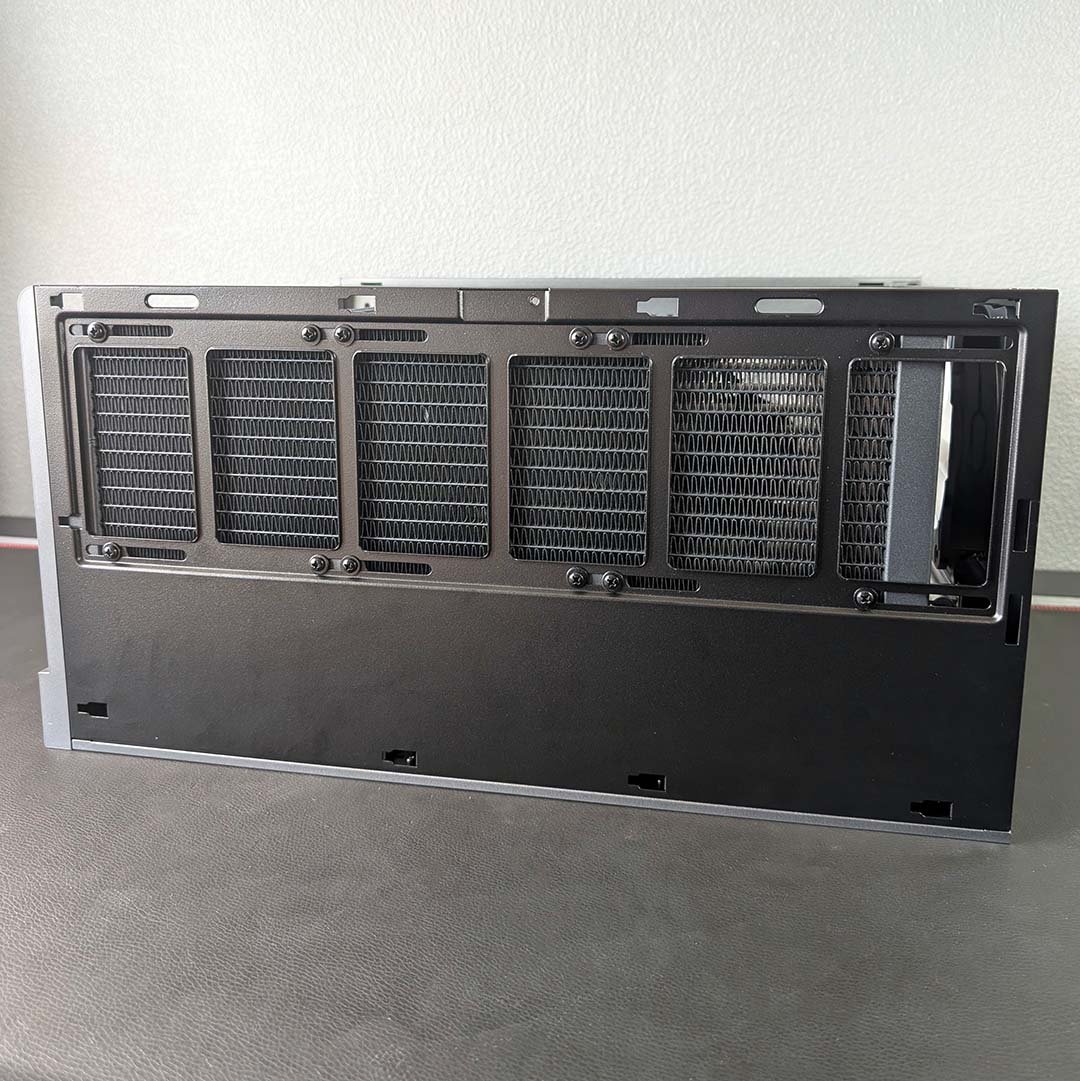
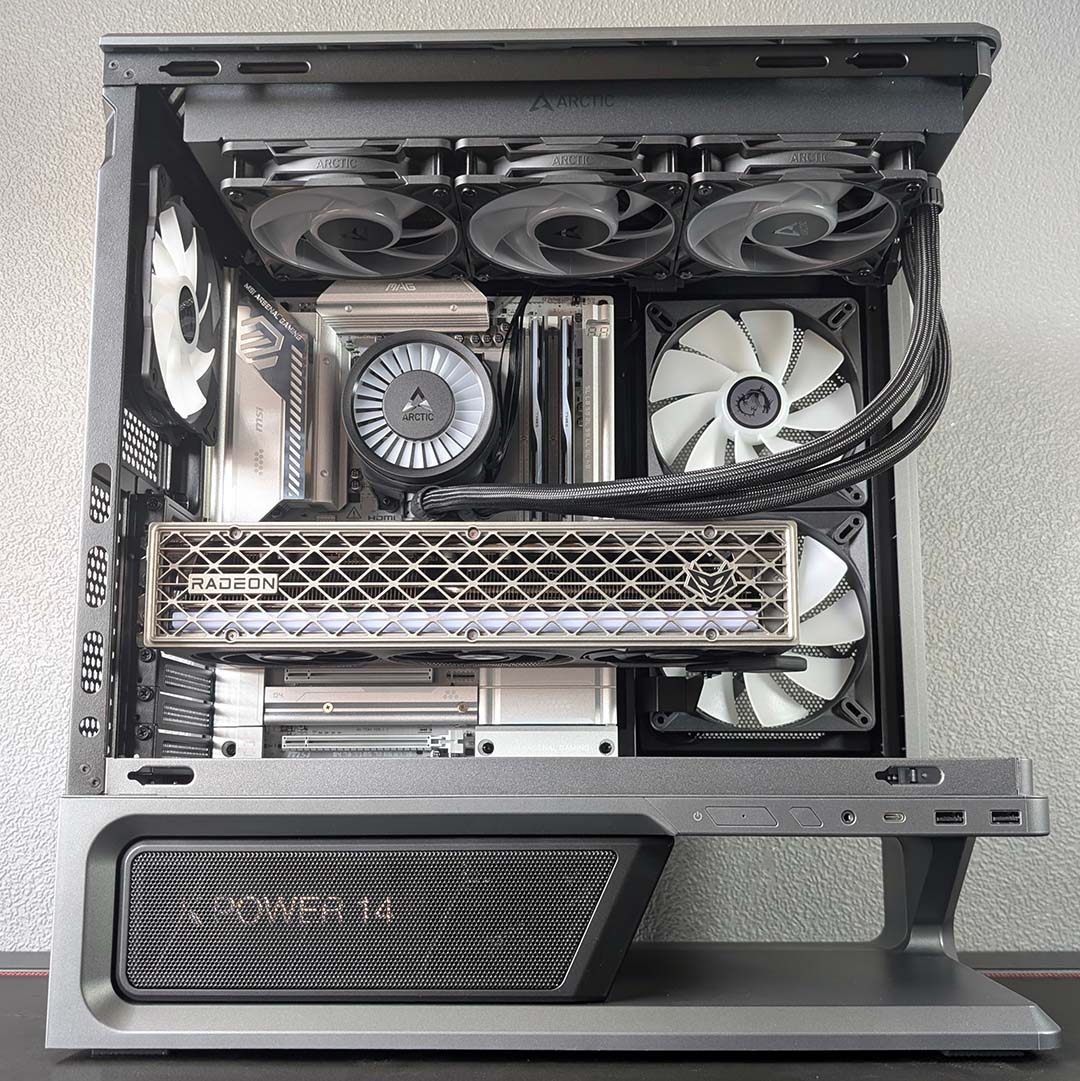
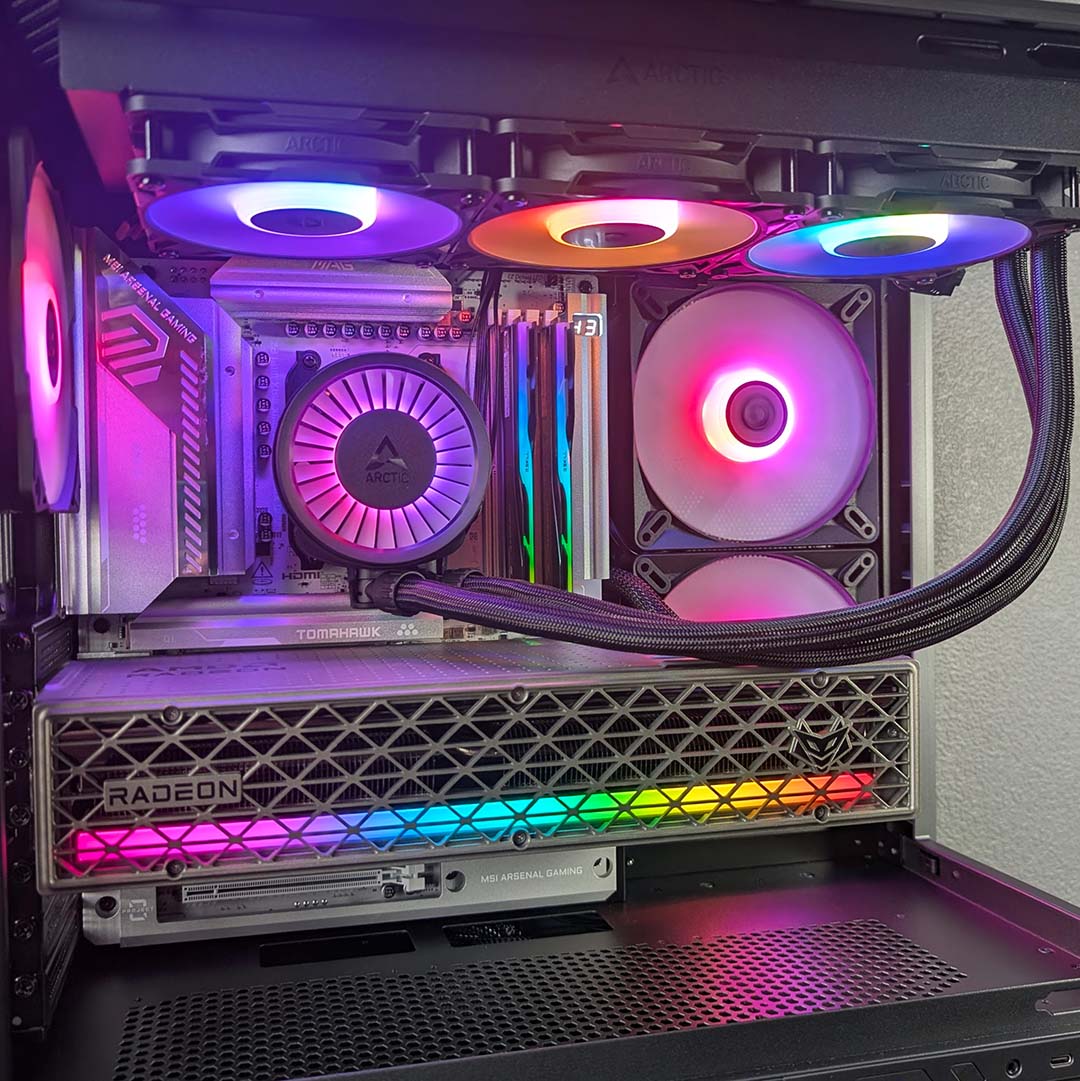
The last piece that completes the main chamber is our 360mm AIO liquid cooler. Unfortunately, the fan bracket isn’t removable, meaning I need to hold the whole block in place for a moment while I get a screw or two in to keep the assembly still.
After that brief inconvenience, I decide to shift the radiator towards the front of the case, in order to make my tubes more taut and not press as much against the graphics card’s backplate. The long and uniform design of the screw rails make this an easy adjustment.
Finally, I thread cables for the pump and RGB behind the cooler and through the now obfuscated topmost cut outs. The main chamber is now complete and looking rather swish if I do say so myself.
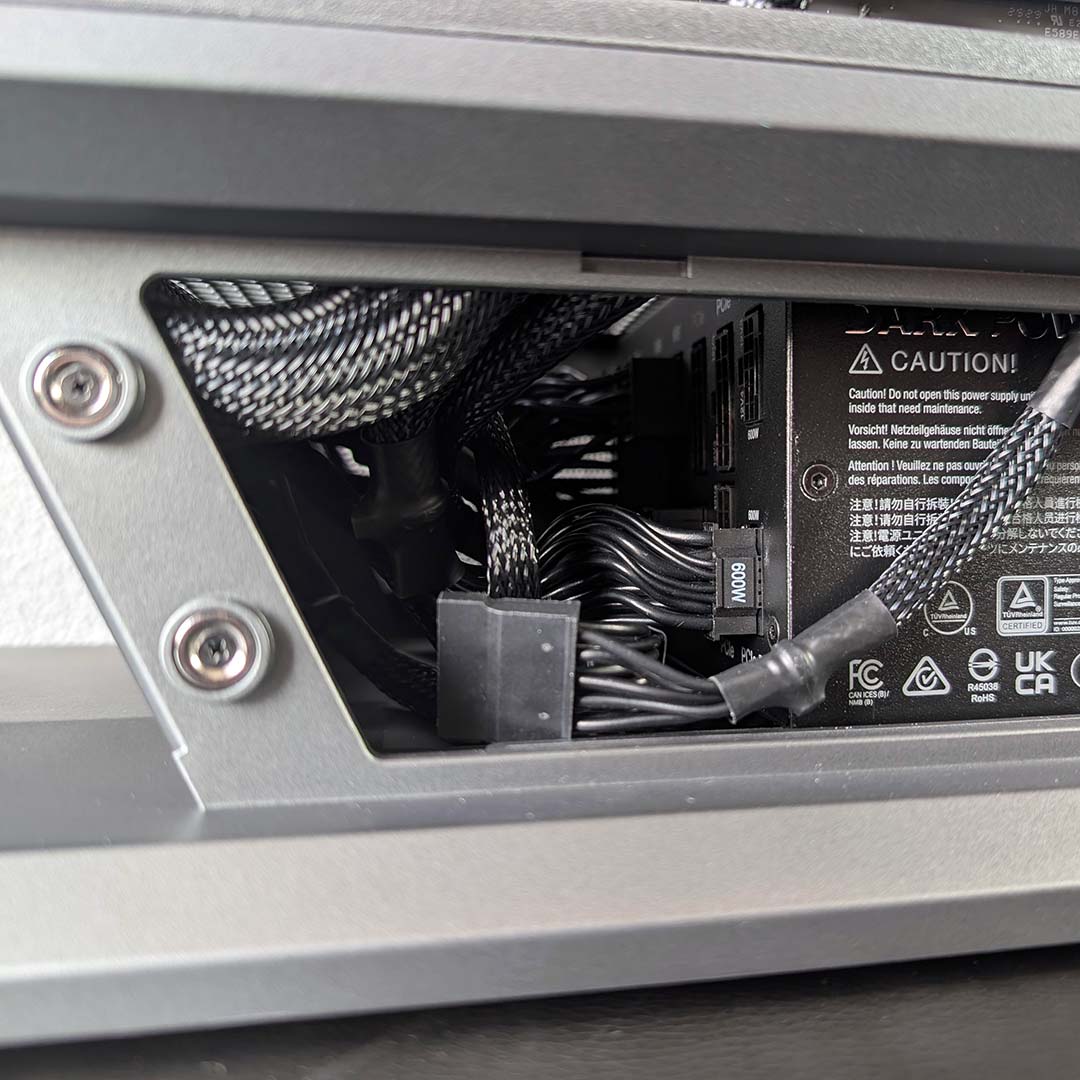
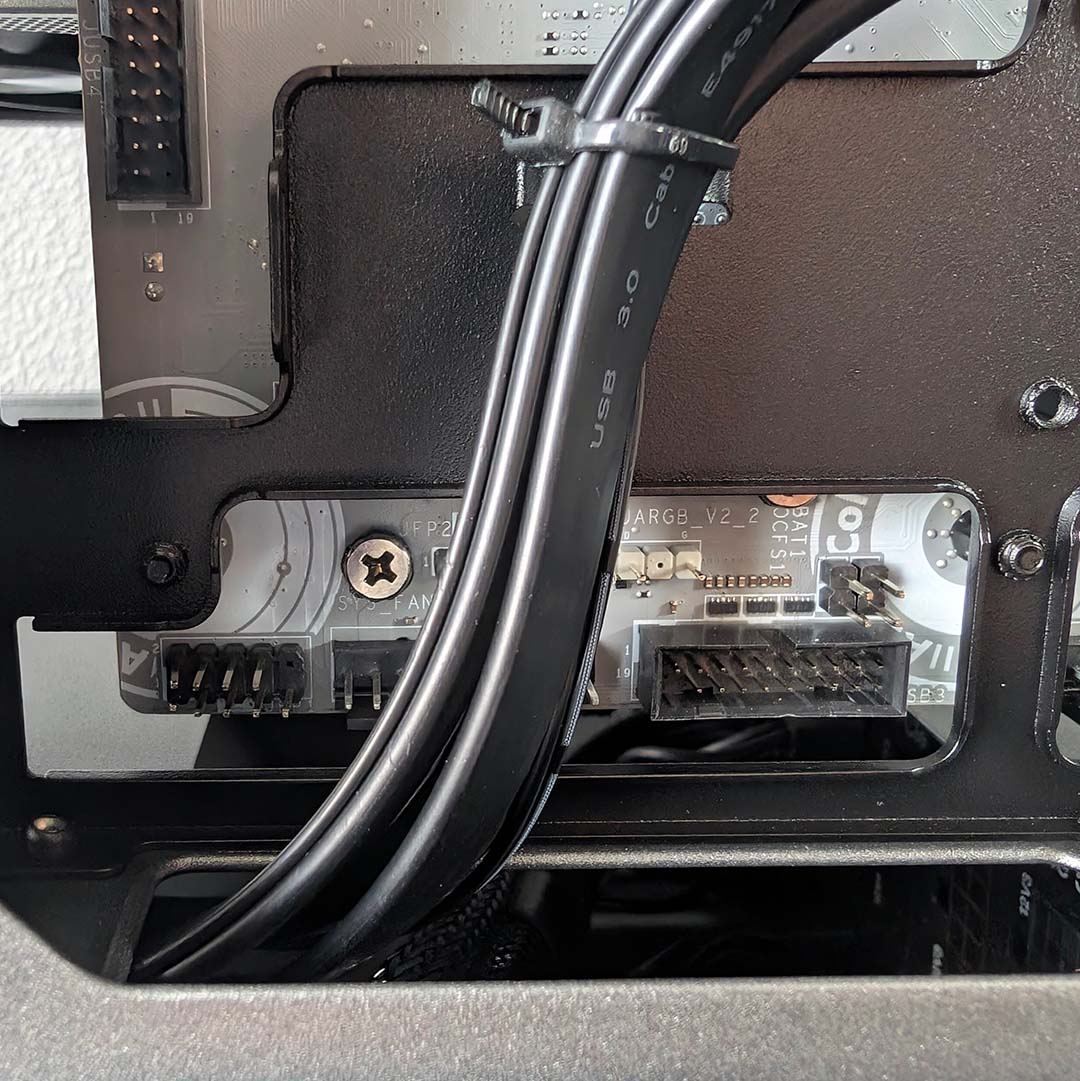
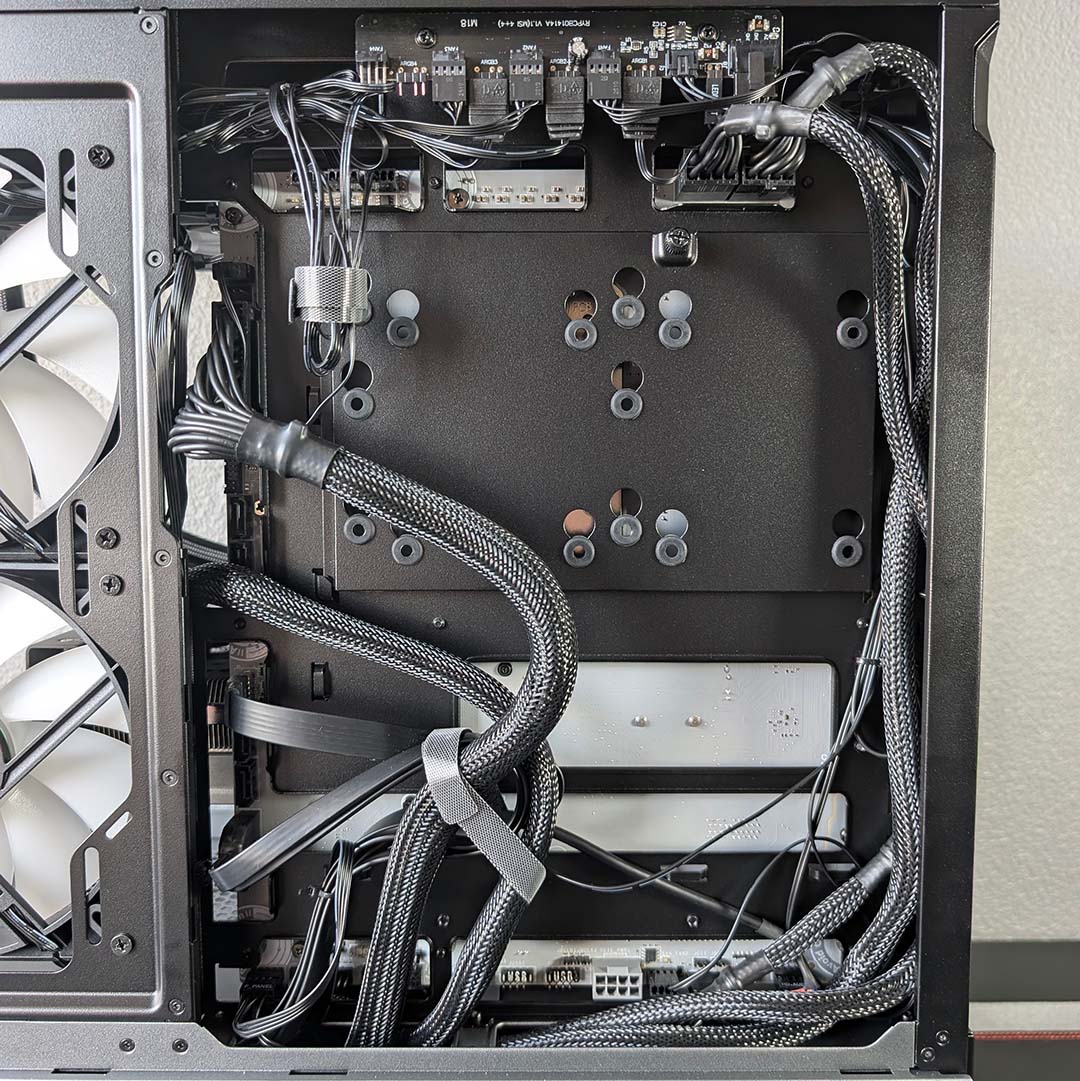
Given how snug the power supply chamber is, I’m thankful for having a completely modular PSU. In this build, I only need the 24-pin ATX, 16-pin 12V-2×6, two 8-pin CPU, and a single SATA cable, which is more than enough to manage in this case.
Threading these cables through the slim cut outs is surprisingly difficult at first, requiring an unexpected amount of finesse. This problem could be exclusive to my choice of power supply, with thick braided connectors, but a little extra width wouldn’t have hurt here.
After getting all the power supply cables in place, I move on to the front I/O. Most connections marry nicely, but the front panel proves slightly tricky owing to a stock zip tie placement that partly covers the header. Once again, I call on manufacturers to ditch the ties and wholly embrace Velcro, please.
There aren’t a great deal of anchors for Velcro straps in the MPG Vixta 300R PZ, but I make do where I can, with the helping hand of the odd twisty tie. I’m not overly happy with my cable management on this occasion, but keeping rear chambers tidy in back connect builds is inherently more challenging.
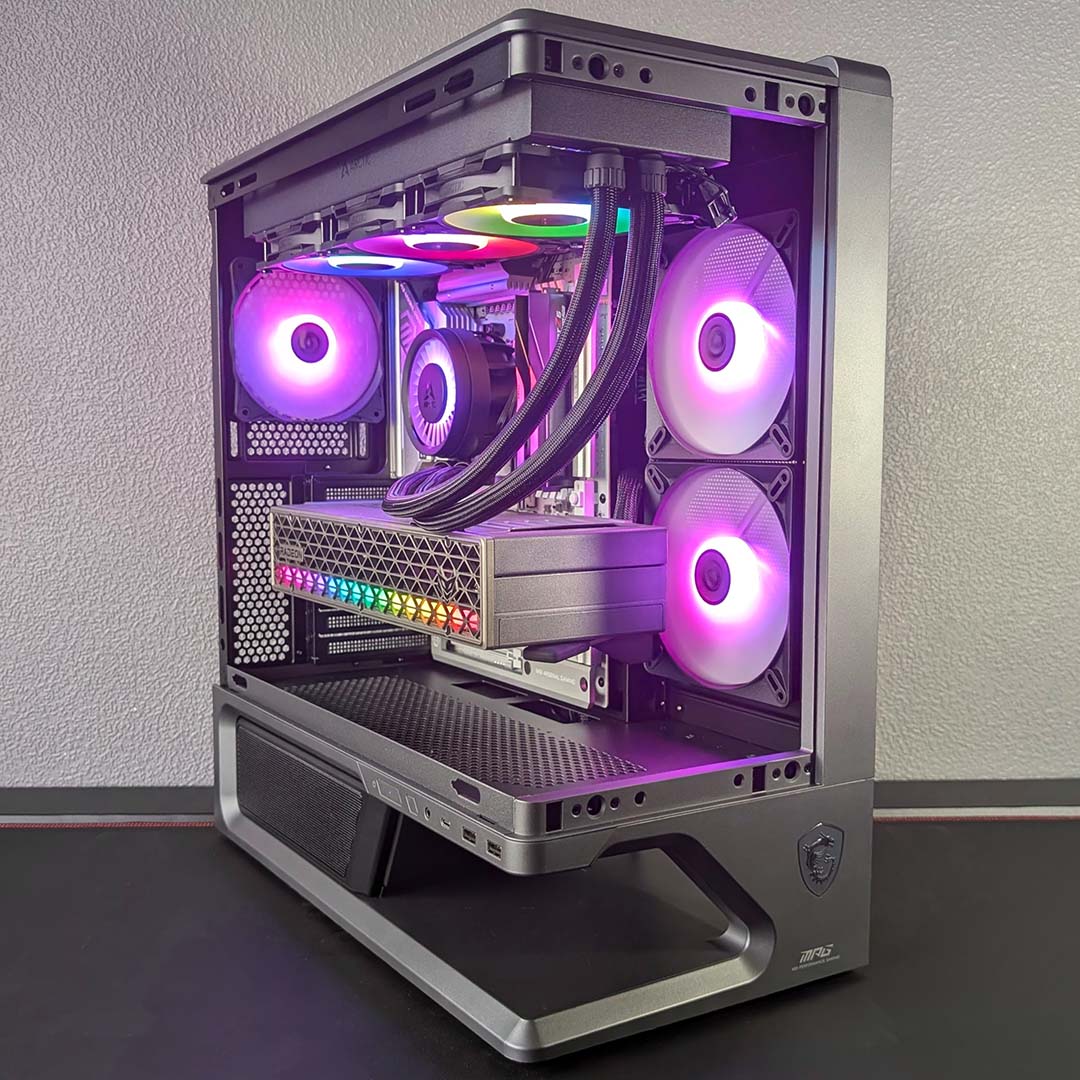
Slinking the 16-pin cable through the middle of the case and under the graphics card’s backplate, our MPG Vixta 300R PZ build is complete. Holding down the case’s LED button, our fans quickly match the colour of our motherboard, RAM, and pump.
It took me just under an hour to get the case from shell to system, which is about average for me. The front chamber looks satisfyingly clean to my eye, much as I know the rear is messier than I’d like.
This build came with a few bumps along the road courtesy of the GPU Holder and inherent difficulties of back connector motherboard cable management. Those small difficulties aside, though, the process was still fun and relatively straightforward, and I’m delighted with the look of the completed rig.
Performance
Ambient testing conditions are relatively good for the MPG Vixta 300R PZ ahead of our performance tests, with my office sitting at 26°C. This temperature is neither a worst nor best case scenario for the PC case, but does put a little extra strain on good airflow to keep the system cool.
Ahead of running applications, I’ve set the Arctic Liquid Freezer III Pro 360 A-RGB’s pump to run at 100% while fans across the radiator and chassis sit at 30%. This setup mirrors our 9950X3D test benches, albeit with a smaller liquid cooler and case fans in play. Still, we should only expect results here to be slightly worse than our souped-up system.
Testing noise levels first, measuring 30cm away from the intake and exhaust, my sound meter sits at 33dBA. This all stems from the case and radiator fans, as the graphics card sits at 0RPM while idle. This rig is certainly audible while waiting for work but is by no means distractingly so, and feels closer to a quiet murmur.
Throwing a 10-minute Cinebench 2026 multi-core benchmark at our build sees CPU core temperatures peak at 90°C. For context, we saw the 9950X3D2 hit 84°C in the same test while my office was 22°C. This means our setup inside the MPG Vixta 300R PZ is effectively running only slightly hotter, an impressive feat considering the differences in chassis size and available cooling.
Of course, gaming workloads prove kinder to CPU core temperatures. Running Cyberpunk 2077 at 1080p with RT Ultra settings pushes the chip to a nice 69°C. Meanwhile, our graphics card cruises at a perfectly stable 60°C. Summarily, whatever gaming hardware you fancy throwing into this case, there’s certainly sufficient airflow available.
Given the above results, there’s little reason to adjust our settings in service of gaming, even with a 200W processor in our midst. However, for any hybrid workstations, I’d certainly entertain tinkering with a more aggressive fan curve or flat value to bring core temperatures down during particularly heavy CPU loads.
Conclusion
While I can’t say with any certainty that MSI’s floating case design gives the MPG Vixta 300R PZ an edge in terms of airflow, the chassis is clearly not falling short in that respect. This is a cool house for components, both in terms of operating temperature and aesthetics.
Sometimes less is more, and I appreciate how this defining gap gives the case a unique silhouette. The whole assembly just looks sleek, particularly with the L-shaped tempered glass. The build experience may not be quite as smooth, but the final finish largely washes away much of the grumbles I had with cable management and the GPU Holder.
Every penny counts in the world of cases, and the MPG Vixta 300R PZ feels fairly priced at £119 / $129. Fans running along the bottom would elevate value but undoubtedly increase cost, as the likes of the NZXT H9 Flow RGB+ at £159 / $249 prove.
This is an all-around solid choice of home for your components, particularly if you’re putting together a back-connect build. Now, excuse me while I figure out which of my Lego figures sits best in that gap.