
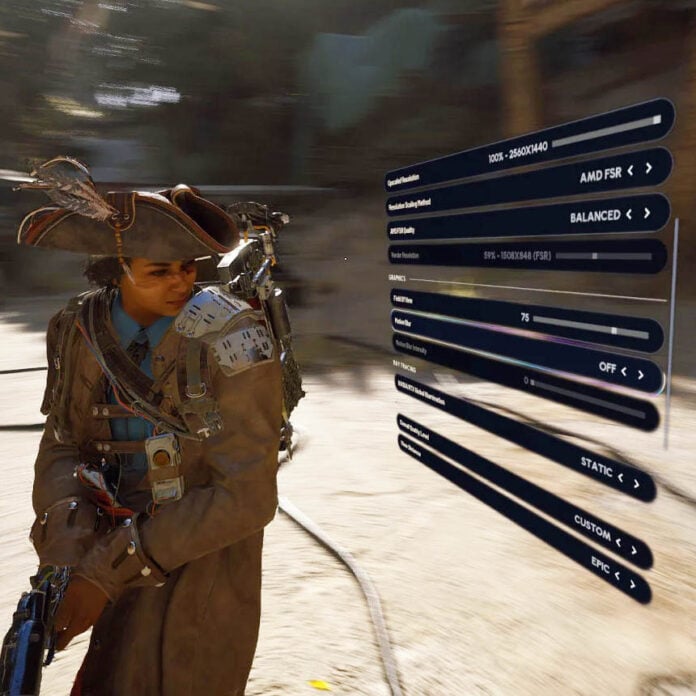
One of the great strengths of PC gaming is the ability to tune graphics settings to your liking, whether it’s to improve performance or simply to get rid of an annoying visual effect. Even maxing out all your settings doesn’t always get you the best visual experience, as some sneaky options can degrade this otherwise pristine view if they’re left enabled. On the other hand, some settings can make or break your in-game immersion if they’re not enabled, as they can make it feel fake and empty.
In this piece, we will discuss some of the most egregious graphics settings you should avoid like the plague, and some very important ones you should always prioritise, despite their performance cost. Depending on your game, not all of these settings may be available, while some may be hidden under a different name or bundled within a pack of settings.
For example, in some titles, the Post Processing setting also controls the quality and intensity of effects such as motion blur and lens flare. Regardless, here are the key graphics settings to keep your eye on.
Disable these settings
Motion blur
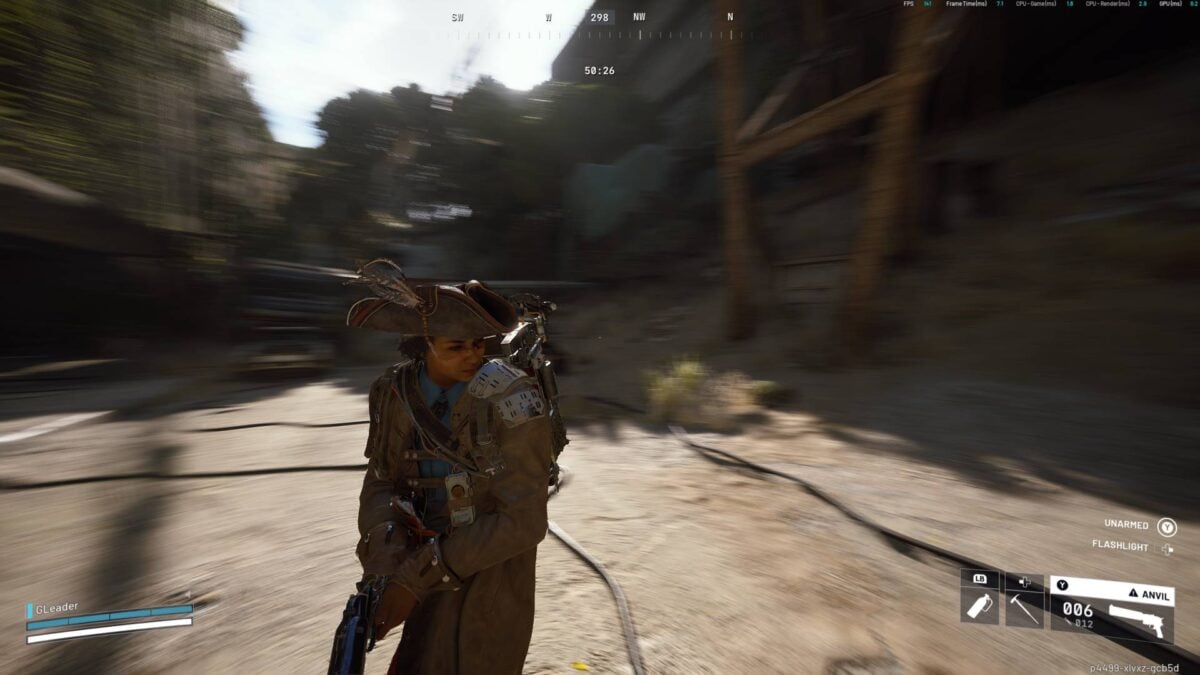
Let’s start with an option that many players agree should be disabled – motion blur. This setting simulates the blur that occurs in film when a camera shutter remains open long enough for a moving object to streak across the image. In gaming, the idea is to smooth the transitions between frames. While it can offer a cinematic effect when it’s properly implemented, for example by adding the illusion of speed to racing games, it often falls short, causing more harm than good.
Basically, if you flick your mouse or controller stick to one side, the screen transforms into a blurry mess, as if someone smeared Vaseline on your screen. Needless to say, this is a huge disadvantage in competitive games, which explains why most players disable it straight after installing the game.
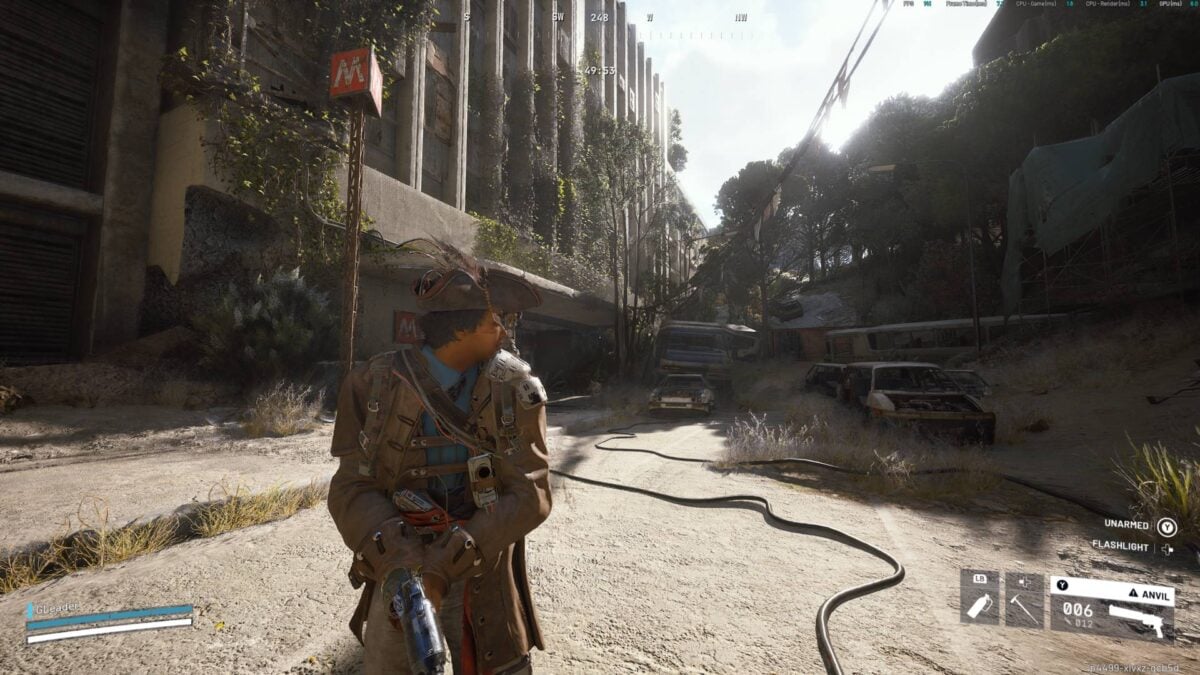
Motion blur is somewhat of a relic from an era when many console games targeted 30fps, where it was often used to make motion appear smoother by masking the judder of low frame rates. Nowadays, monitors with high refresh rates are within the reach of all budgets, and game developers have understood the importance of unlocked frame rates.
As such, there’s no need for motion blur in most games any more. If you can’t achieve a smooth frame rate, there are plenty of better ways to boost performance, such as resolution upscaling.
VSync
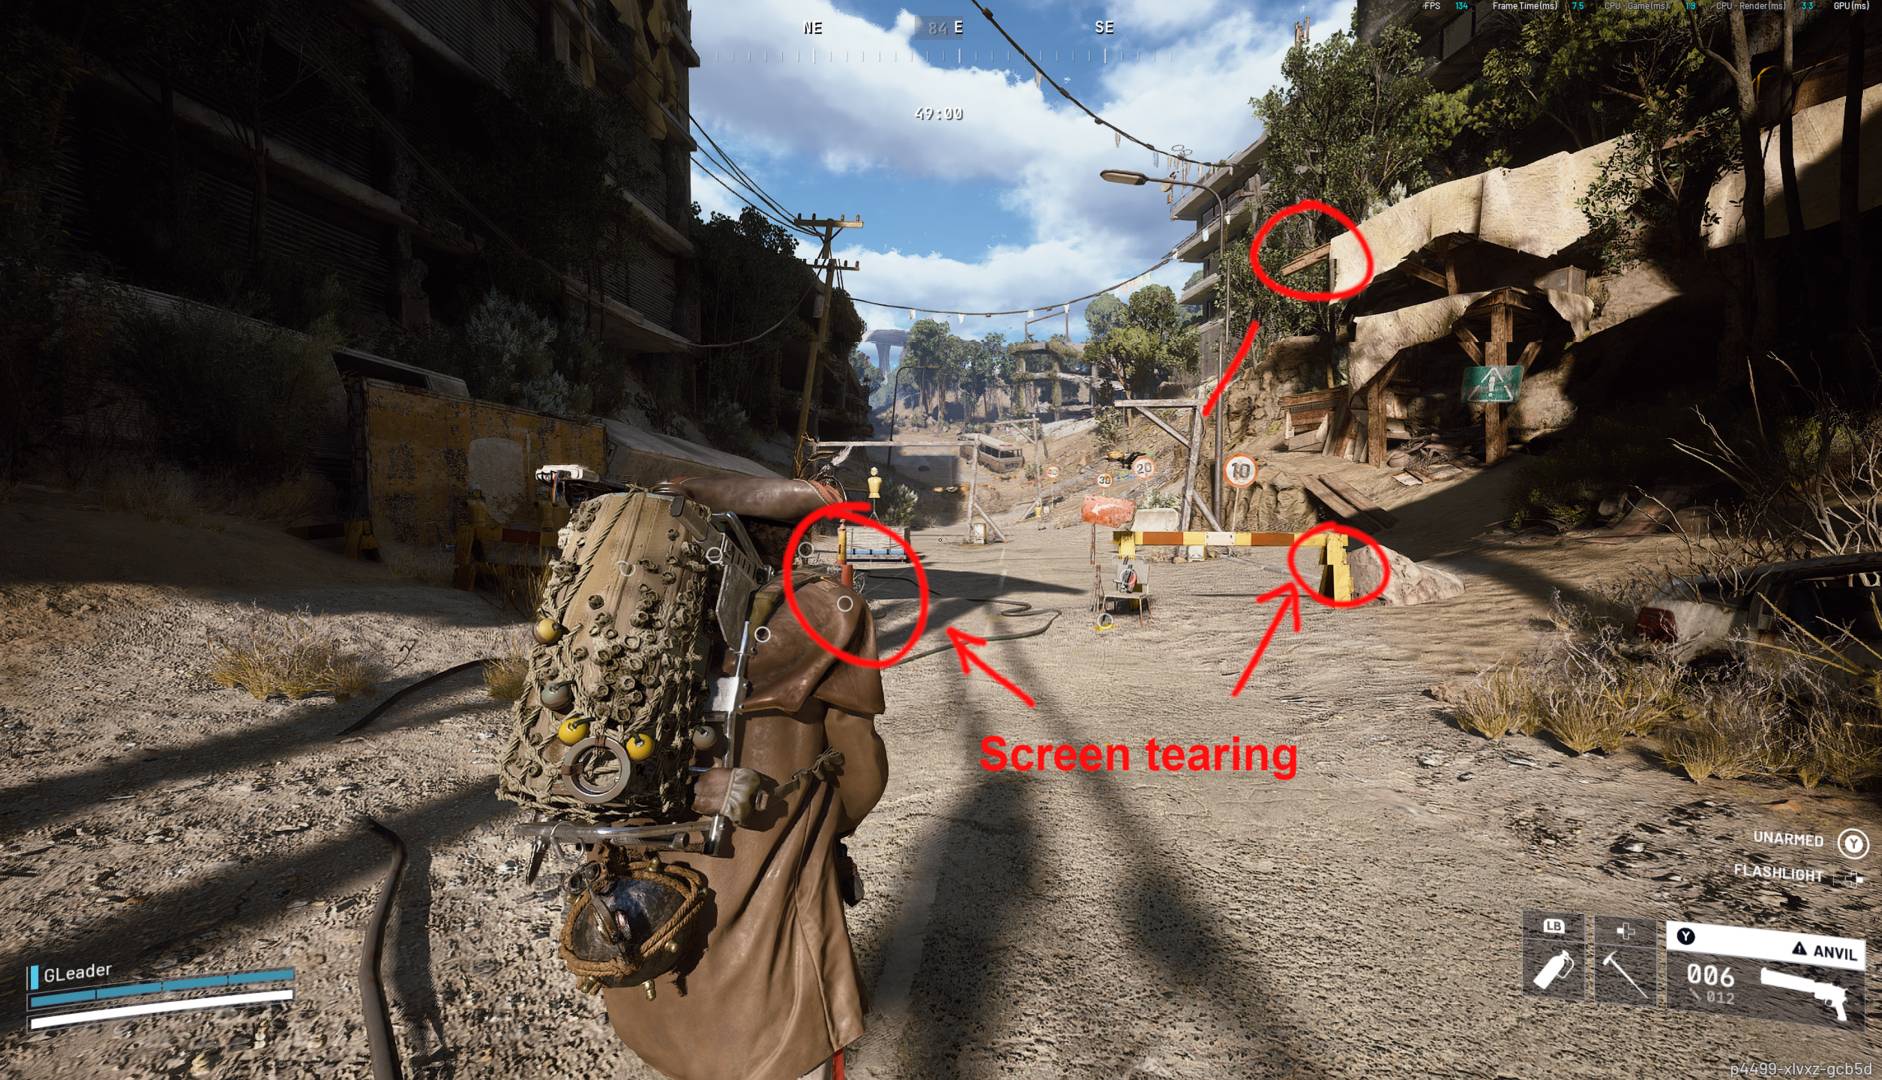
VSync is a simple feature designed to remove image tearing, especially when your frame rate exceeds your monitor’s maximum refresh rate, which causes parts of the frame to be dropped mid-projection – it means only complete frames are shown. To do so, it forces the game to run at the same refresh rate as your monitor, which in the early days meant 60fps, assuming your PC could render that many frames per second.
While VSync is a solid feature in theory, especially with modern 120Hz+ displays, the reality is more complicated. The issue with VSync is the way it works. It effectively holds the completed frame in the back buffer until the next opportunity to display it opens.
This delay translates into latency that can be upwards of 16.6ms (full refresh period) on a 60Hz monitor. While VSync can help in some specific scenarios, manually locking your game’s frame rate via your in-game settings or GPU driver does the same thing without the latency penalty.
What’s more, most modern displays support Adaptive Sync, G-Sync, and FreeSync technologies, which dynamically synchronise your screen’s refresh interval with the GPU’s frame rate output. This is much better than VSync, as it doesn’t matter if your graphics card can constantly run at, for example, 240Hz, to avoid screen tearing. In other words, VSync is best left disabled unless you know you need it specifically.
Depth of field
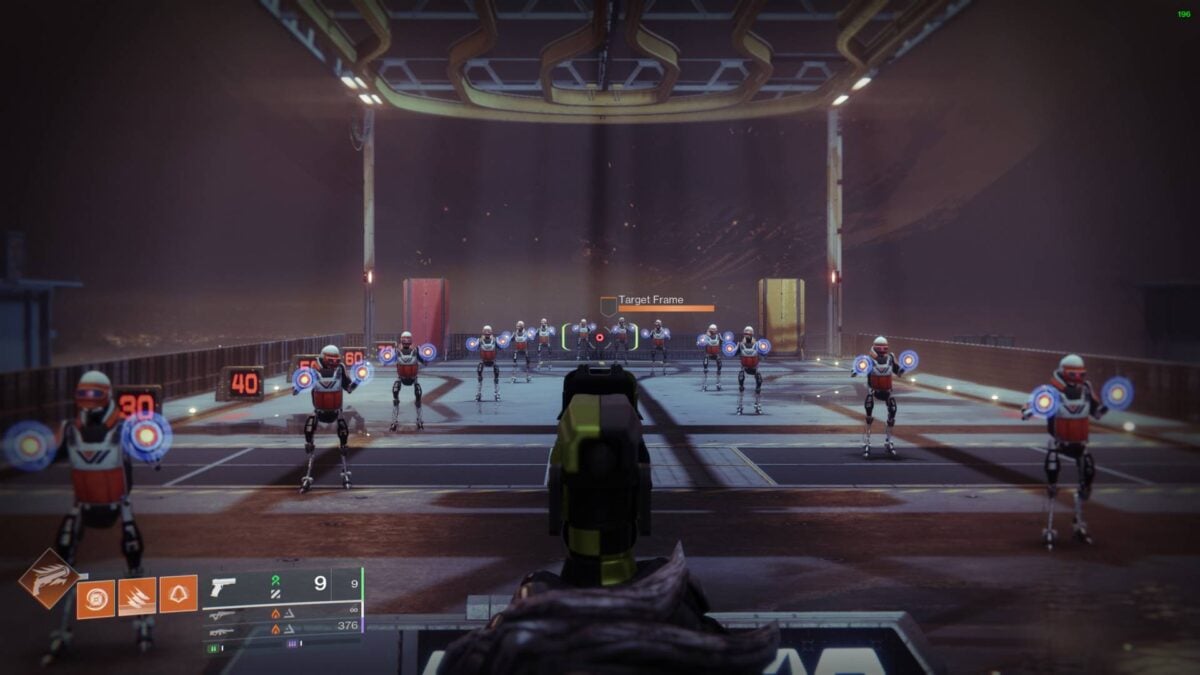
Depth of Field is a vision focus effect that mimics how real cameras work. It’s used to bring the player’s attention towards some part of the screen by defocusing other parts. Generally, we encounter it during cutscenes, when two or more characters chat, or when using long-distance weapons in FPS games.
While its effect resembles motion blur, it’s not the same thing, as it mainly impacts far-away objects regardless of whether the player’s view is moving or not. It also has the side effect of making draw distance limitations less obvious, by blending and hiding object popping and LOD (level of detail) loading.
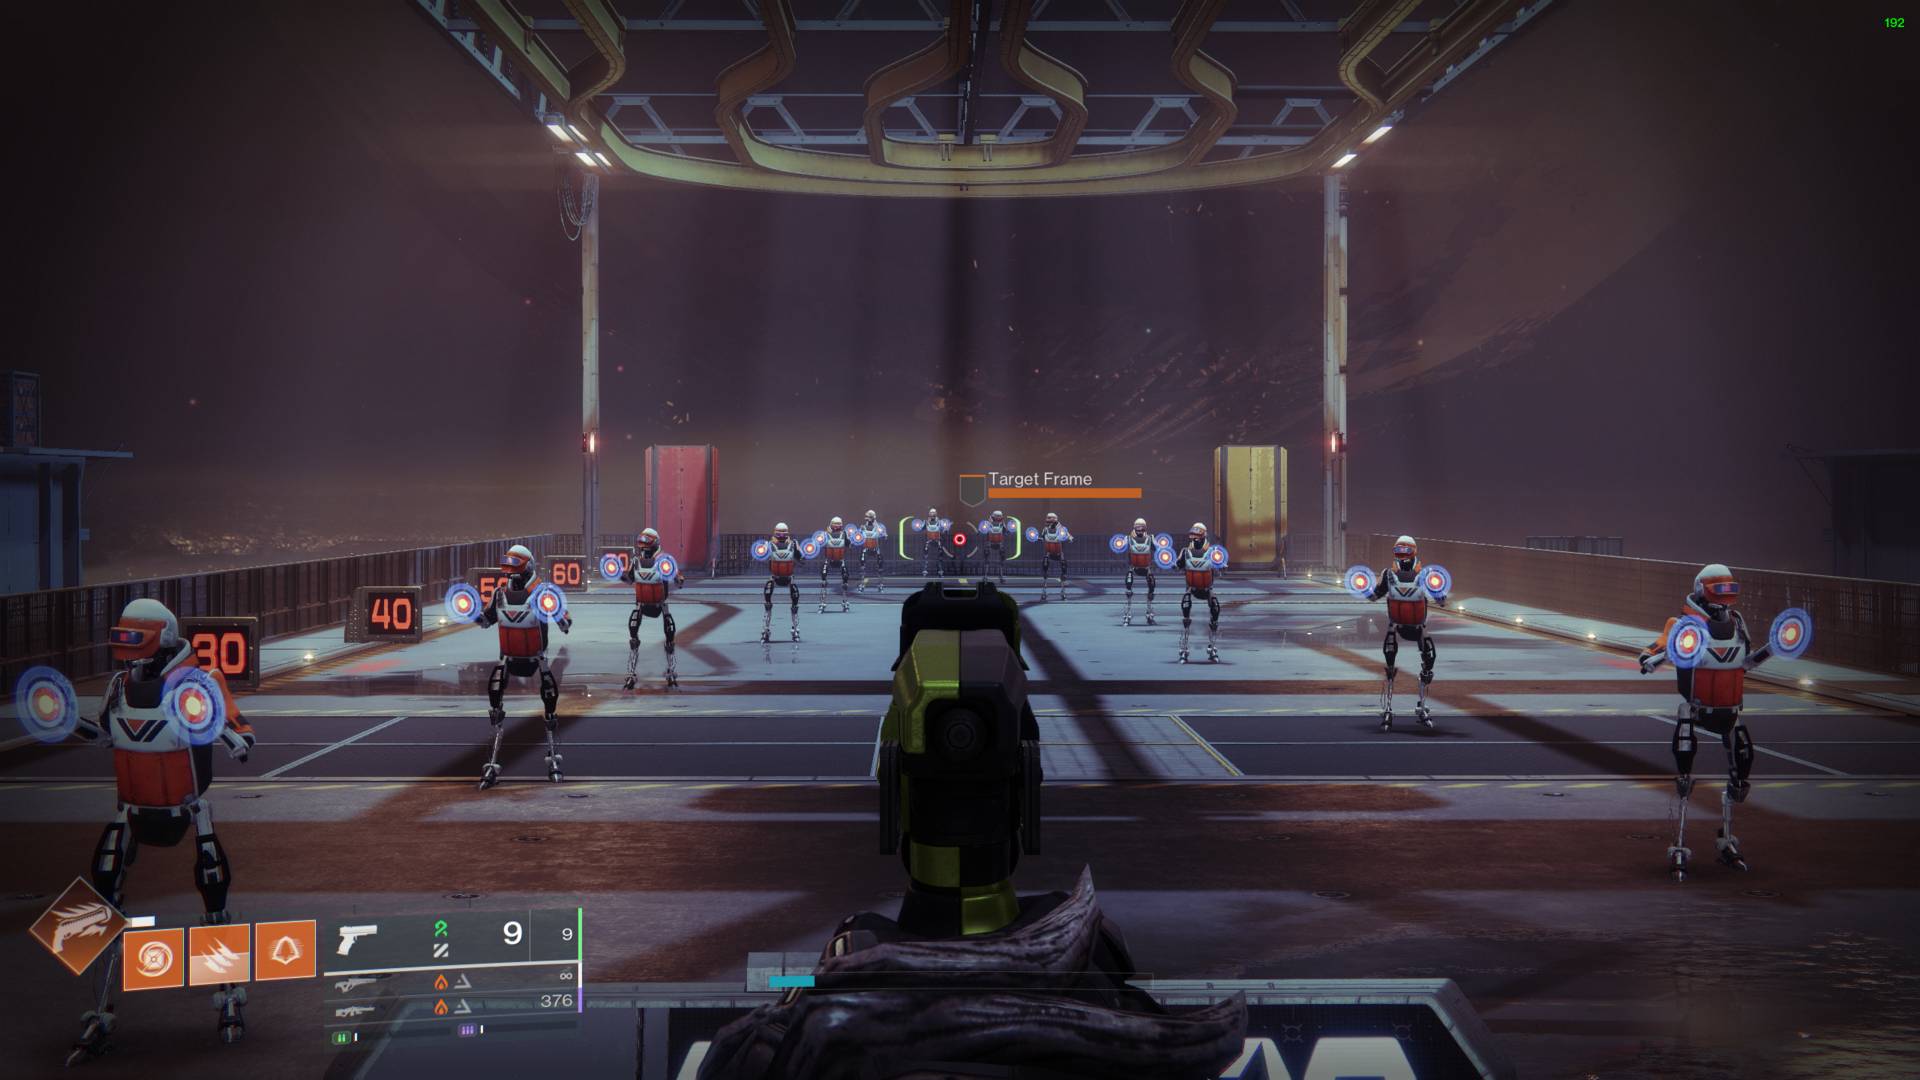
Unlike motion blur, depth of field can often look cool when implemented correctly, but once more, many games simply slap a blurring filter around the edges of the screen, or on far-away objects, and call it a day. In games that require a clear view at long distances, depth of field can become a disadvantage. Irritatingly, it also throws away many fine details your GPU worked hard to render, on top of consuming more resources.
In solo or cinematic games, it can look good, again, given proper implementation. But like everything on this list, it’s up to you to decide what’s tolerable and what’s not. That said, it’s safe to say that if you hate motion blur, you probably won’t like depth of field either.
Chromatic aberration, bloom, lens flare, and film grain
Depending on the game, these effects may be controllable one by one in your graphics settings, or they may come bundled alongside others under one option, generally called post processing. The idea behind them is fairly similar: accentuate an effect, for example sunlight, after the main rendering pipeline.
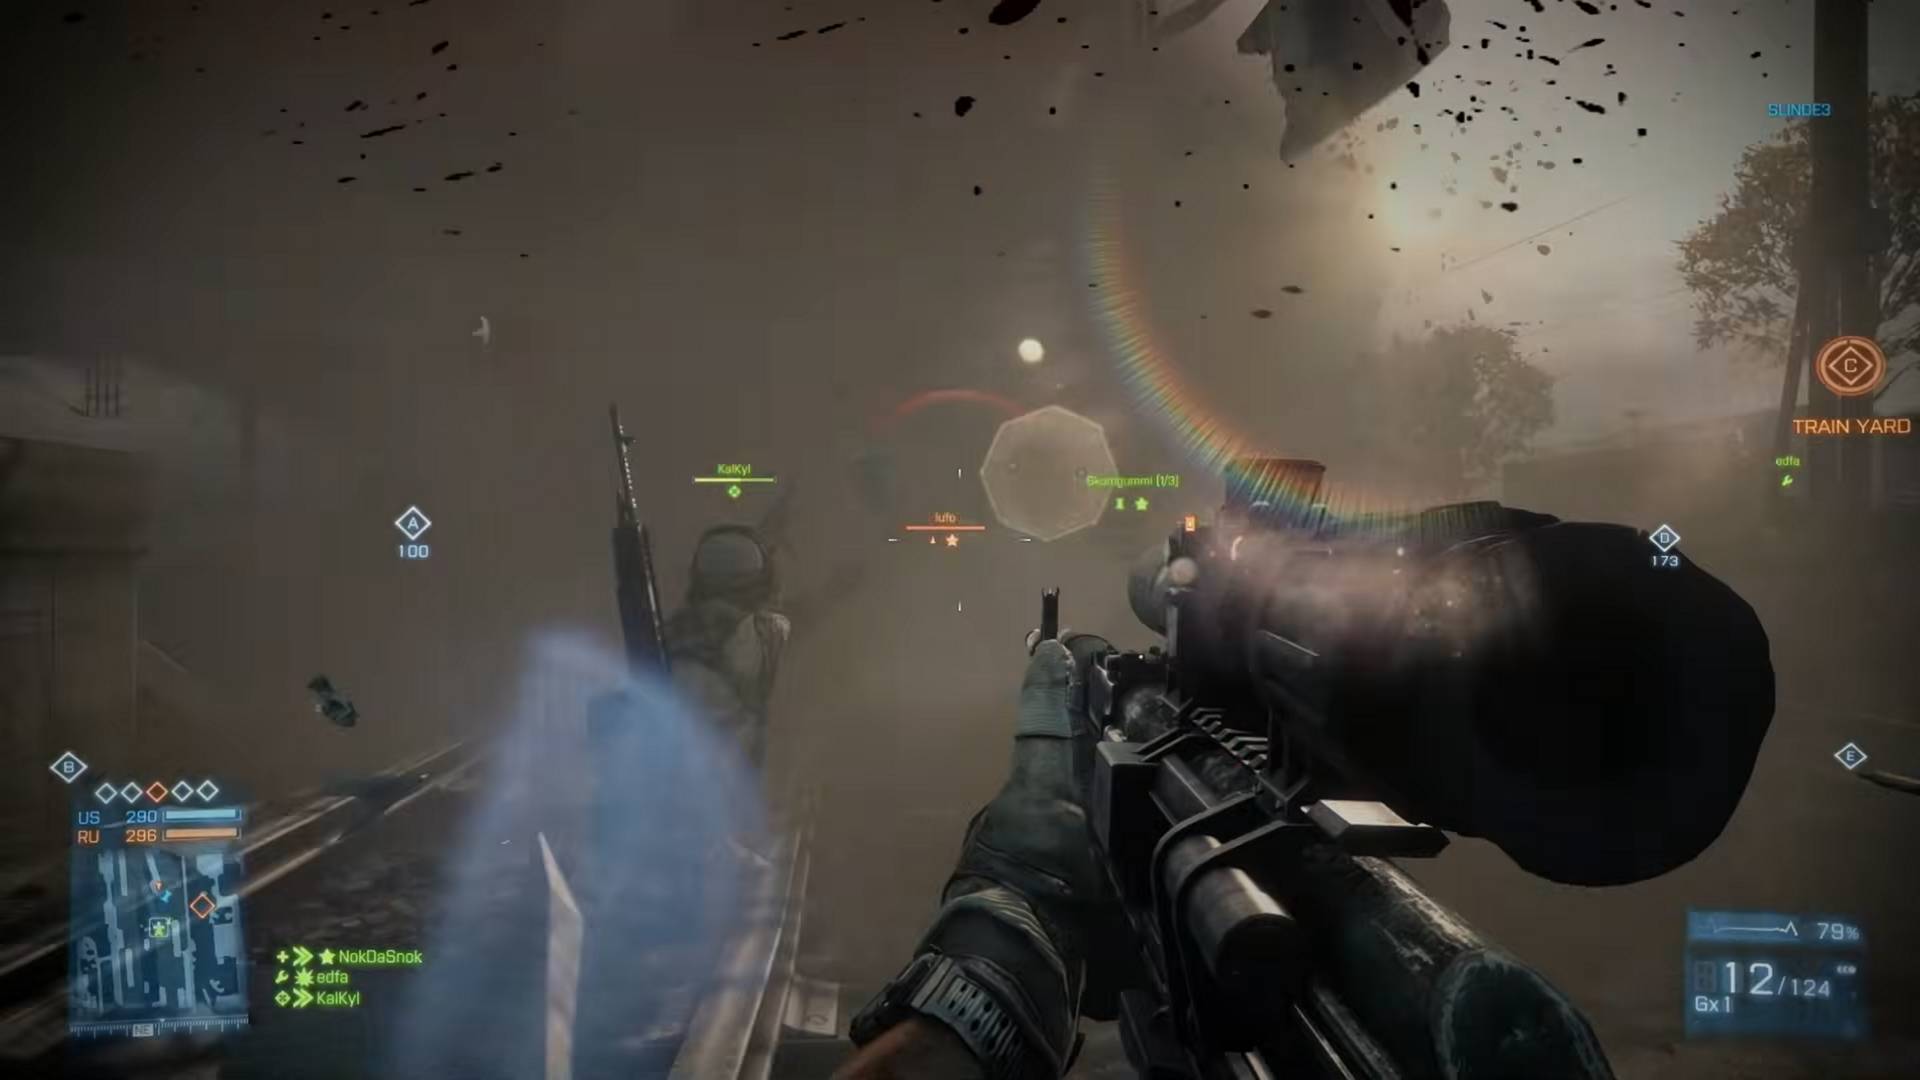
Chromatic aberration simulates the colour fringing caused by camera lenses. Basically, it’s that little red and blue halo around object edges. It’s supposed to make games look more cinematic, but in reality, it makes the world look a bit fuzzy and out of focus.
Bloom makes bright areas bleed light into surrounding pixels, creating a glow. It’s used to emphasise light sources such as the sun, which can give a realistic feel to the game. For example, it can be used to simulate the blinding effect of a searchlight in infiltration games, or accentuate the sunset atmosphere in story-driven games.
However, you also have disastrous implementations, seen in games such as The Elder Scrolls IV: Oblivion and Need for Speed: Most Wanted, where some locations and time of day produce an overexposed image.
Lens flare simulates the reflections and light scattering that occur inside a camera lens when looking at bright light sources. It’s responsible for those circular bubble-shaped effects that extend from a light source. Again, this can add to the atmosphere of a game when used responsibly, but some developers overuse it, which can make tasks as basic as aiming hard work. Heck, even movies look atrocious when lens flare is overused; I’m looking at you, Star Trek (2009).
Film grain adds random noise to imitate the appearance of film stock. Its appeal varies from game to game, as it’s better suited to storytelling than competitive play. While it can work well in some games, such as Alien: Isolation and Mafia: Definitive Edition, it makes no sense in competitive shooters, where clear vision is of utmost importance.
Thankfully, aside from their potential subpar implementations, none of these effects come at a huge performance cost. So, if you like one or the other, you can enable it for practically free. That said, considering that they often cause more harm than good to image quality, I recommend disabling them in most games, especially competitive ones.
Enable or tweak these settings
ML-based upscaling (DLSS, FSR 4, XeSS)
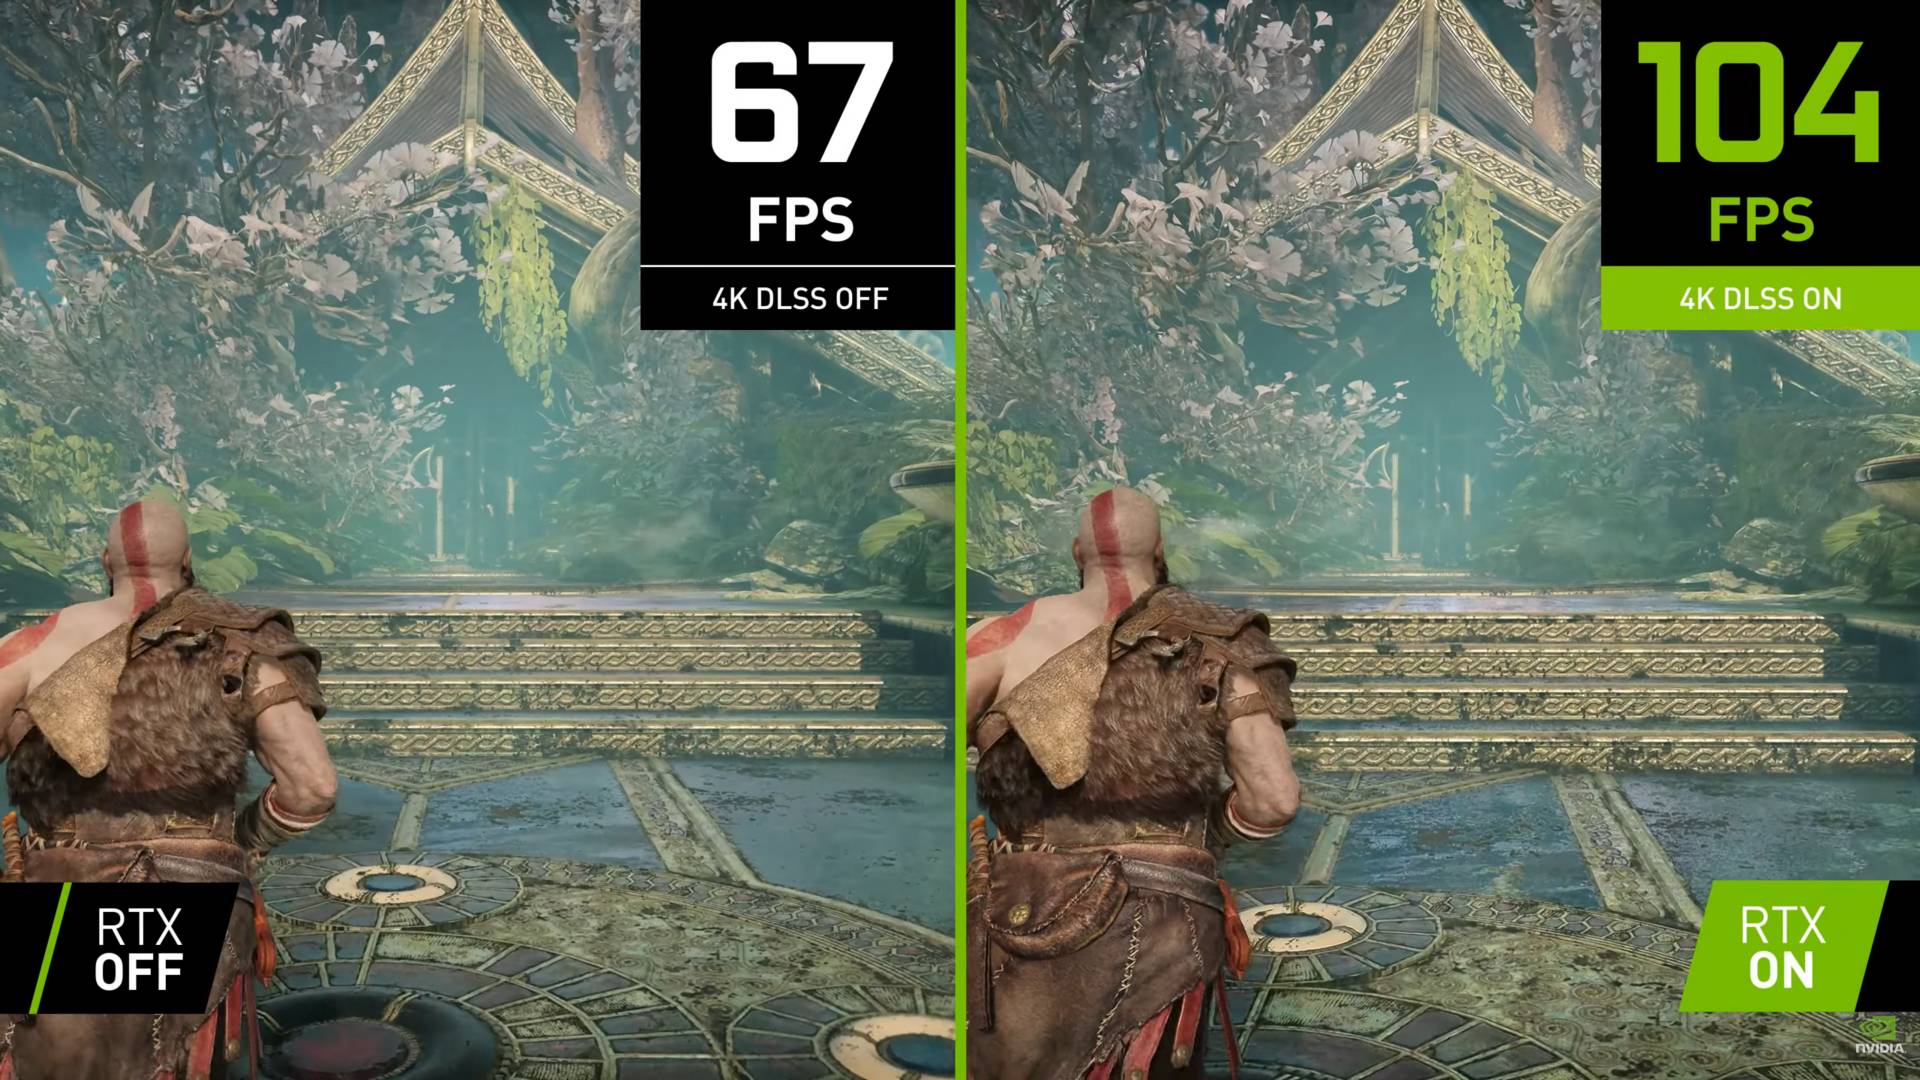
Now let’s move to the settings you should enable in your games, starting with upscaling, specifically the variants based on machine learning (ML). If you had asked me during the DLSS 1 and FSR 1 era about upscaling, my answer would have been a definite “no, avoid at all costs”. However, I must admit that upscaling has improved by leaps and bounds in recent years. In fact, sometimes it can improve the visual stability of games that lack proper antialiasing. It can reduce shimmering and flickering on thin geometry such as fences, wires, and foliage, for example.
Most importantly, it does so while boosting performance to a noticeable degree, depending on your preferred quality level. You can expect about a 20 to 25% boost when selecting the highest quality option, which gives you smoother gameplay compared to native rendering, and with an indistinguishable difference in image quality.
If you need more performance, you can continue down the scale until you nearly double your original frame rate, though this time at some image quality cost. That said, even the lowest setting remains better than traditional resolution scaling methods such as checkerboard rendering.
The best options available, in terms of image quality, are Nvidia’s DLSS 4 transformer model, AMD’s FSR 4, and Intel’s XeSS 3. All of these methods use machine learning. However, earlier versions of AMD FSR don’t use machine learning, and have significantly poorer image quality. If you’re using an AMD GPU, you really want to use FSR 4 if possible.
Also, bear in mind that, while Nvidia RTX 20 and 30-series GPUs can run Nvidia’s transformer model, performance takes a big hit. On these earlier GPUs, you may find that using Nvidia’s older DLSS CNN model at the Quality setting gets you a better balance of performance and image quality.
Even if your game’s frame rate is already maxing out the refresh rate of your monitor, you should still use DLSS 4, FSR 4, and XeSS 2’s Anti-Aliasing modes, called DLAA, Native AA, and XeSS Native Anti-Aliasing for each respective tech, to improve image quality.
Textures
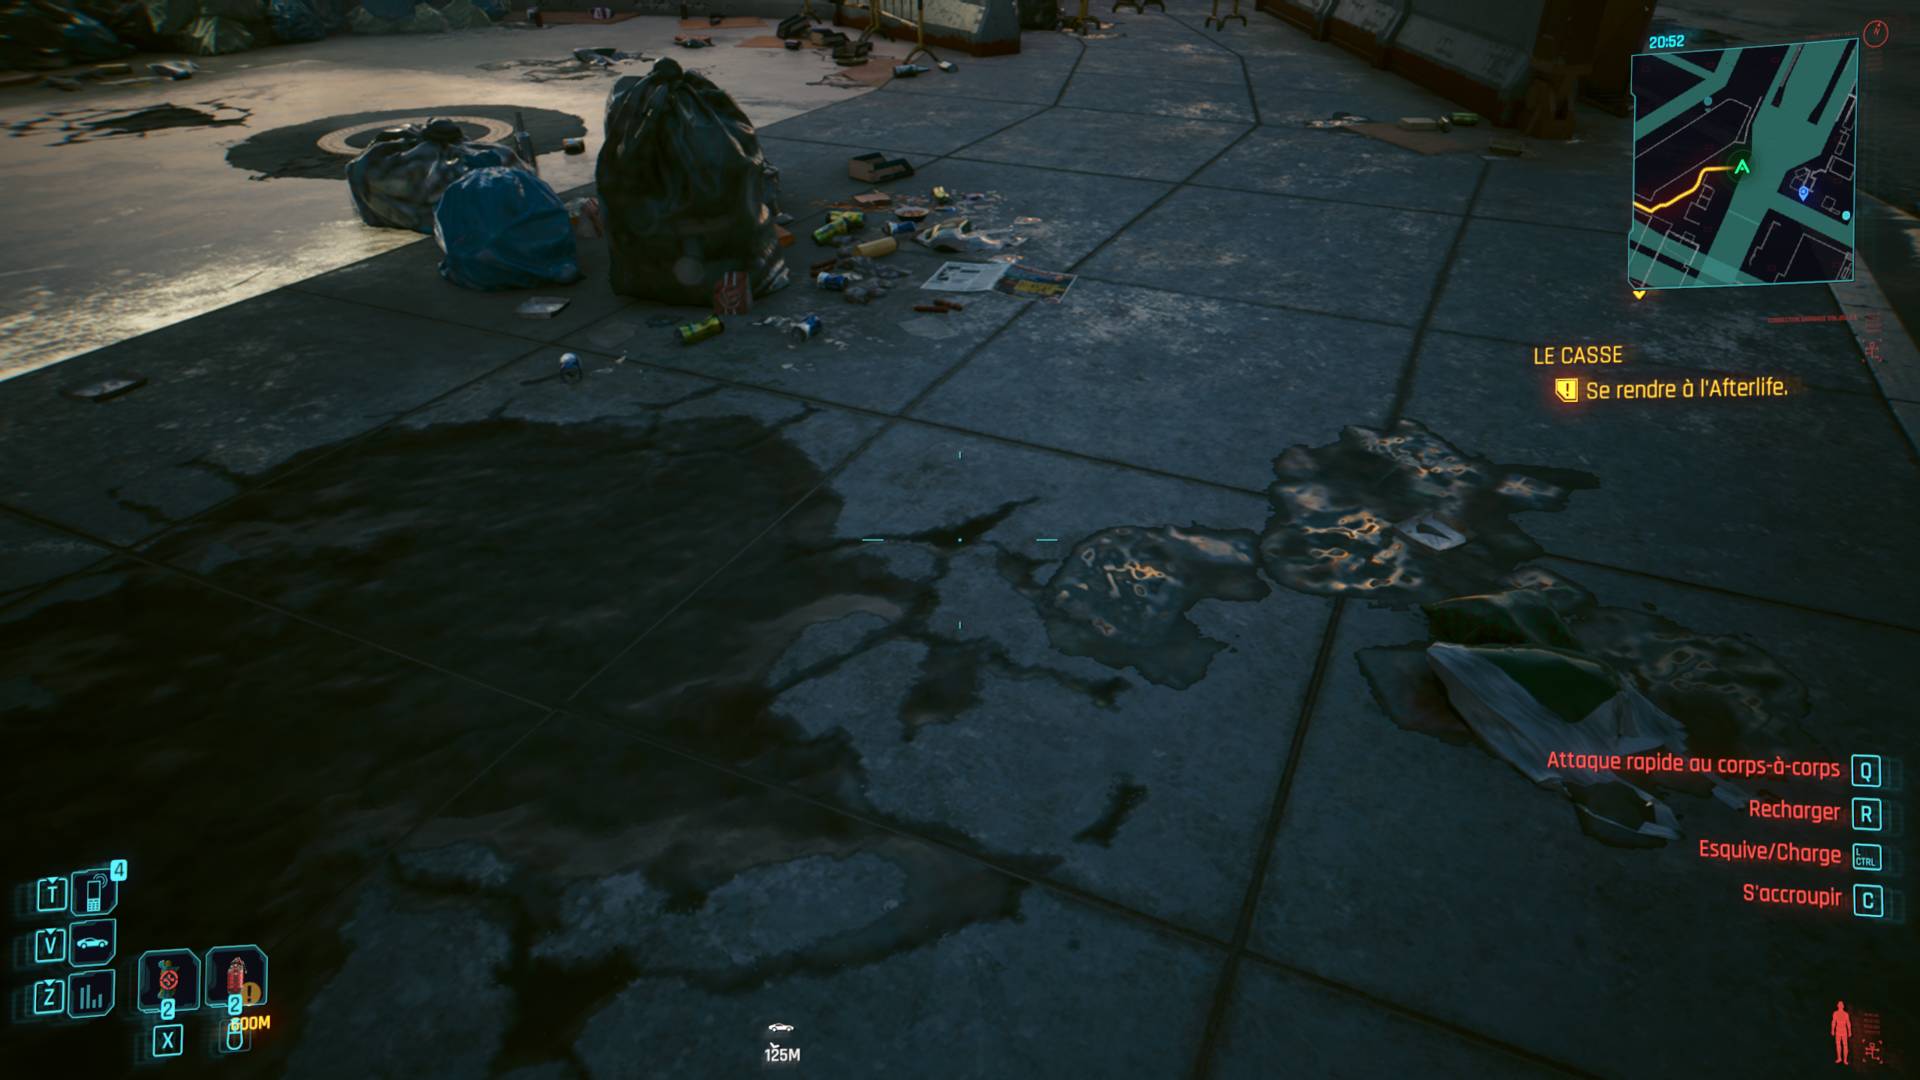
Textures are the 2D images that wrap a game’s 3D models to give them colour, detail, and material properties. They determine a lot of detail in objects by mimicking, for example, a crack on a stone wall.
As such, higher texture quality gets you more detail, making your game look more realistic, especially when you get up close to objects. A low texture setting can make your game look blurry and lacking in detail, contrary to higher ones, which appear sharp, making materials like wood, metal, fabric, and skin look much more convincing.
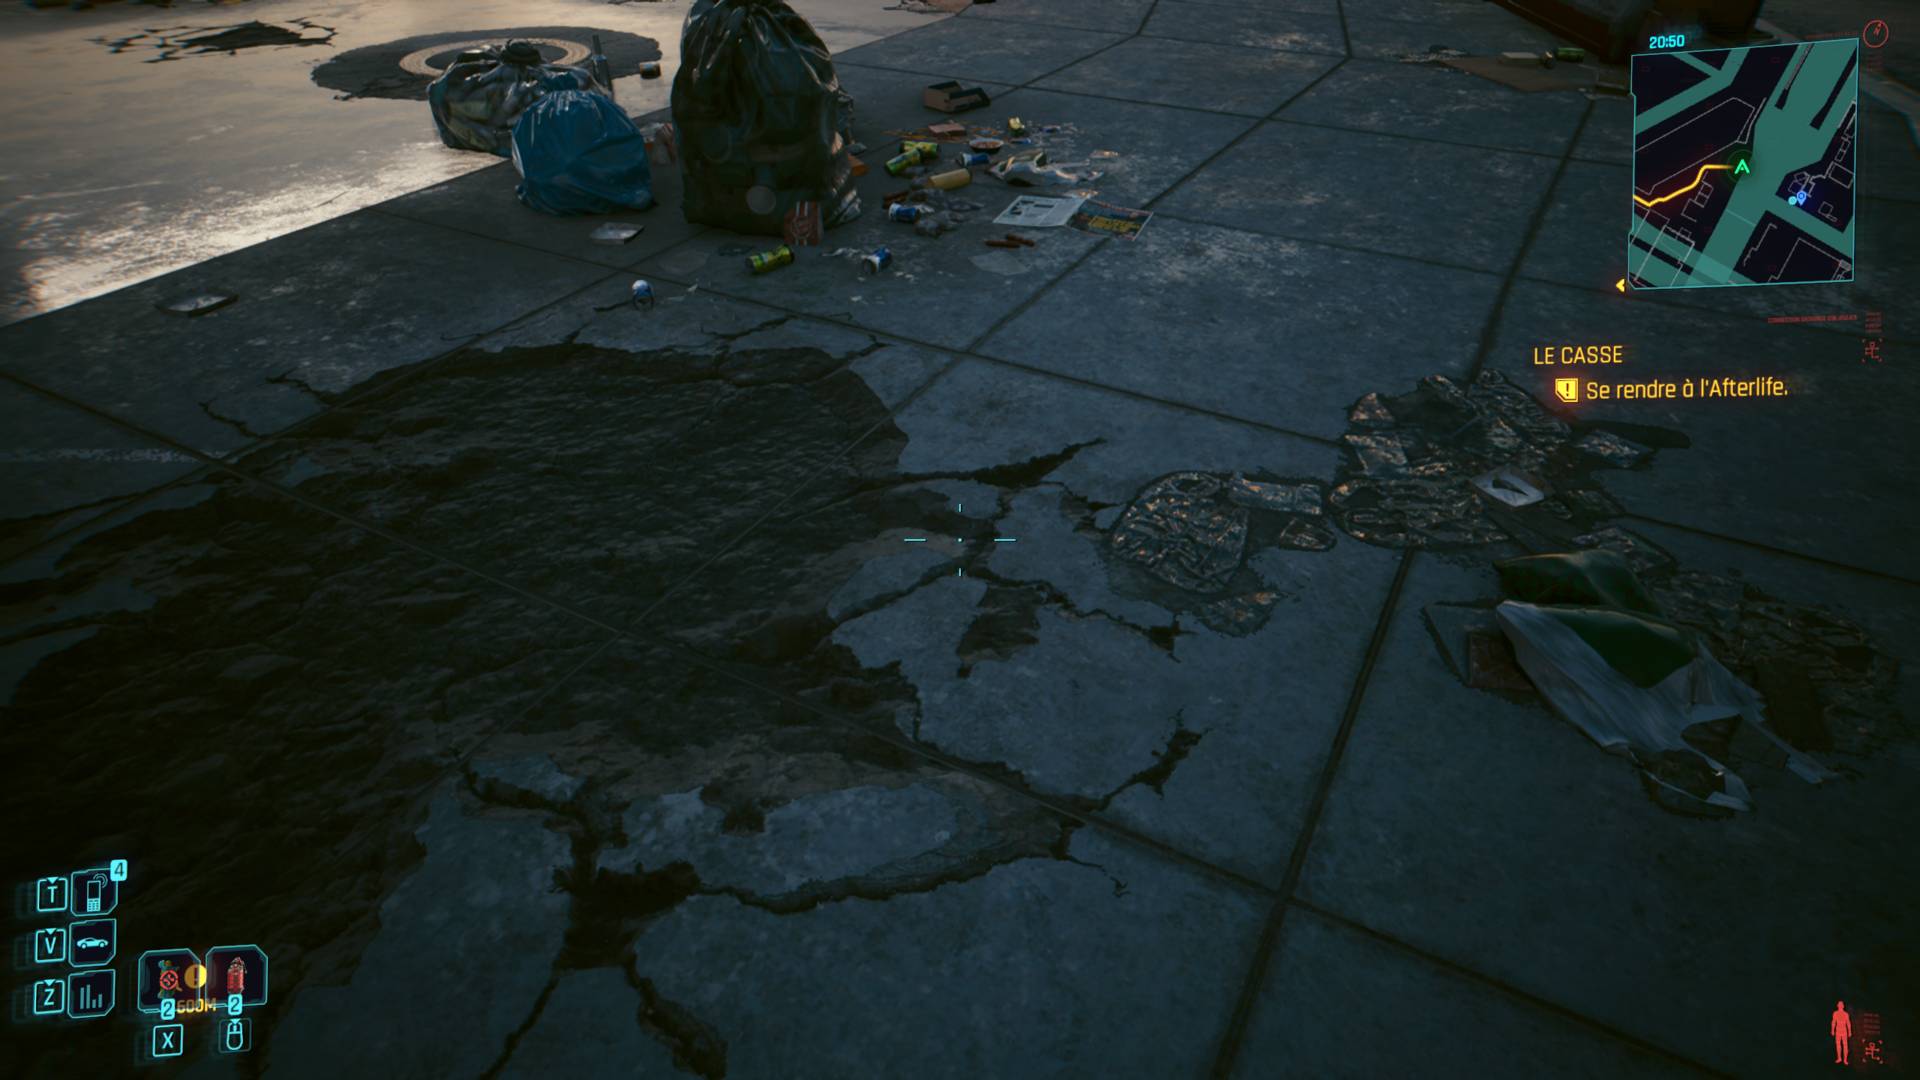
The great thing about textures is that enabling higher quality settings doesn’t always have a hugely noticeable impact on frame rates. They mainly care about how much memory is available on your graphics card. So, if your card has enough VRAM, you can usually crank up those textures.
However, if the selected setting requires more than what your card’s VRAM can support, you could encounter very annoying stutters as the game engine tries to fetch missing data from the system RAM or storage.
This isn’t like other graphics settings, where you can accept some amount of performance hit to enjoy their greater visuals; with textures, you either have enough VRAM for them or not. If your card has plenty of memory, such as a 20GB Radeon RX 7900 XT, you should be able to push game textures to the max without having to think twice.
View distance
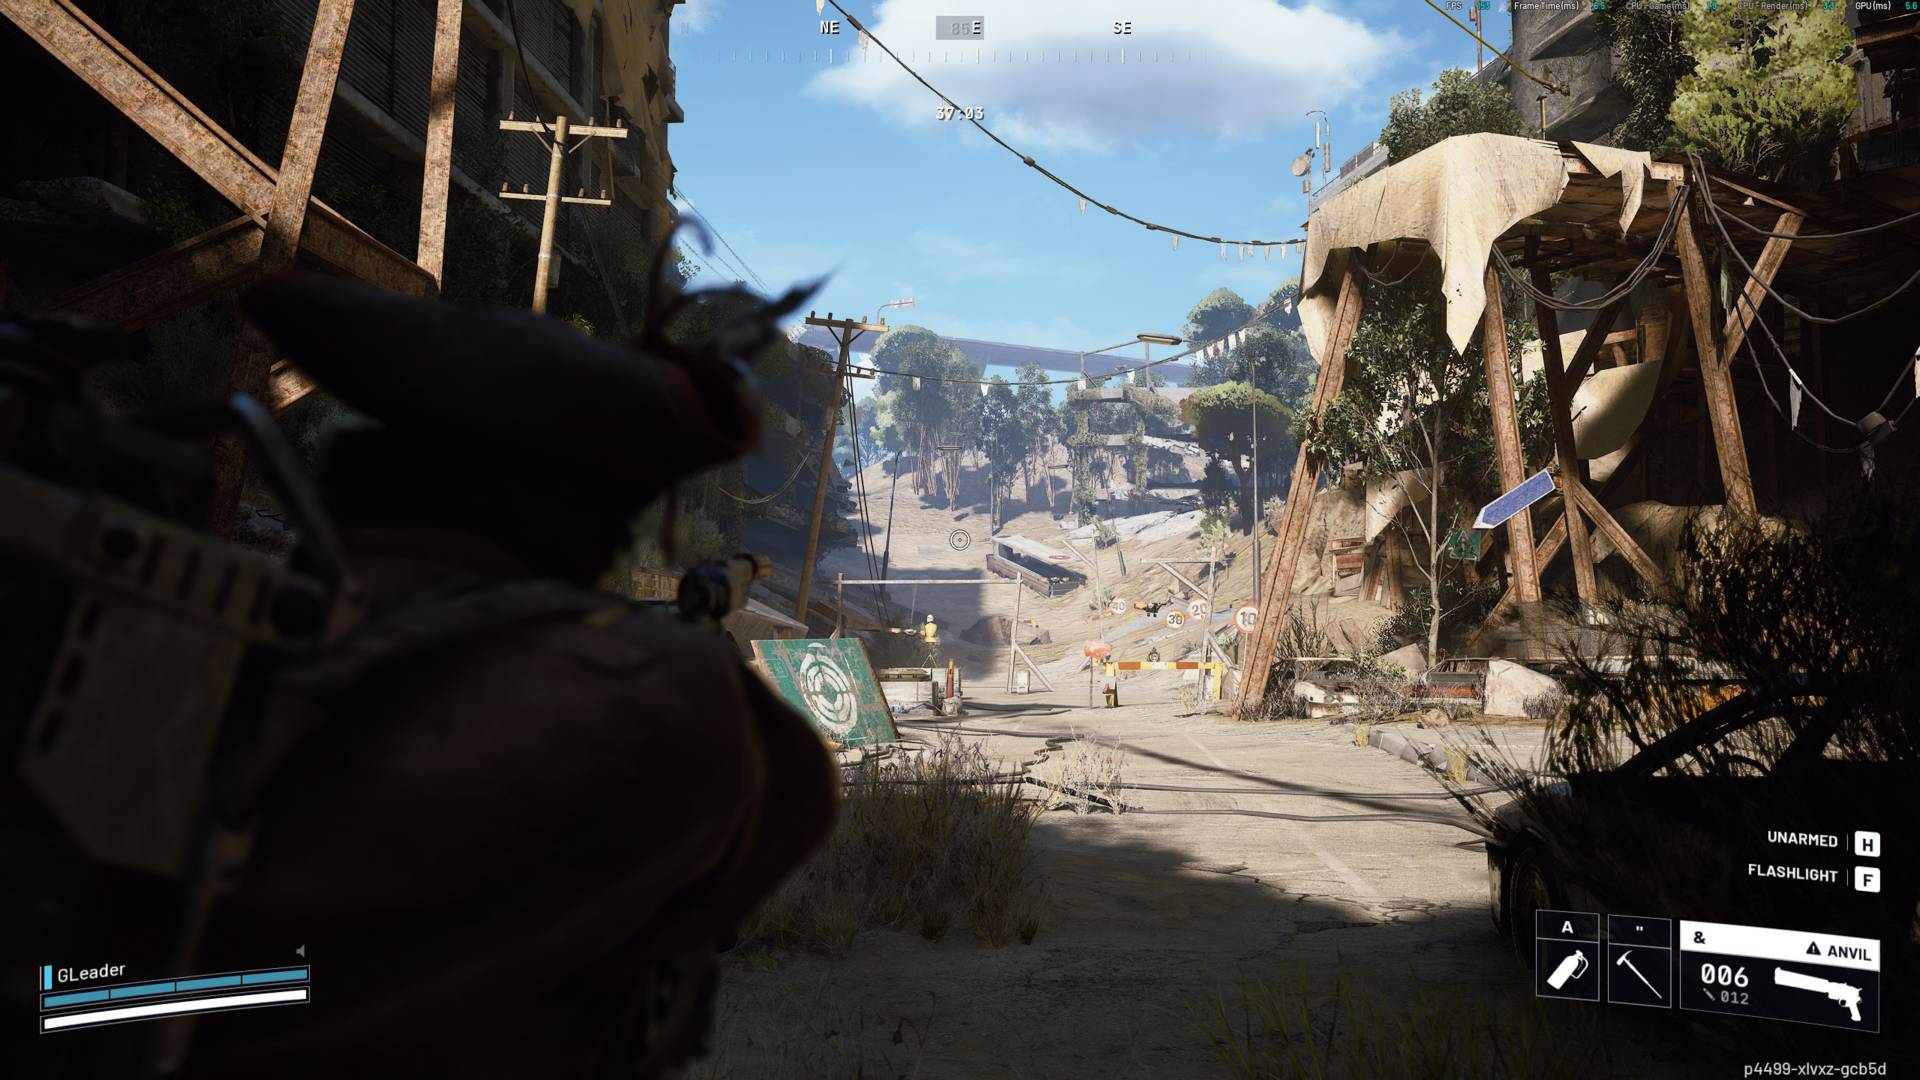
View distance determines how far away the game engine renders objects. Not to be confused with LOD (level of detail), which replaces distant objects with simpler versions to improve performance, this setting determines the distance beyond which parts of a scene are culled and no longer rendered.
A higher setting means you can see objects that are further away, such as trees, buildings, rocks, and NPCs. This makes the game world feel richer, while lowering it causes distant objects to disappear sooner as you move through the world, breaking your sense of immersion.
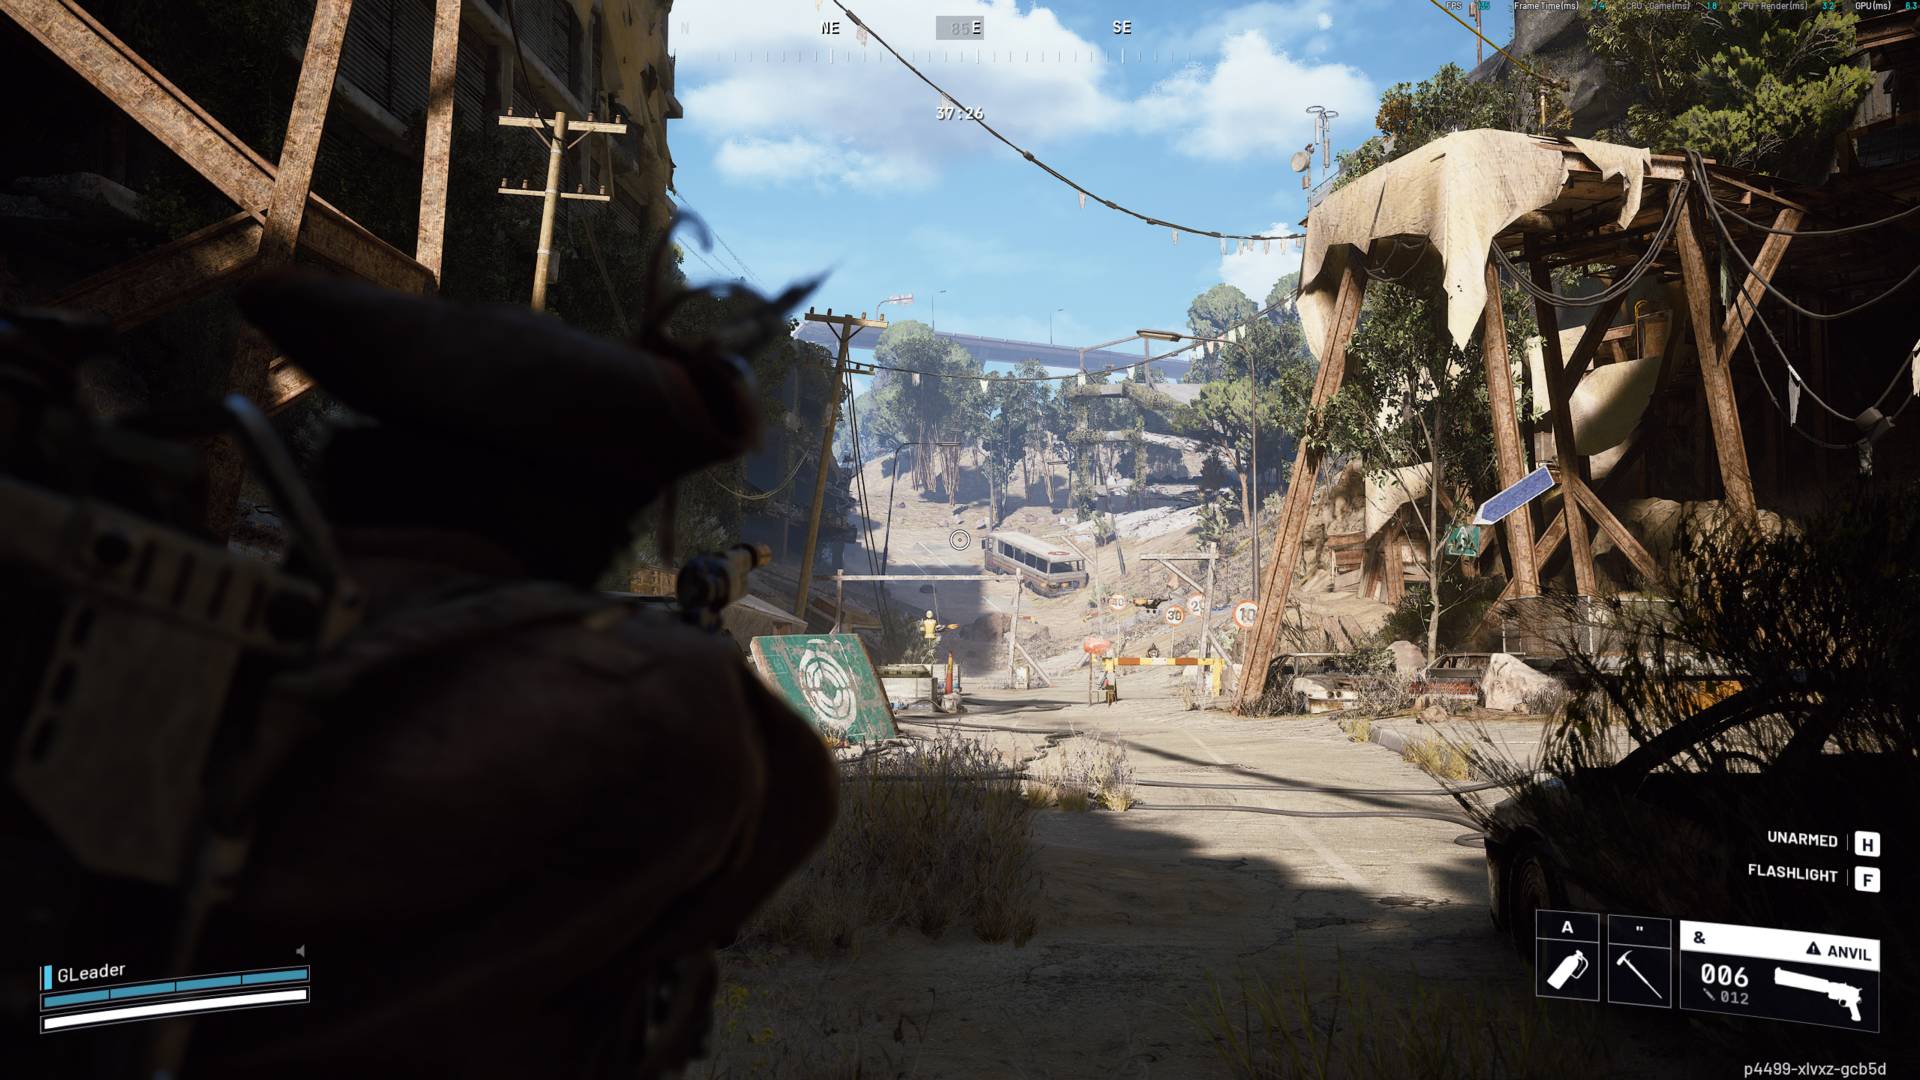
While you could live with missing distant objects, the biggest issue with low view distance is objects suddenly popping into existence as they’re rendered. This can be highly distracting as you travel the game world, seeing rocks and bushes appear from thin air.
Even worse, low view distance can hinder your competitiveness in games, as an enemy may be able to see you before you see them, simply because they used a higher setting. Thankfully, this is less of an issue in modern games, as developers tend to force the same distance for gameplay-critical objects such as players and cover.
Overall, View Distance is especially noticeable in open-worlds, racing games, and flight simulators. So, if you play games where you can see far into the distance, I highly recommend maxing out this setting. Understandably, the higher you go, the more demanding it will become on your hardware, but the gains are worth it in my opinion. To be clear, we are not talking about ray tracing level of demand here; in fact, it may be lighter than maxing out reflections or shadows.
Shadows
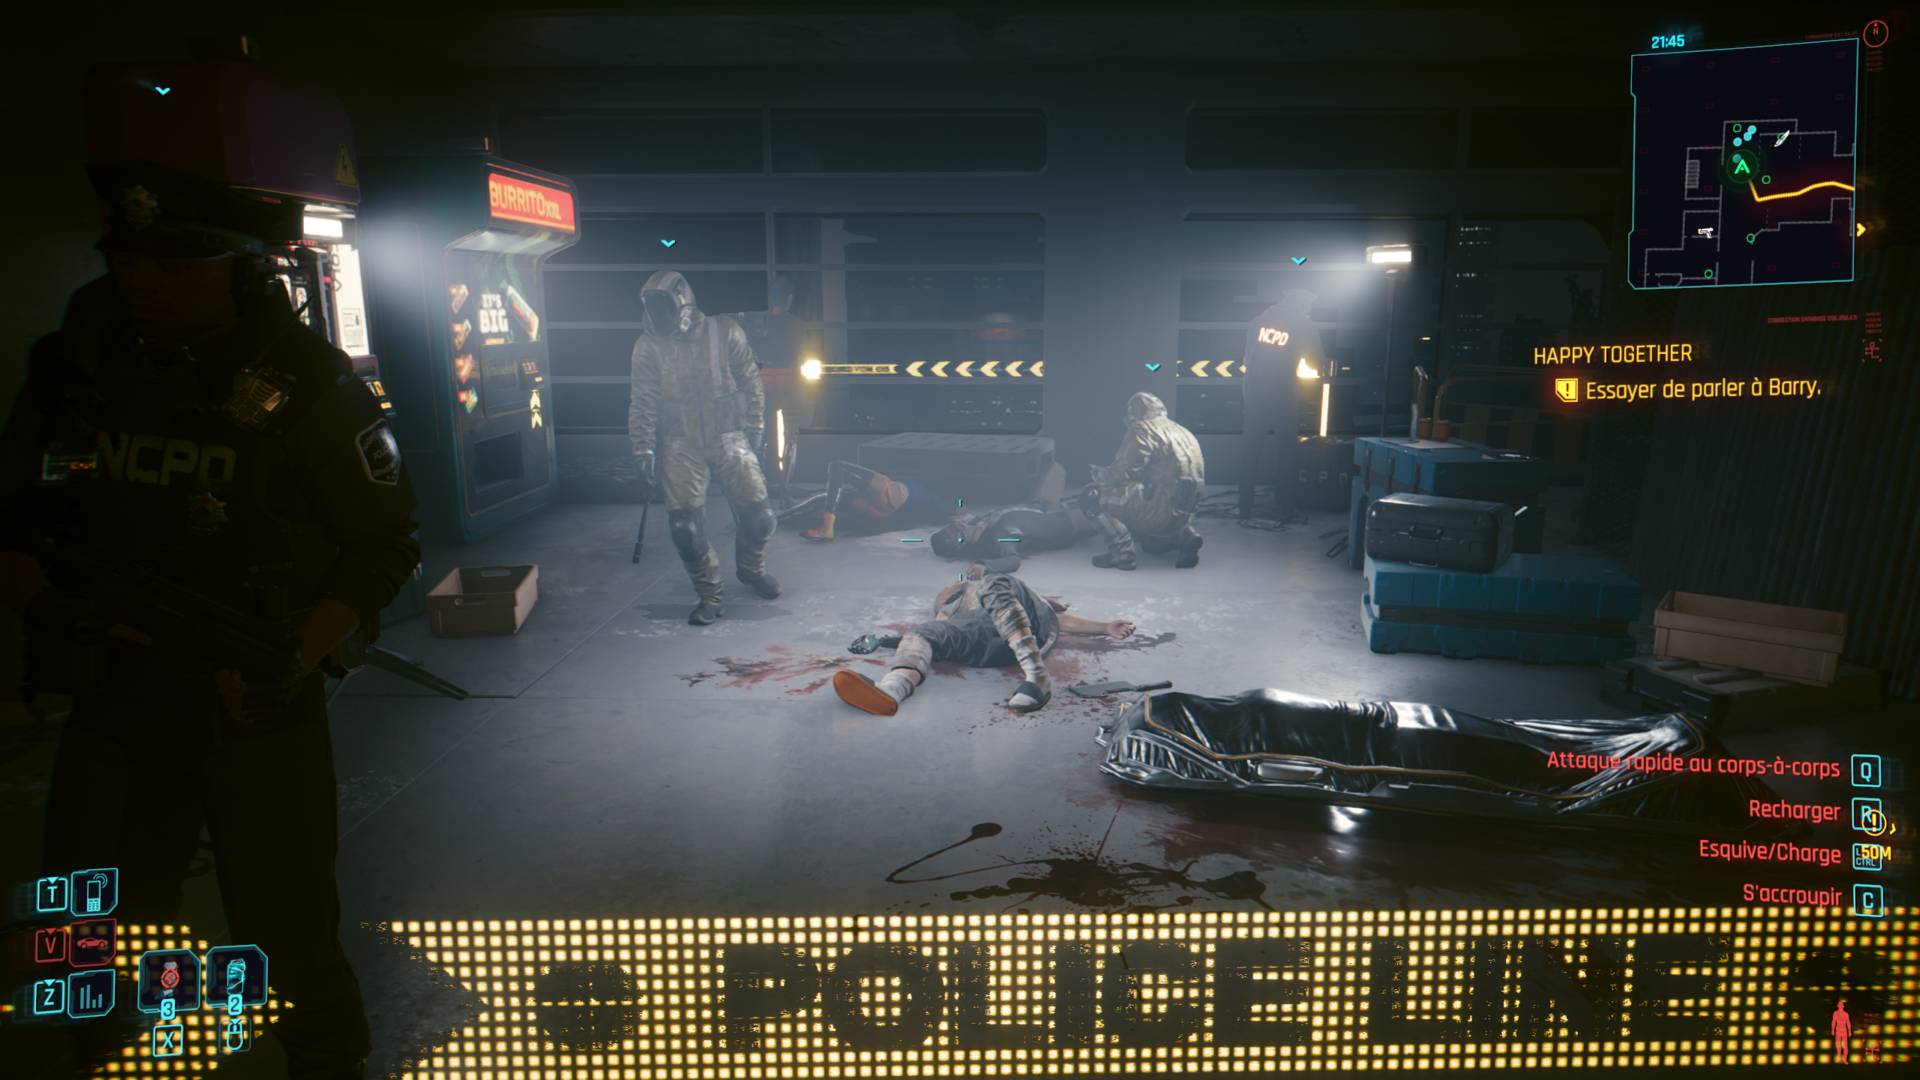
This setting control how realistic and detailed the shadows in the game look, and at what distance they appear. Sometimes the detail and view distance of shadows use separate settings, but in general they’re found under the same option. Overall, a higher quality setting produces sharper, more accurate shadows that improve the sense of depth and make the game world feel more real. On the other hand, lower settings can result in blurry shadows, or ones that disappear altogether, even at medium distances.
That said, unlike textures and view distance, the highest shadow-quality option may not look the best to your eyes. Some games make shadow detail too sharp at high graphics settings, which feels less realistic than the slight blur of a medium setting. What is sure is that you want to avoid disabling shadows entirely, as this makes the game world look flat.
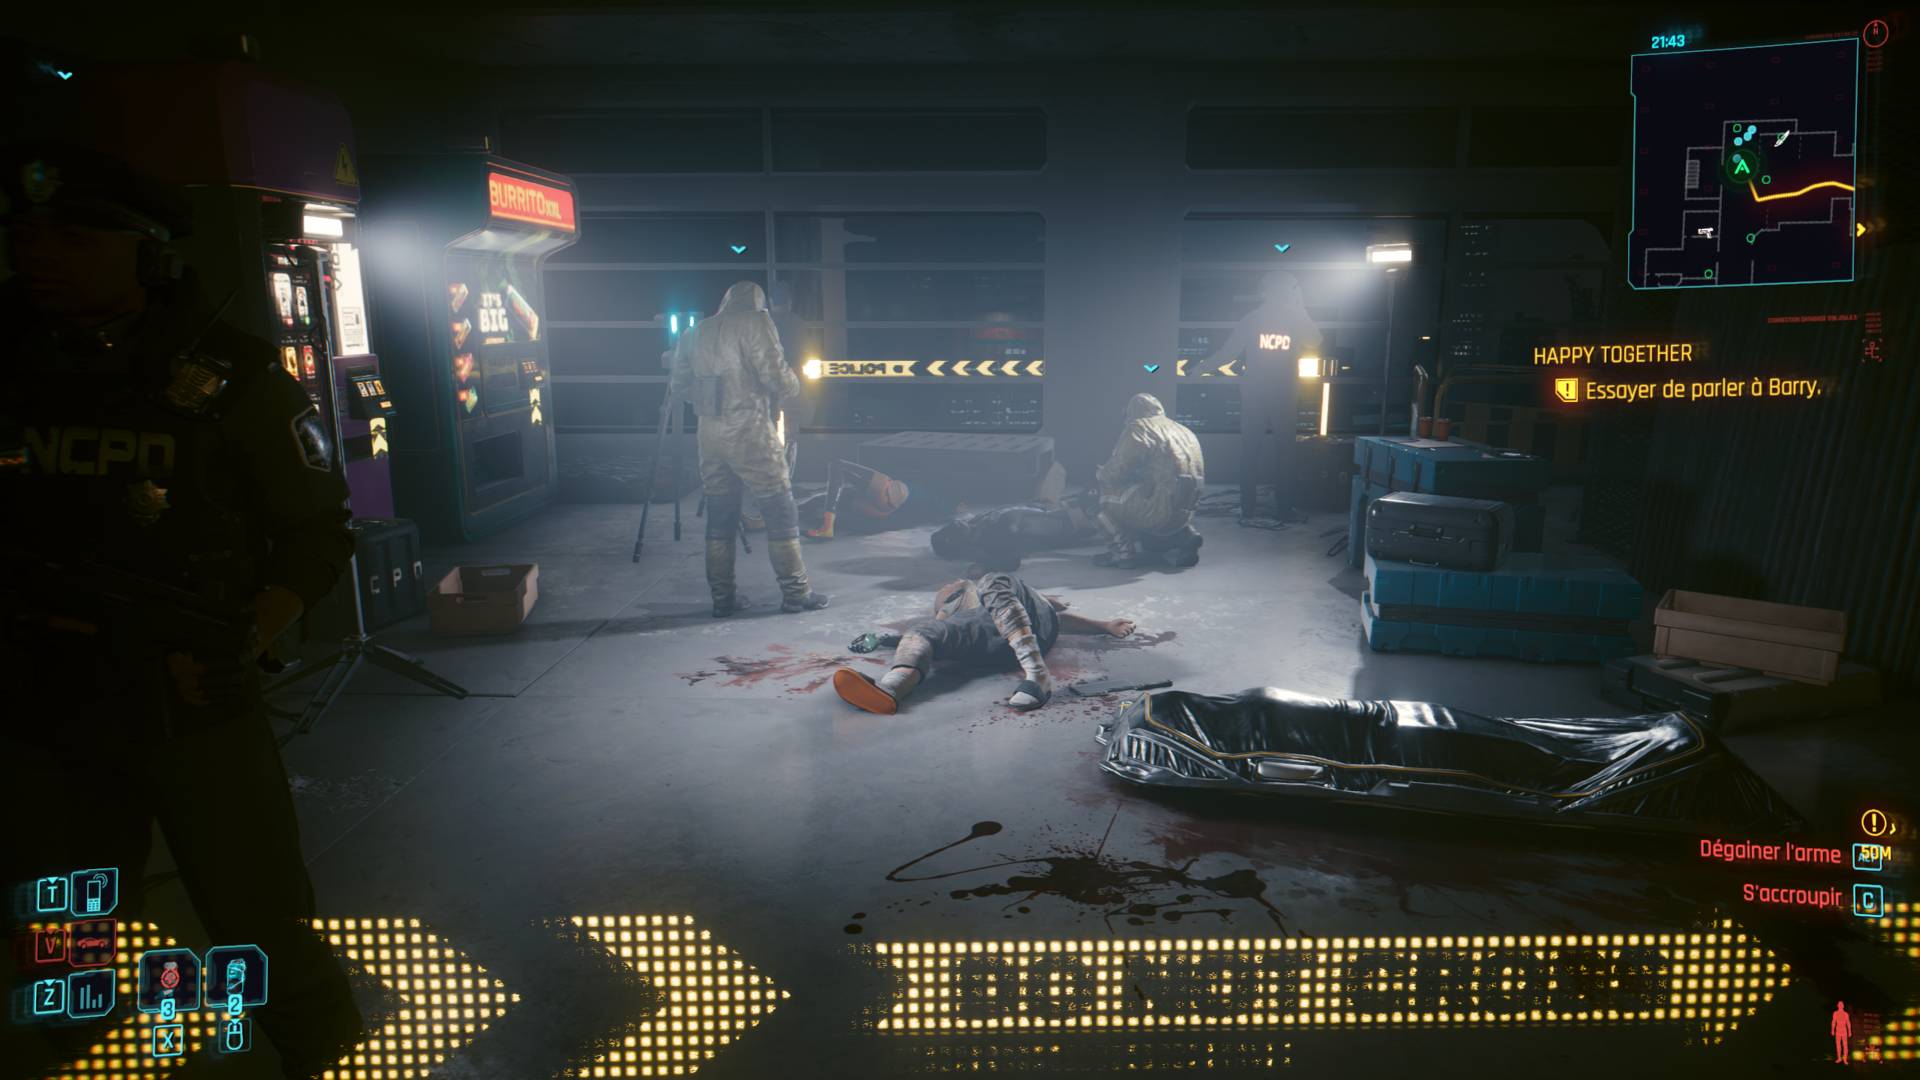
Shadows play a pivotal role in grounding objects in a scene. When coupled with settings such as ambient occlusion and global illumination, items sitting on the ground, or on shelves/tables, such as chairs or containers, give a more natural soft shadow at the contact points.
Unsurprisingly, shadow-based scene enhancement comes at a large performance cost, which makes it among the first settings players lower to improve their frame rate. Despite its performance cost, shadows are an important part of any game, even competitive ones, unless you earn your living from esports games. I would even prioritise it over the view distance and reflections.
So there you go. If you’re looking for the key graphics settings to enable and disable, whether you want to improve the way a game looks, or boost its performance, these are the prime tweaks we recommend using. If you think you may be due an upgrade, check out our guide to buying the best GPU, to find the one best suited to your needs and budget.