
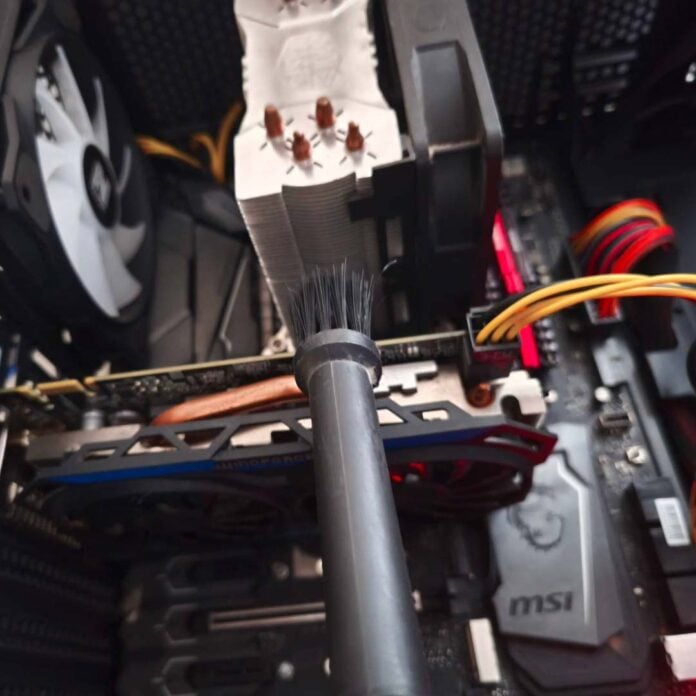
Dust isn’t just an ugly grey powder that makes your PC look messy, but it also settles between cooler fins, behind fan blades, and between filter holes, and stops them working properly. Over time, it can restrict airflow and reduce your coolers’ heat dissipation, causing component temperatures to rise. That, in turn, results in louder noise levels, as the system tries to counter heat by running its fans faster.
Unfortunately, dust buildup is inevitable, even if you clean your room regularly. It’s just a matter of time until your case’s vents and hardware parts collect deposits that can reduce airflow if they’re left uncleaned. While modern CPUs and GPUs are designed to reduce their frequency (thermal throttling) to avoid overheating and damage, you wouldn’t want to reach this level, as you would be leaving performance on the table for no reason.
What’s more, that constant exposure to high temperatures accelerates wear and tear on sensitive electronics such as capacitors. Thankfully, new PC cases often take dust into consideration with their design, shipping with removable/cleanable filters. While even the best filters can’t stop every particle of dust, they do block a good amount, expanding the duration between each in-depth cleanup. As such, cleaning your filters regularly is the best way to maintain maximum performance and low operating noise.
In this piece, I’ll cover some easy steps you can follow to clean your machine, as well as what to avoid. To keep everyone within their comfort zone, I’ll kick off with the easiest and safest method, then start going deeper, depending on the level of dust accumulated inside your machine. If you would like to take this occasion to tackle your peripherals as well as your PC, we also have a guide showing you how to clean your keyboard.
Tools you need
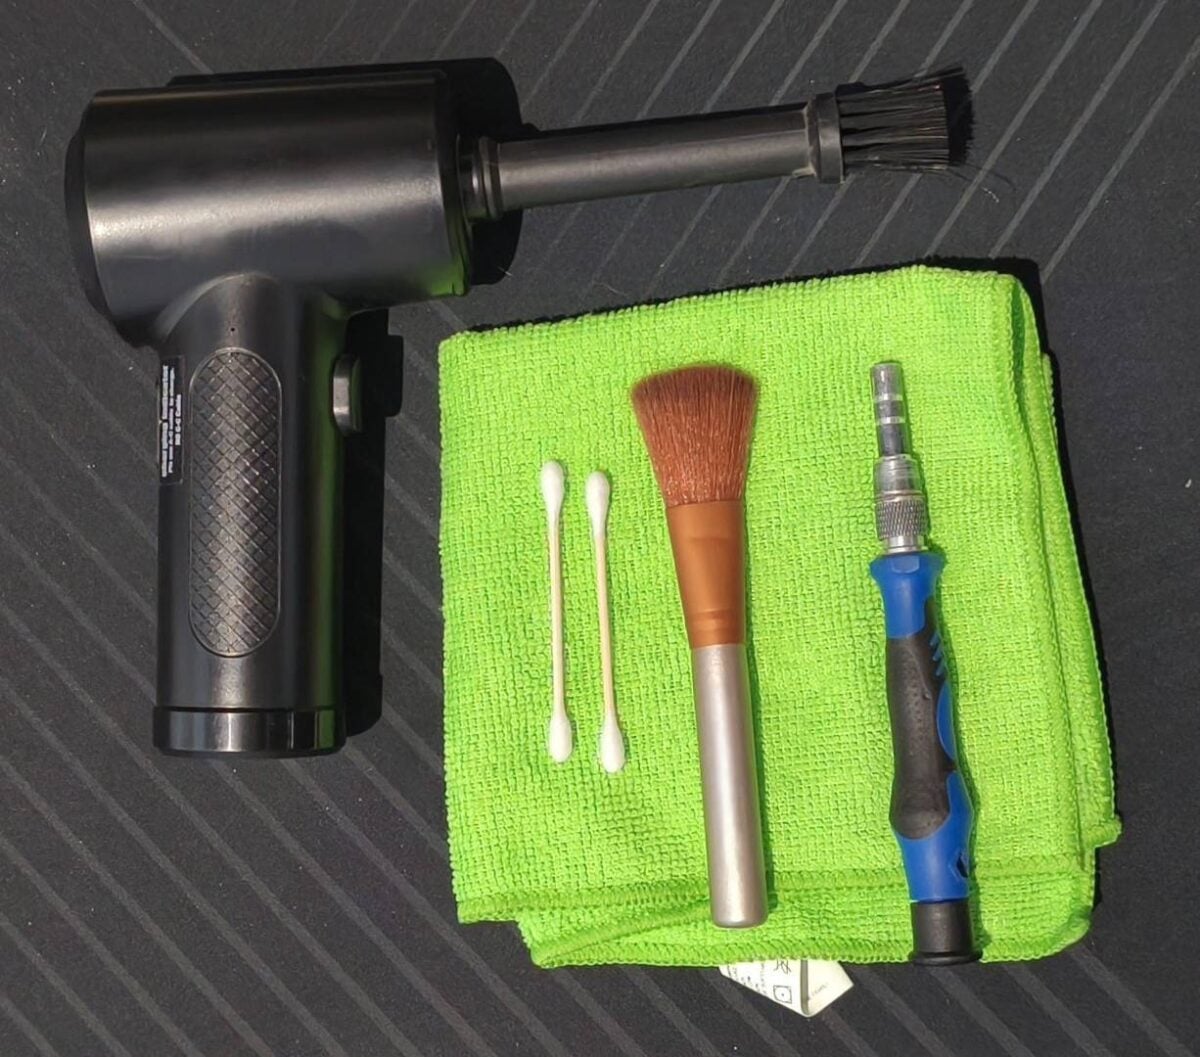
You won’t need many tools to clean your PC, but having the following kit can certainly make your life easier:
- No. 2 Philips screwdriver – to remove panels, fans, or components.
- Microfibre cloth – to clean flat surfaces and glass. Microfibre is preferable, as it doesn’t leave lint behind. Avoid using paper towels or other cloths that can leave residue.
- Brush with soft hair – a small paint or makeup brush can be handy to sweep dust from corners and fan blades.
- Air blower or can of compressed air – to dislodge dust from between cooler fins and motherboard components. If your vacuum cleaner has a blower setting, you can use it, but the pressure will likely be lower than canned air. Avoid using suction mode on your vacuum cleaner, though, as it creates static discharges that could damage your hardware.
- Cotton swabs – to push dust out of tight spaces.
If you’re missing one of these tools, don’t worry; you can do a lot with a simple piece of cloth if you have patience.
Cleaning the case and filters
Before you start, shut down your PC and disconnect all its cables. Take a picture of the rear I/O panel if you’re not familiar with where each peripheral is plugged into your system. Then, take your computer into an open, well-ventilated area, ideally outdoors.
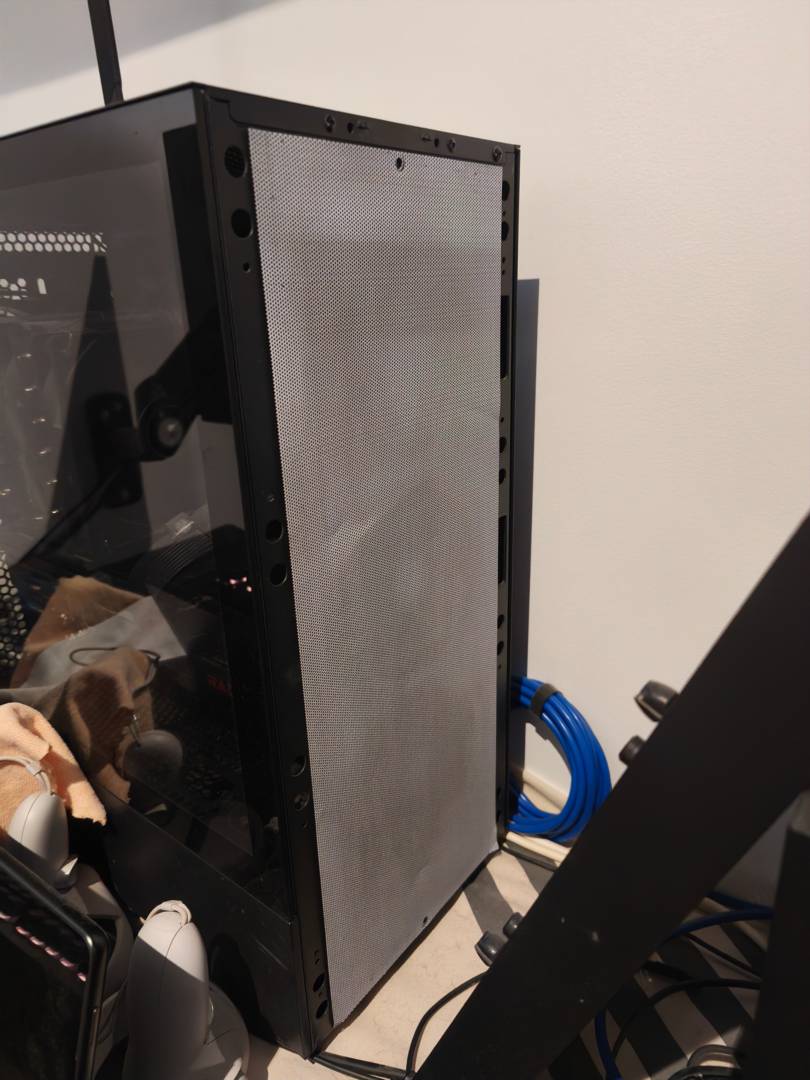
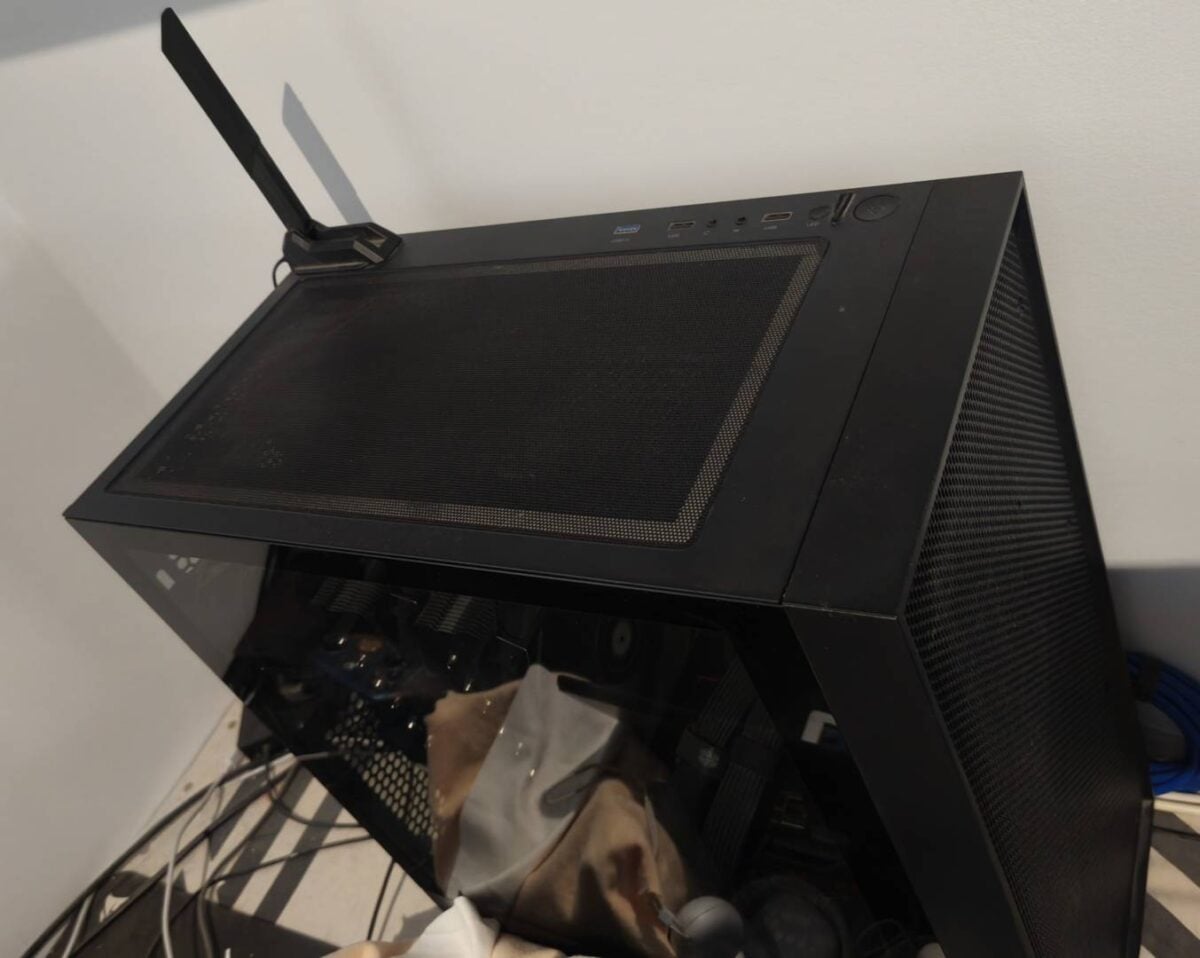
Start by wiping off any dust accumulated on the front, top, rear, and sides of the case, using a piece of cloth. Next, remove any available dust filters, and clean them thoroughly. These are often found in the front, top, and bottom of your case, and some of them can safely be cleaned with water if needed. A dry or slightly wet cloth should be more than enough to remove any accumulated dust.
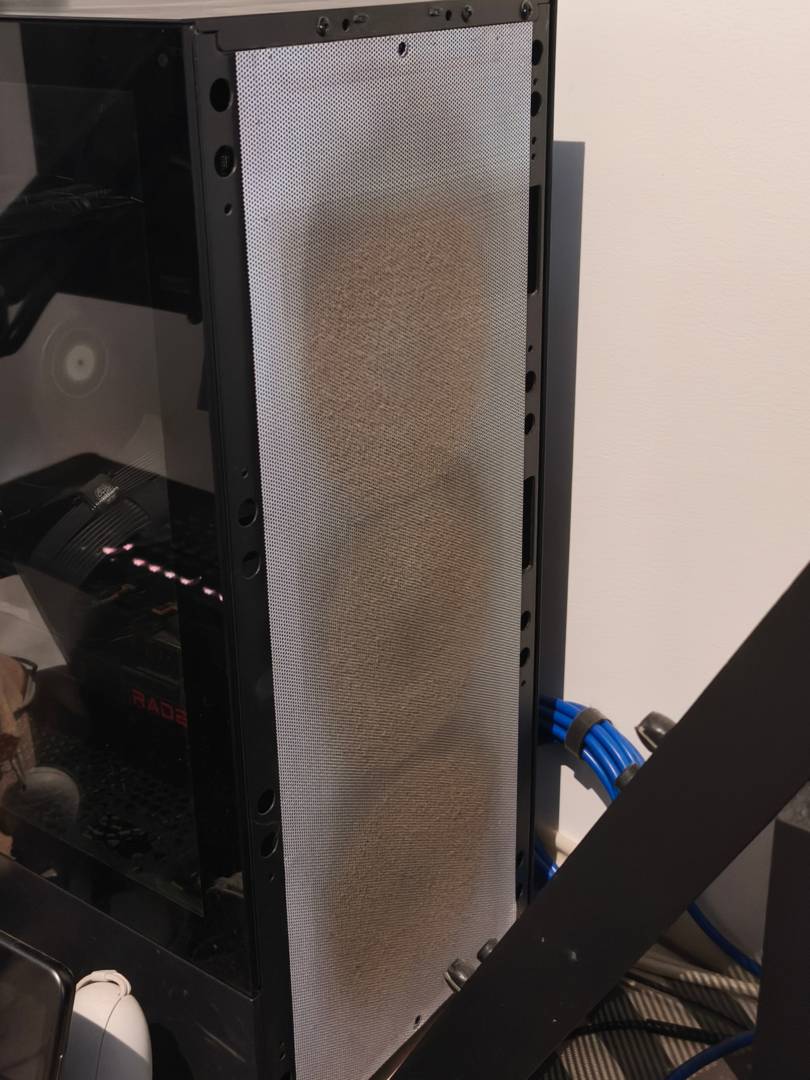
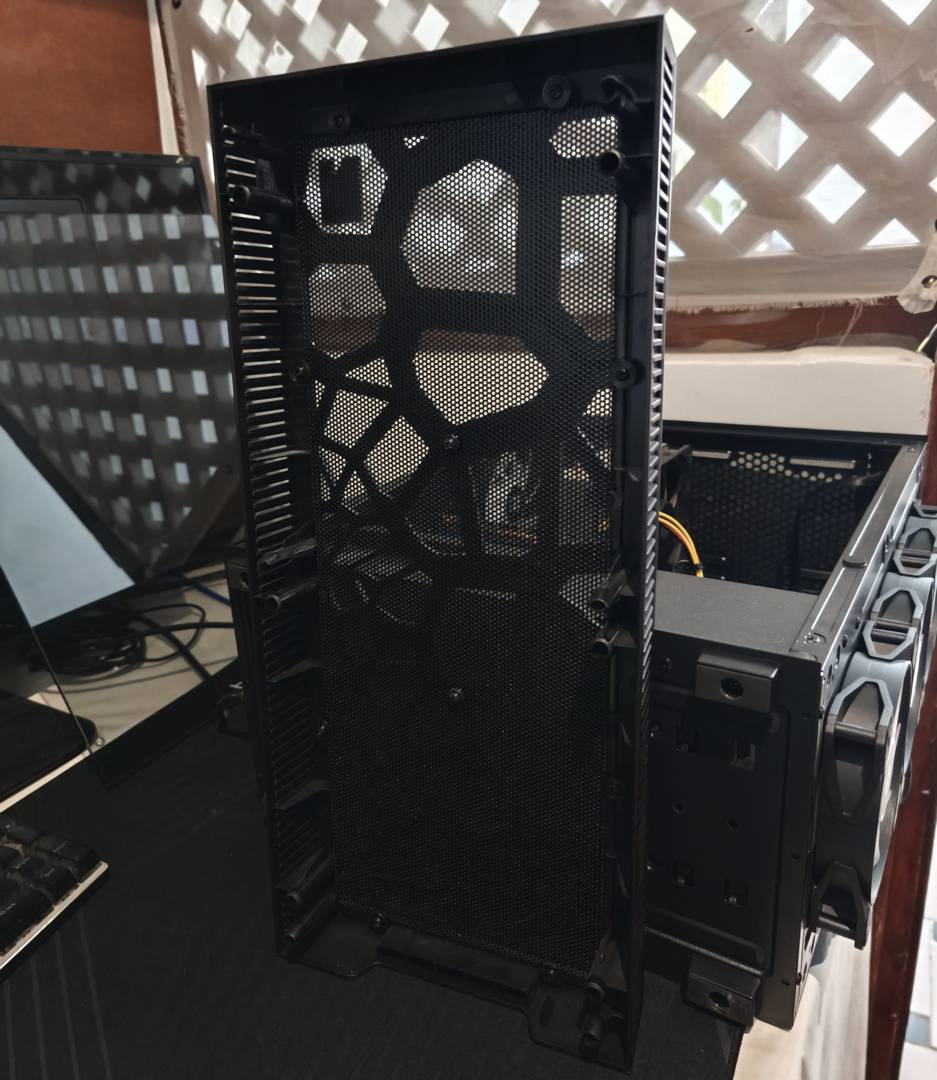
Note that some case front panels double as filters, while others use detachable filters to simplify cleaning (see examples above). Regardless of the type you have, clean every area that seems dusty. Some case covers are held in place by retention pegs, while others use bezel clips.
The former makes your front panel much easier to remove, as you only need to pull the facade toward you to remove it, whereas the latter may require you to manually unlock each clip from the inside of the case. Likewise, some cases use sliding filters, while others include magnetically attached ones. If you’re in doubt, check your case manual. Regardless, of the fixing mechanism used, make sure you clean all the dust our of every part of your filters.
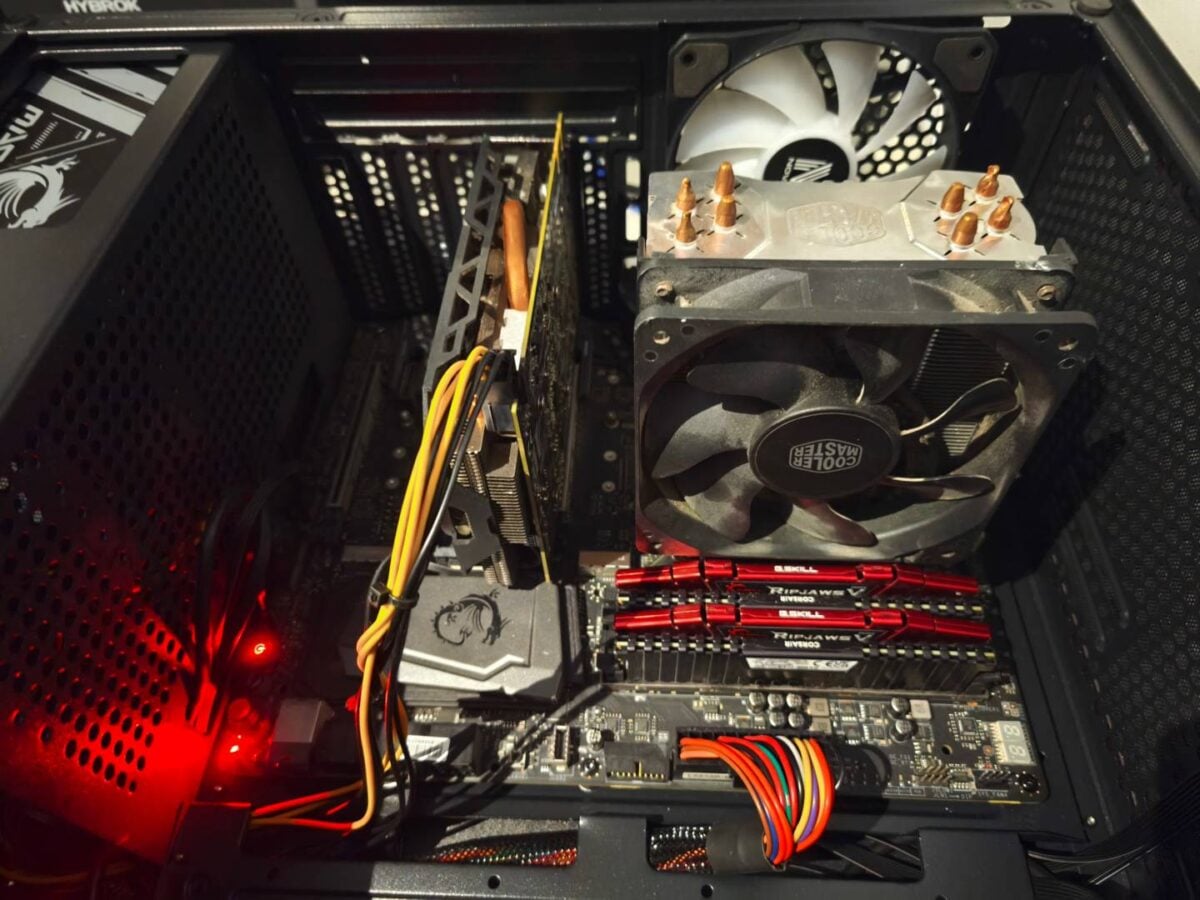
If the inside of your case and components look clean, there’s no need to proceed further; just clean all the filters and put them back in place. If you stumble upon a hard spot, rubbing it with some isopropyl alcohol can do wonders to remove dirt. Also, if your case has glass side panels, you can use a window-cleaning solution to make it look pristine.
Cleaning coolers and fans
With the outside clean, let’s turn our attention toward the inside. Firstly, avoid standing on a carpet while handling your hardware, as this can build up static charge on your body, which can be discharged into your components, damaging them. If you have an antistatic wrist strap, even better.
When you’re ready, start by removing both your case’s side panels so you can get full access to the internal components. This may require the use of a screwdriver to remove any screws locking the panels in place, which can be found either around the corners of the panel or behind the case (pictures below). Some models use push-lock mechanisms to hold side panels in place as well.
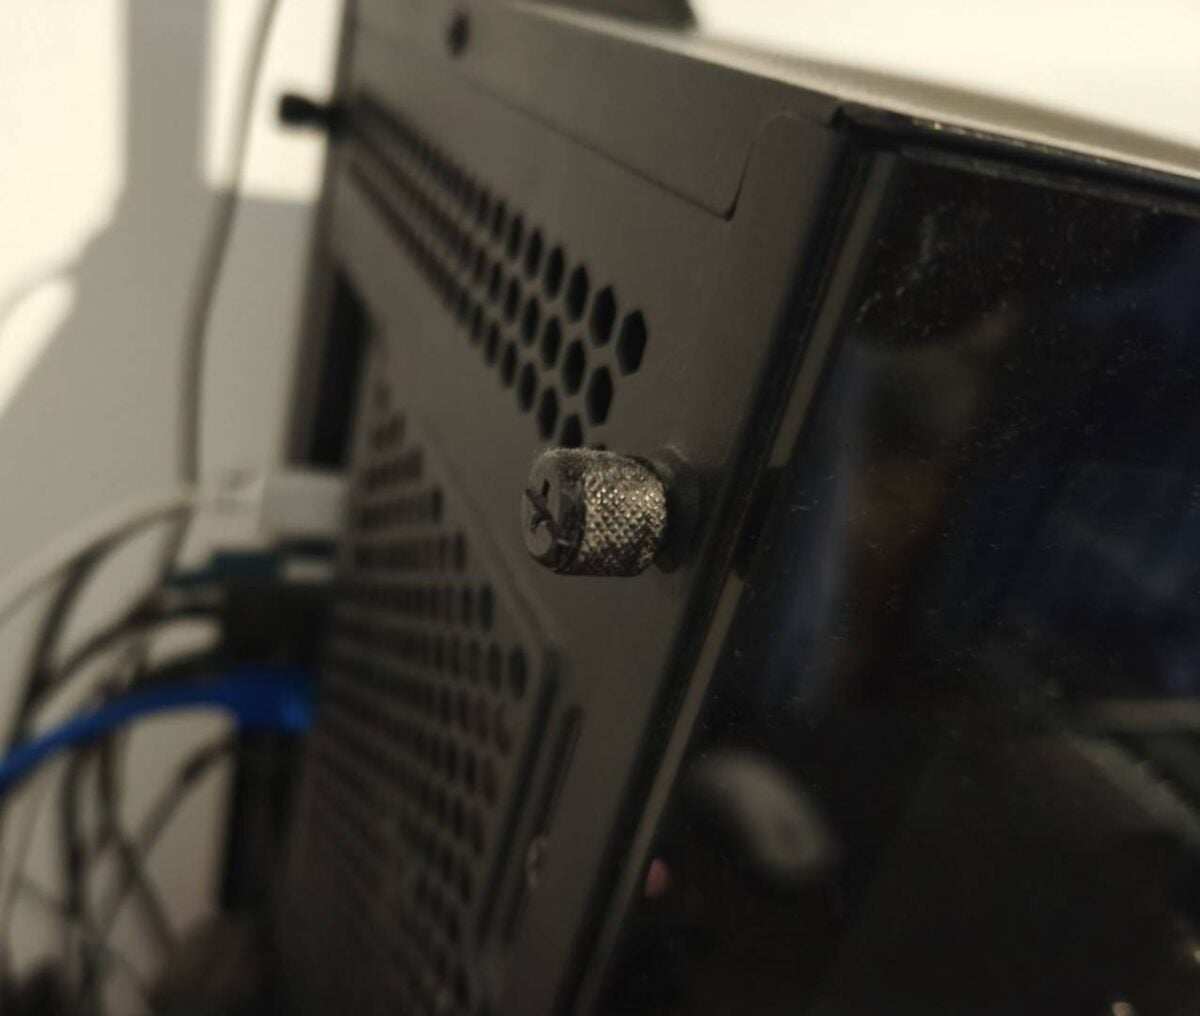
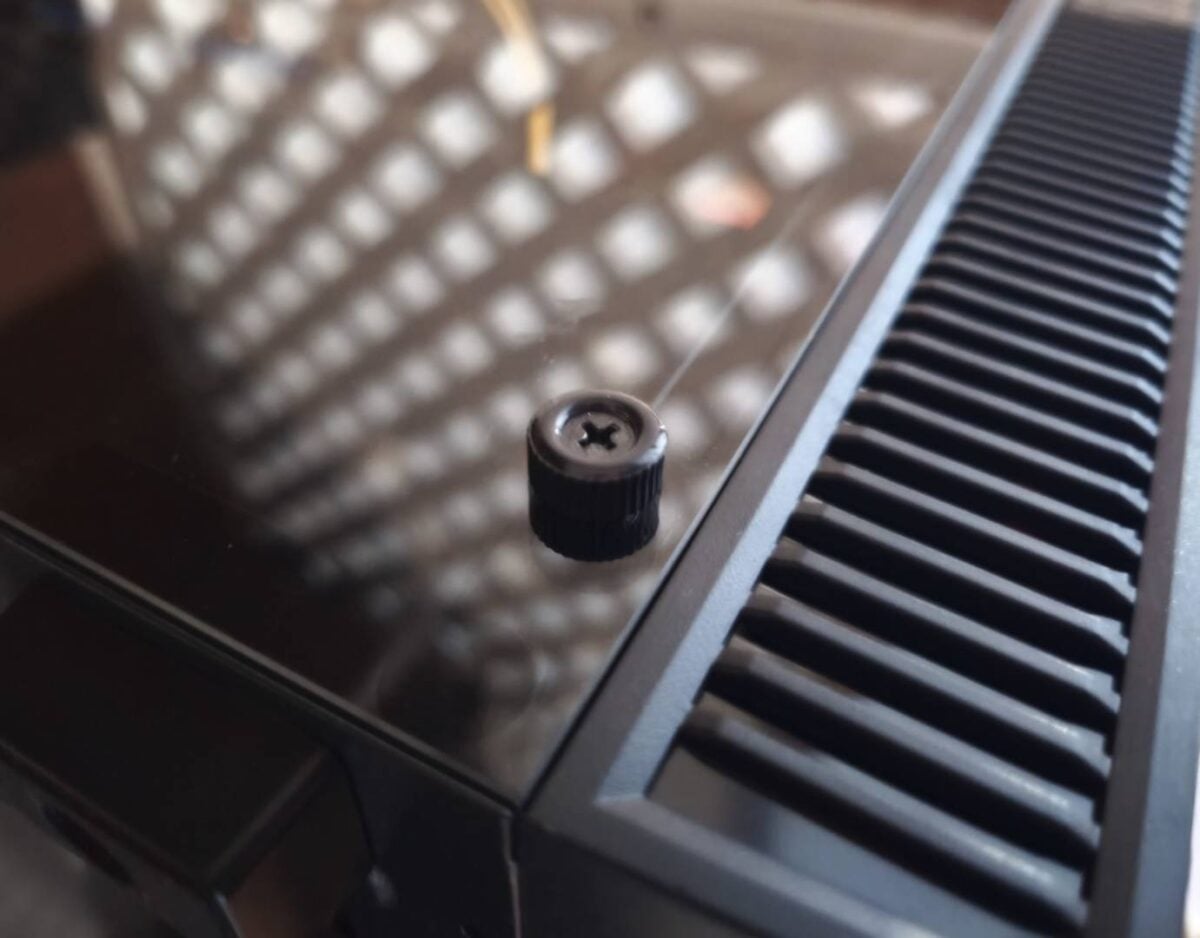
After removing the panels, use your air blower or compressed air can to blow out any loose dust bits. There’s no need to shove the blower into your components; staying a distance of 5-10cm away from them will be fine. If you use compressed air, keep the can upright and don’t tilt it while spraying, to avoid spewing liquid out of the nozzle.
Remove as much dust as possible, and pay special attention to nooks and crannies where dust loves to accumulate. For your graphics card and CPU cooler, aim the air blower at their respective cooling fins, whether it’s a heatsink or radiator. You may be surprised at how much dust can hide between the fins. While doing so, make sure you hold any fan blades still to stop them from rotating. A high airstream can spin these fans fast enough to break their blades or damage their bearings, plus spinning fans makes the cleaning process less efficient.
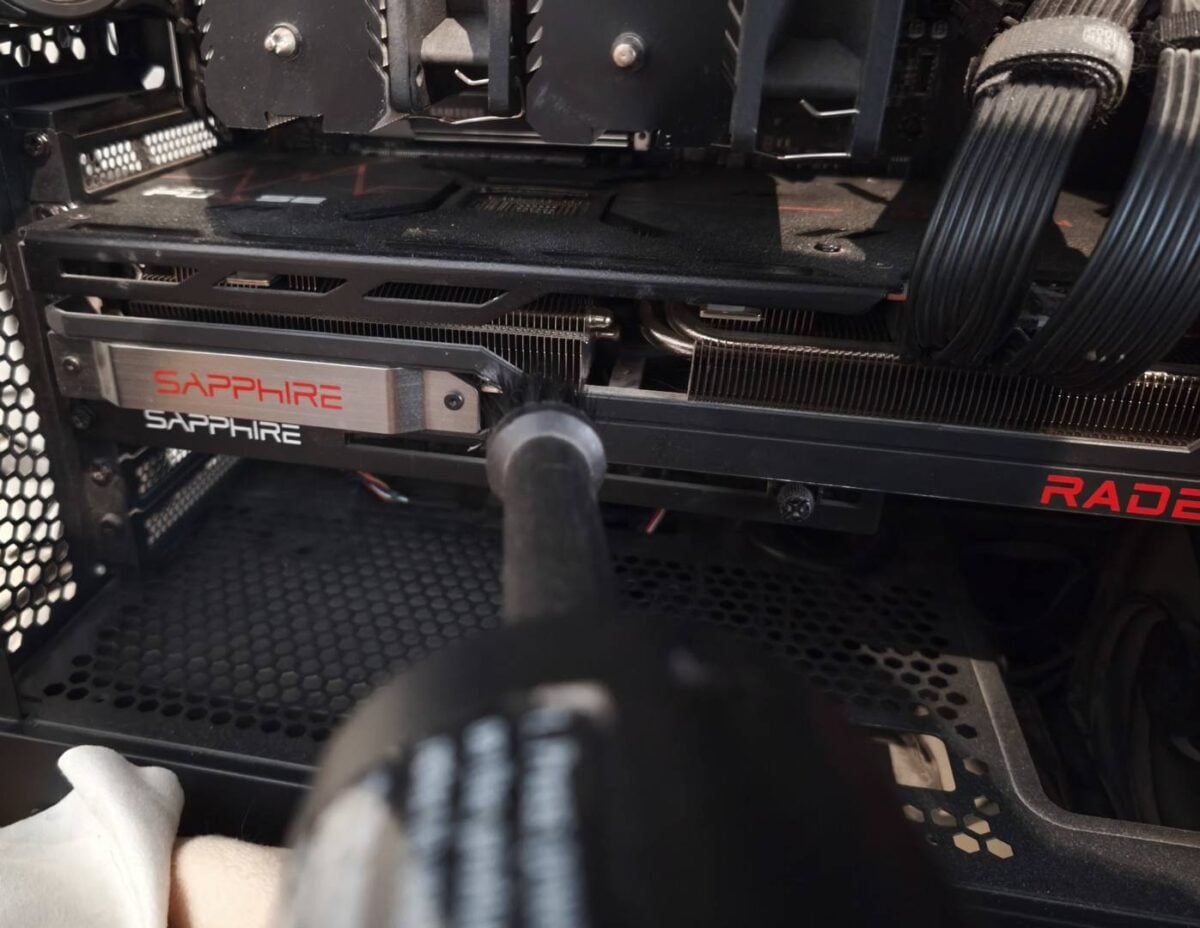
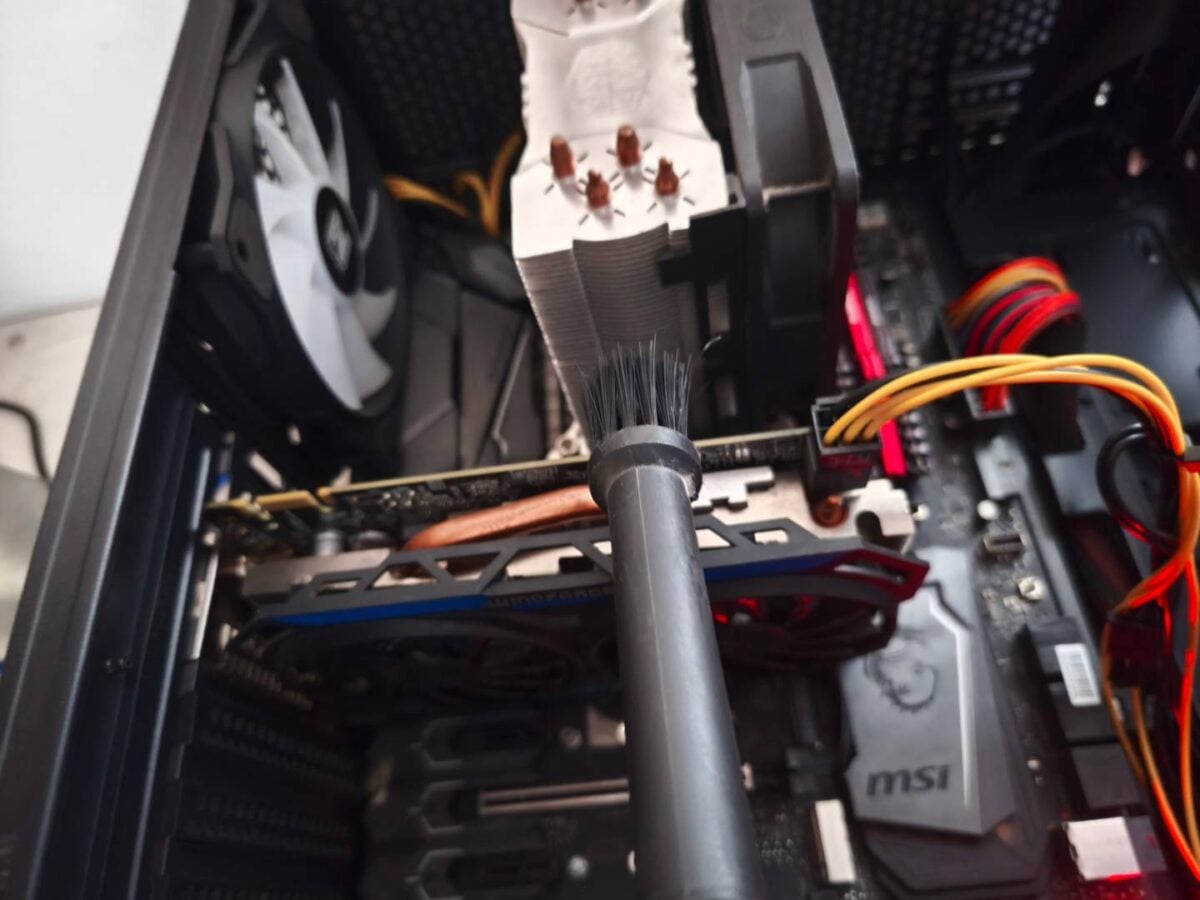
After removing as much dust and debris as possible using your air blower or compressed air can, it’s time to go in with your brush and cloth. Using the most appropriate tool for the target location, clean any remaining dust that your blower couldn’t remove – a cloth is good for flat areas, while a brush is handy for getting into tighter spaces. Unless you’ve neglected your machine for years, you should only have a light dust layer that can easily be scrubbed off.
If you find accessing some places difficult, you may want to unplug your graphics card by unscrewing it from the case’s rear panel and sliding it out, while pressing the PCIe slot lock on your motherboard. You can also remove your CPU cooler, but that should be a last resort, as you would also need to clean off its thermal paste and apply a new layer. If you can clean the CPU and graphics card coolers without removing either, I would stick with that.
Furthermore, by leaving each part where it is, you reduce the risk of mishandling something or forgetting to plug in a cable somewhere. If you decide to remove your CPU cooler for a thorough clean, make sure you check our thorough guides regarding the best thermal paste and how to apply thermal paste.
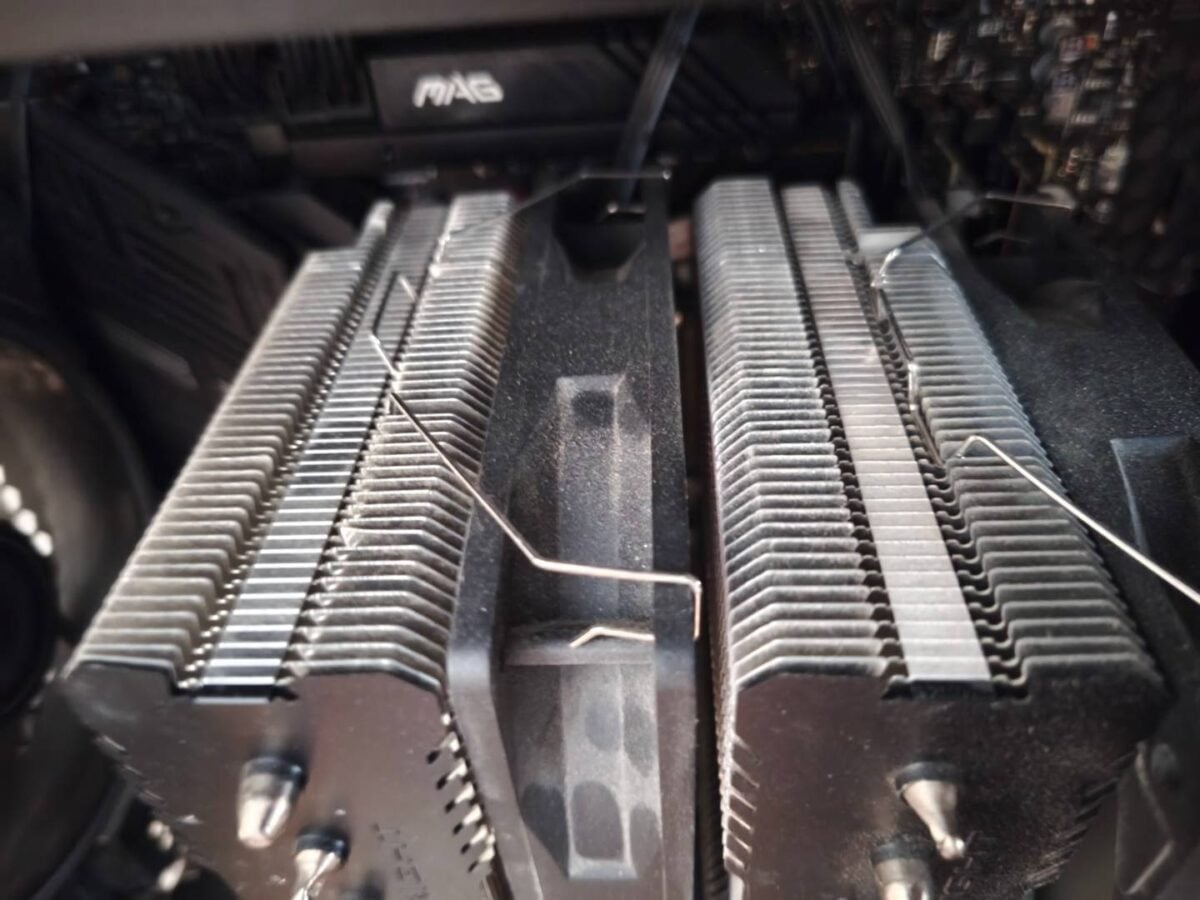
One further step is to use cotton swabs to gently clean each fan blade, especially if you’ve noticed a substantial dust buildup there, which can impact fan performance. The fan cleaning process is similar, regardless of the fan size, but the process of removing a fan from its mount can differ from one component to the other.
For example, case fans are generally held by four screws, CPU cooler fans are held by either plastic or fine metal retention clips, and graphics card fans are held by small screws accessible through the blades. For this reason, even if cleaning the blades is possible, I only recommend removing fans on your CPU cooler and case – dismantling your graphics card is a risky and complicated process.
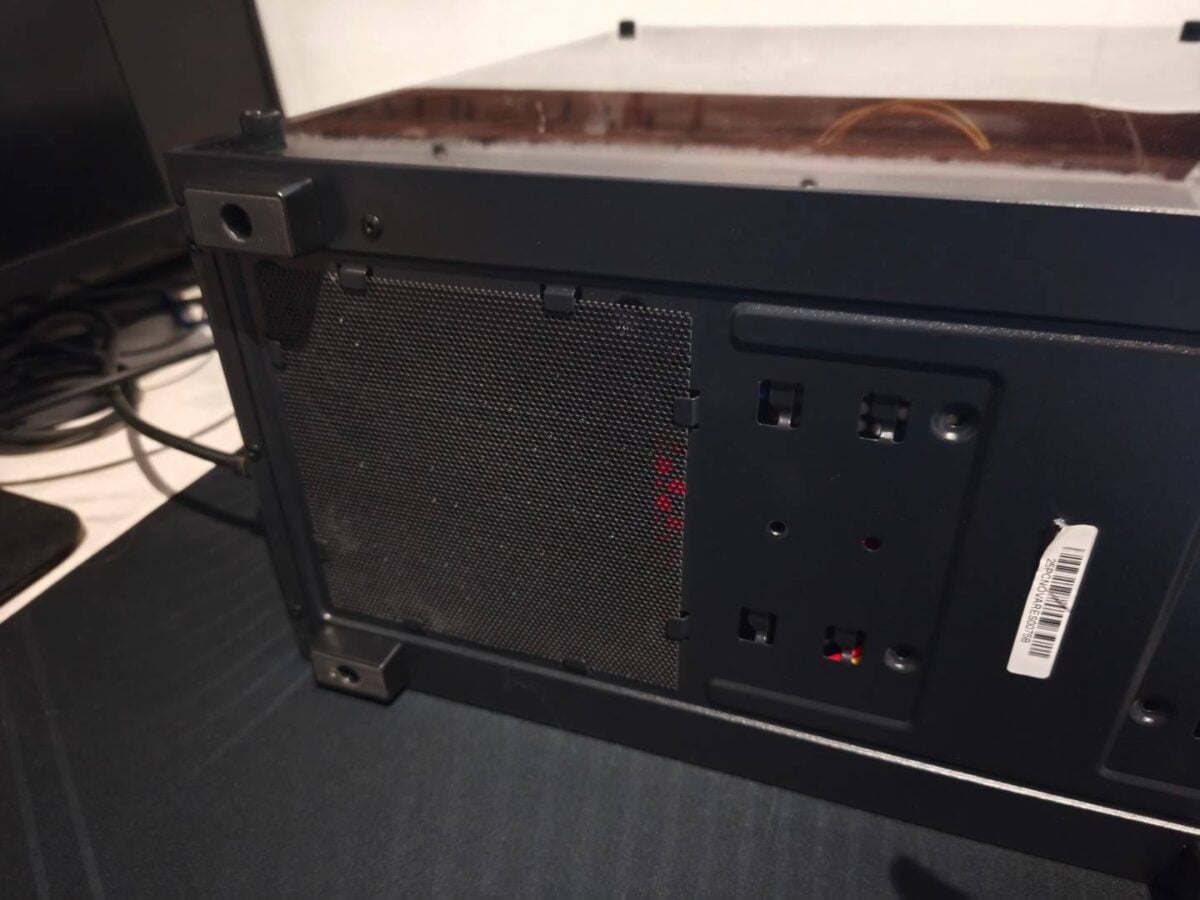
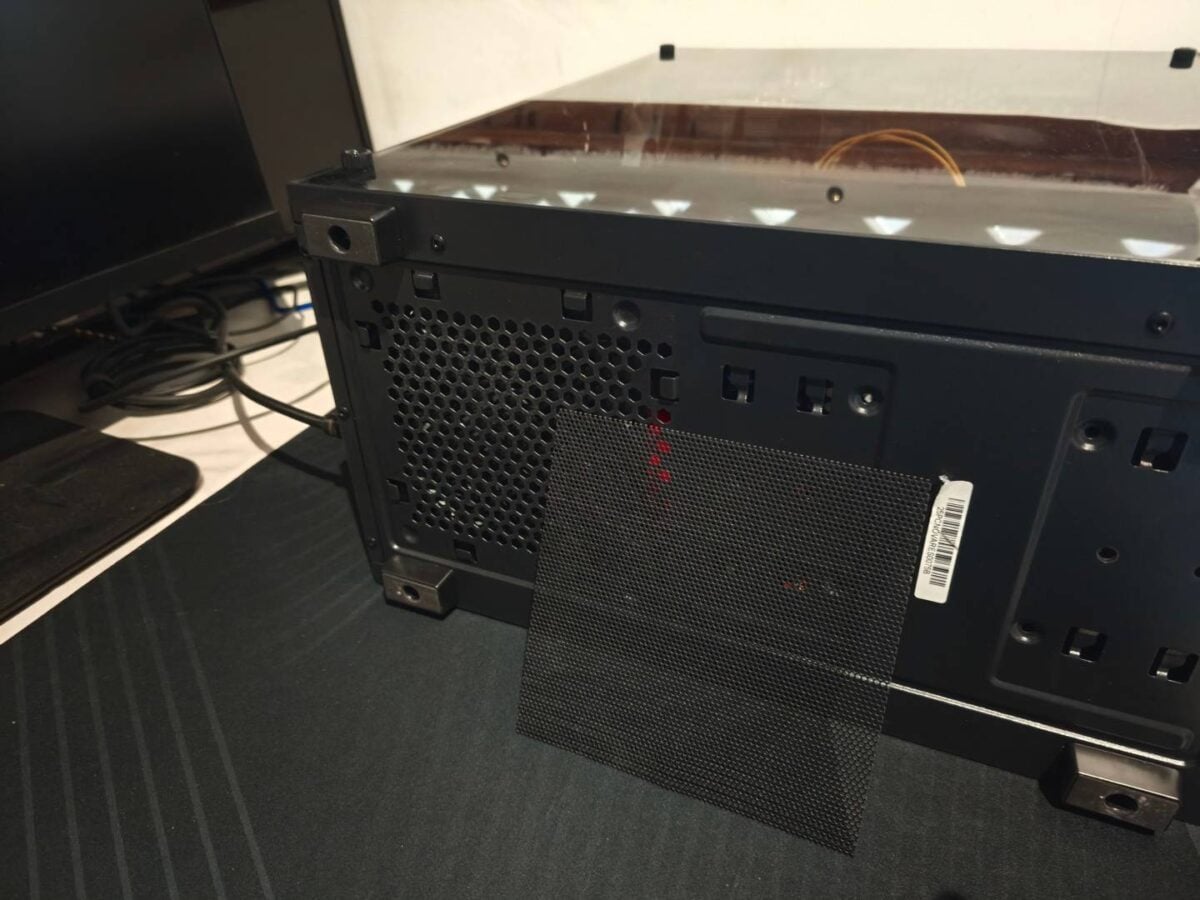
Moving down to the PSU (power supply unit), you can either directly blast air through the ventilation openings on the bottom and rear of the case, or remove it by unscrewing the four screws on the rear to clean it outside your case. Either way, you absolutely don’t want to open the PSU for safety and warranty reasons; just alternate your air blower stream between the bottom and rear vents to extract as much dust as you can.
Before closing the case, make sure you didn’t knock any cables out of place, especially the pesky 12V-2×6 GPU power connector – if your graphics card has one. Before closing the side panel, fire up your PC to make sure all its fans are spinning properly.
Reduce future dust buildup
While dust can’t be eliminated completely from your PC, you can reduce the amount that gets inside your machine by following these simple steps. First and foremost, keep your PC off the ground, especially if you have pets.
Next, favour a positive-pressure fan configuration where more fans are tasked with bringing fresh air into your system than out of it. In most case configurations, intake fans are at the front, with the exhaust at the back. One fan for the latter should be fine, along with two or three at the front.
This arrangement allows you to take advantage of the filters built into your case, ensuring that all the air that enters them is clean to a certain degree. Regular filter cleaning (once a month or so) can also help delay dust buildup inside your machine, potentially running for years before requiring a deep cleanup is required.