
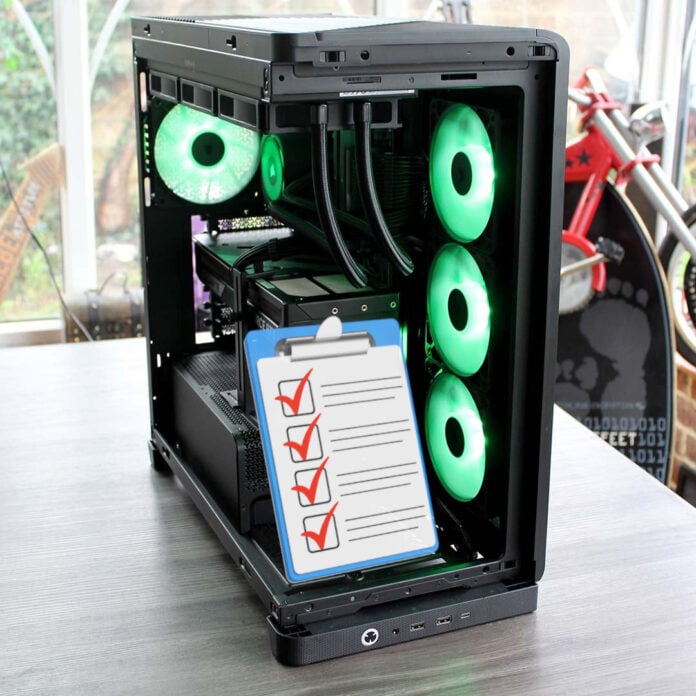
Building a PC can be exciting and stressful at the same time, however nothing beats the feeling of seeing your creation boot to life, especially if it’s your first time putting a machine together. While the process may seem daunting if you’re a novice, building a desktop computer is like Lego for grown-ups, in that most parts just fit together. Nevertheless, there are mistakes to be made if you aren’t careful; from component selection to wiring, simple errors can result in major frustration.
When building a rig, there are a handful of potential hurdles to keep in mind to prevent problems later. These mistakes are more common than you might think; a simple fan misplacement or wrong cable installation can lead to performance degradation and instability. Understanding such foibles can save you a lot of troubleshooting down the line. In this guide, I’ll go through errors that may catch out inexperienced builders, and detail ways in which to avoid them.
Don’t skimp on the PSU
Choosing the wrong capacity for your PSU (Power Supply Unit) is one of those mistakes that can remain dormant for months, until you finally get to play a demanding game and run into system-wide trouble. A PSU that has the exact, or smaller, capacity than what your hardware needs can work just fine, sometimes even when its capacity is exceeded, but you risk sudden loss of power when the load becomes too high. This can happen using games and apps that hammer both the CPU and GPU at the same time, leaving no room for spikes in demand.
Understanding the power needs of your system is important to properly specify a PSU for the best efficiency and future-proofing. While you can simply opt for a >1,000W PSU and call it a day, they don’t come cheap, and the higher the discrepancy between PSU capacity and load, the less efficient it will be. As a rule of thumb, you want to use between 50% and 90% of your PSU’s capacity to remain within its most efficient range.
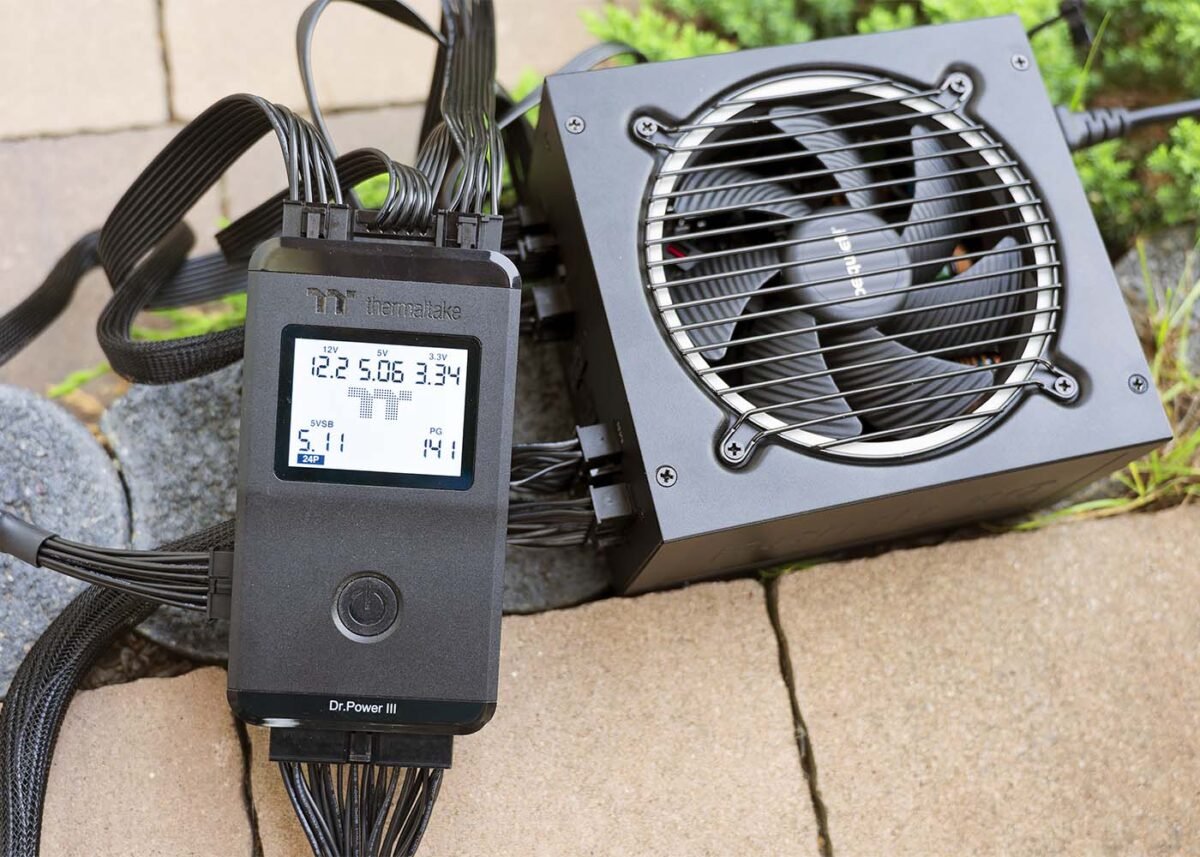
Capacity aside, PSU quality is also important. While a cheap unit may work like a charm for years without issue, take my word for it when I say you risk instability or worse. It’s true, despite knowing better, I once cheaped out on my PSU, which worked fine for months and then kicked the bucket one fateful day. I was lucky that it didn’t take any other components with it to the grave, so don’t make the same mistake and select a reputable model. I recommend checking our PSU reviews to find the best model for your budget and system needs.
Lastly, if you are upgrading from an older system, don’t mix and match cables on modular PSUs, even if they are from the same brand. Some PSUs use different pin layouts; thus, using the wrong cable can send power to the wrong place, frying your brand-new hardware. Use whatever came with your unit to avoid unnecessary headaches.
Get your fans in order
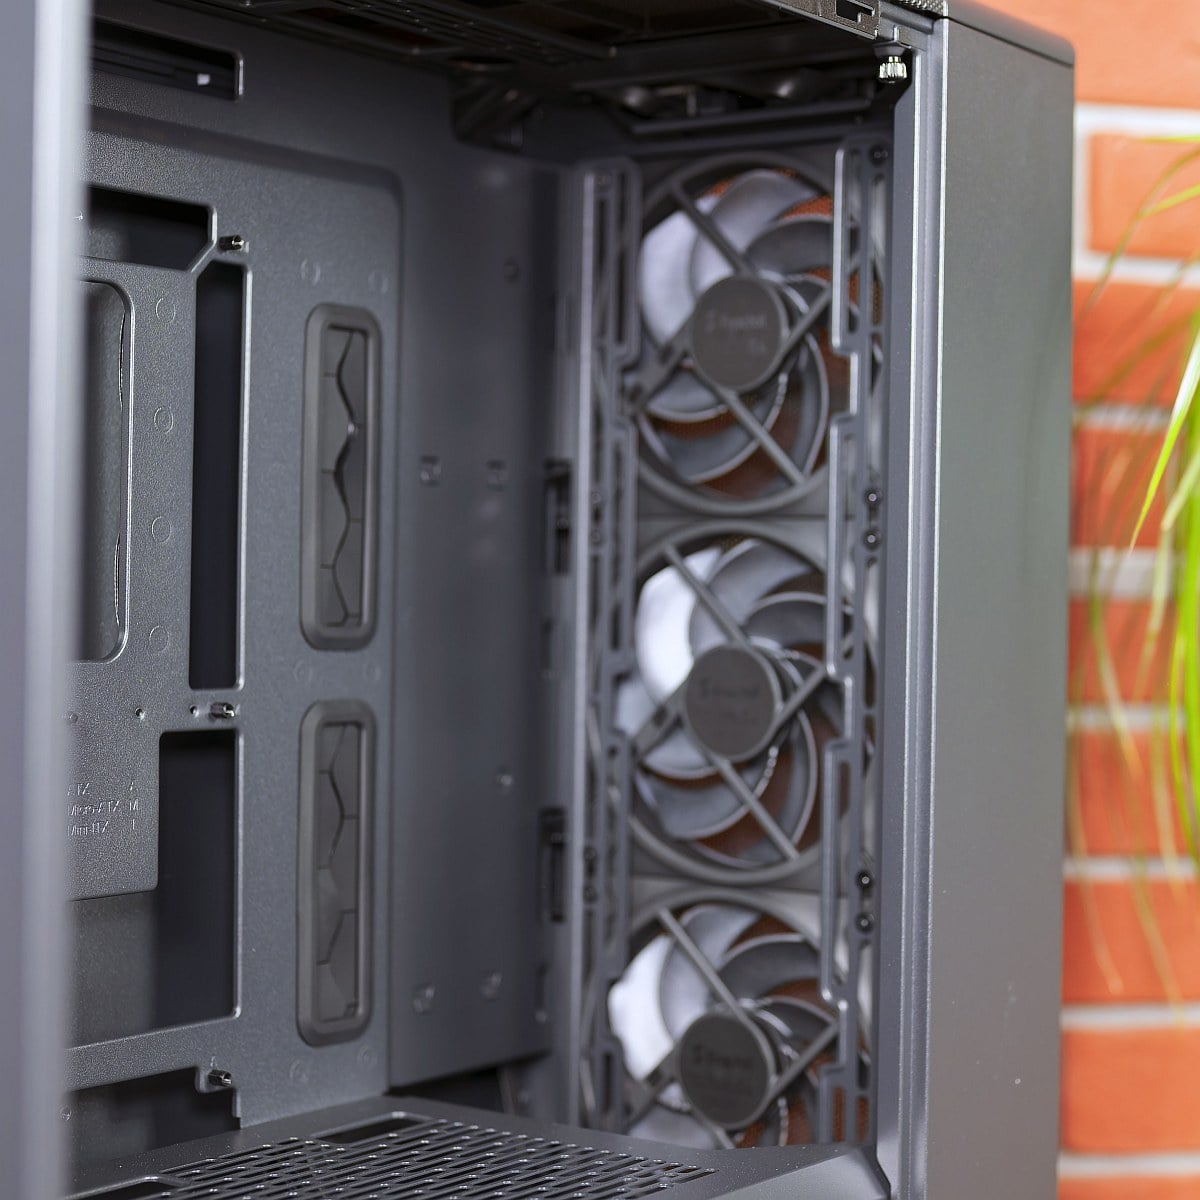
Be it for CPU or case cooling, fans are integral to the function of a PC. They remove hot air and keep components operating at temperatures that maximise performance. While installing a fan is simple, mistakes can happen, potentially causing significant performance degradation or excessive noise production. Populating all fan locations isn’t a guarantee for a cooler system, as counteracting airflow can reduce effectiveness while increasing noise. Likewise, a fan with no access to fresh air is futile, do play close attention to placement.
Generally speaking, you want to strike a balance between intake and exhaust, for example, using three intake fans plus two exhaust fans. The intakes ought to be positioned behind a dust filter to draw clean air.
The most likely mistake when it comes to fans is choosing the wrong motherboard header. Since both the fan and pump headers can appear identical, one may think that using them interchangeably isn’t an issue. While this won’t physically break anything, powering a fan through the pump header may force it to remain above a certain speed – around 40%. This means that you can’t have a silent zero-RPM PC when idling. On the other hand, if you have a liquid cooler, avoid powering its pump via a fan header, as unlike case fans, which require just a couple of watts, a pump can take 10W or more, depending on speed.
Another important distinction is between 3-pin and 4-pin fan connectors. 3-pin fans use DC voltage control, which adjusts speed by changing the supplied voltage up or down. On the contrary, 4-pin fans use PWM (Pulse Width Modulation), which rapidly switches power on and off to simulate an intermediate voltage step. While most modern boards support both modes on their 4-pin headers, plugging a 3-pin fan into a PWM-only header could limit speed control.
In a nutshell, a 4-pin fan connection should be used with PWM fans/coolers, the CPU-FAN header should be assigned to your CPU cooler’s primary fan, CPU-OPT can be used for a secondary CPU fan, and PUMP should only be used to drive an AIO liquid pump. Consult the motherboard manual if in doubt, and once the fans are connected correctly, don’t forget to set up a BIOS fan curve to have the best combination of performance and silence.
Remember the I/O shield
If my experience is anything to go by, the motherboard I/O shield must be the single most forgotten item when building PCs. While you can get by without, it helps minimise the risk of shorting the board, while also filling the void between the board’s rear ports to block air and dust from entering.
In the rush and excitement to get up and running, many tend to forget to attach this simple piece of kit to the chassis before locking the motherboard in place, forcing them to undo all the work to fix this simple omission. Thankfully, modern mid- to high-end boards come with a pre-installed I/O shield, but if yours is separate, don’t forget it, and while you’re there, make sure it’s not installed upside down.
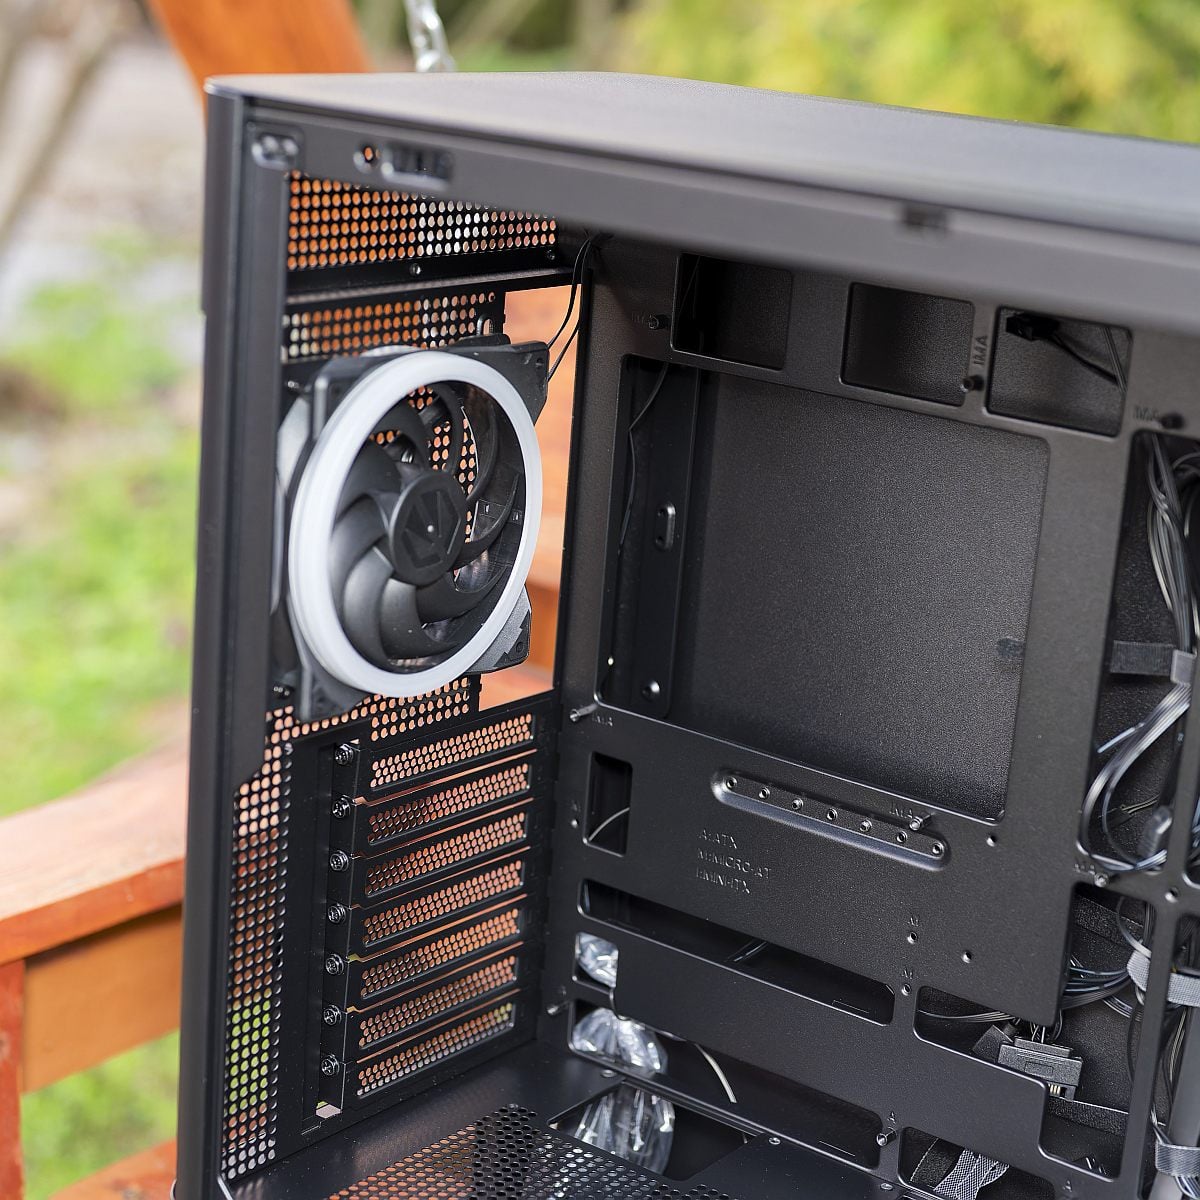
On the subject of motherboards, it’s worth paying attention to chassis standoff locations, too. These supports, in which the screws are inserted, can be missing from some locations on the chassis, so a quick verification before board installation is recommended. Also be wary of standoffs in places they shouldn’t be, as this can cause shorts when contacting the back side of the motherboard. You can put a piece of paper behind the motherboard to mark the screw holes, then use this paper to verify if the standoffs are correctly aligned with your choice of board.
Handle your CPU with care
The most stressful part of any PC build is arguably CPU installation. Manually lowering this expensive part on top of tiny pins without dropping it requires steady hands and a level of dexterity. Believe you me, bent pins are not something you want to try and rectify; aim for smooth, seamless installation at the first attempt.
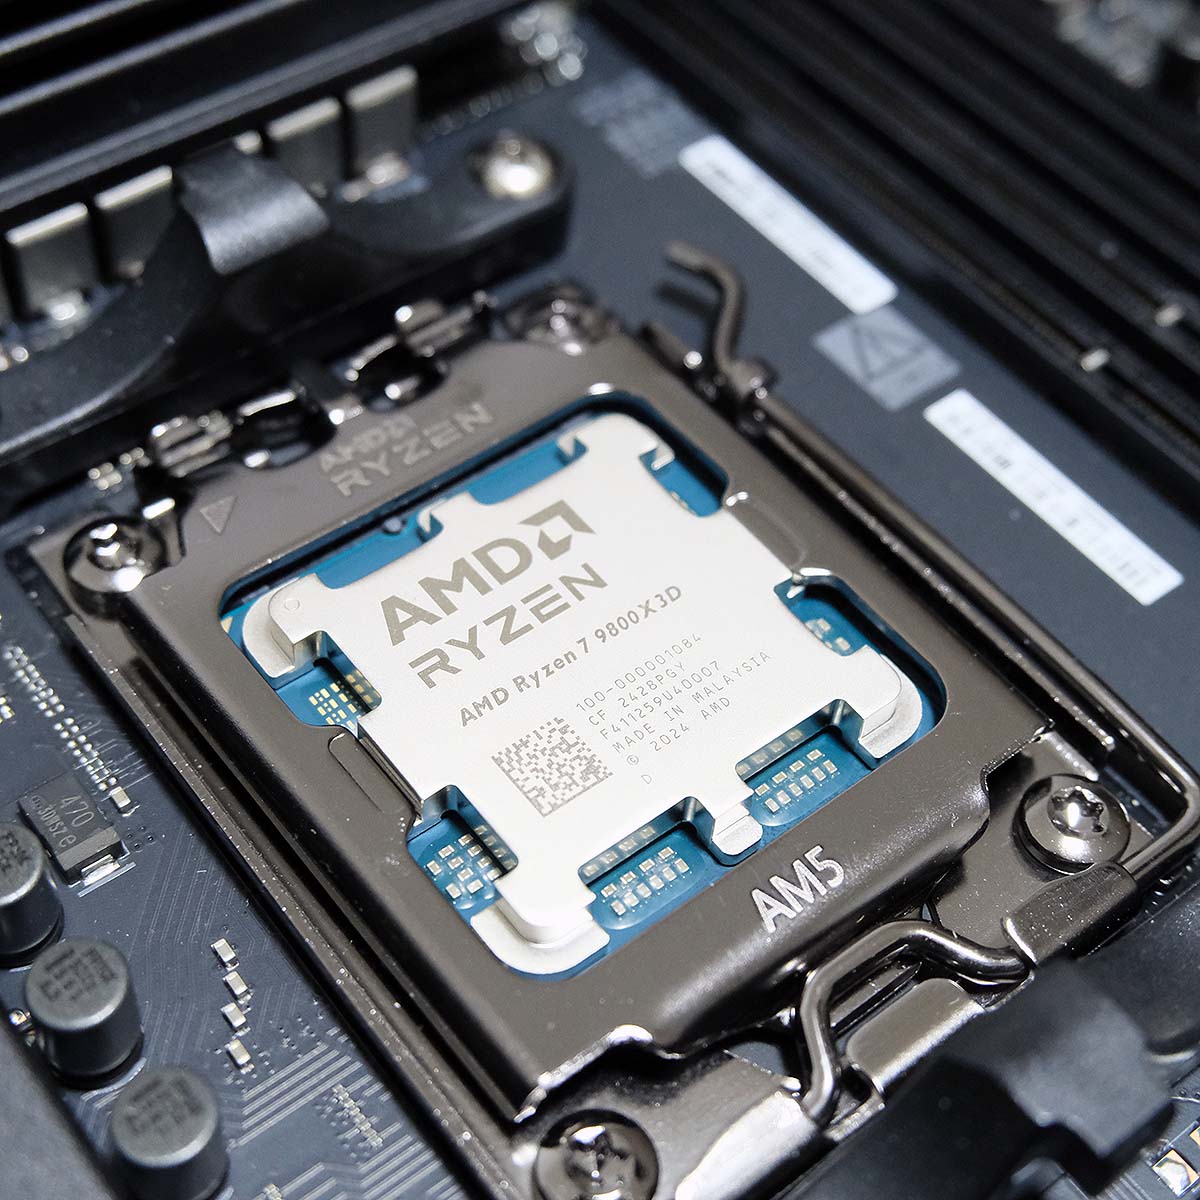
During this process, make sure to orient the processor based on the keyed cutouts and visual indicators. The latter generally comes in the form of a small triangle located on one of the CPU’s edges, which needs to align with its counterpart on the motherboard socket. Slotting it in place shouldn’t require any force, but you can wiggle it a bit to make sure it’s well seated; it shouldn’t come out of the socket. If all is good, close the mechanism to lock the processor in place.
Less haste and tidy paste
You’ve spent all that time identifying the best CPU cooler, now do it justice and make sure installation is right. A crucial component is thermal paste, which will either be pre-applied to your cooler contact plate, or supplied in a small pouch/tube.
If the cooler comes with pre-applied paste, you only need to position it on top of the CPU and screw it in a crossed pattern (top left, bottom right, top right, bottom left). Don’t tighten any screw all the way in one go; give each screw a couple of turns before moving to the next, and repeat until you fully secure all four.
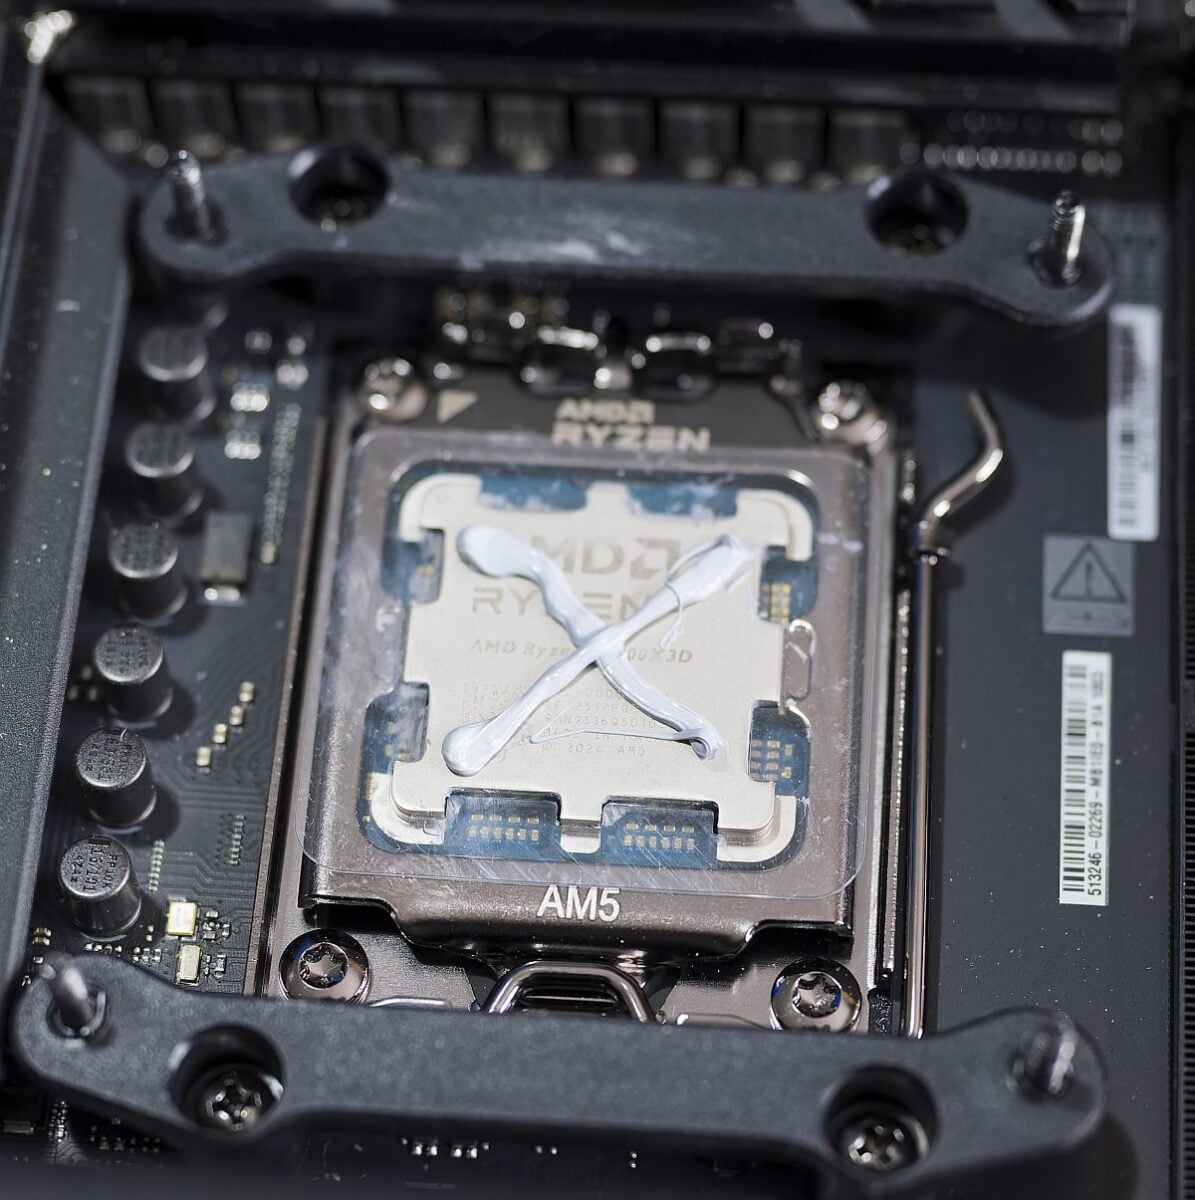
Now, if your cooler doesn’t come with pre-applied paste, you will need to apply some manually on top of the CPU. We have a dedicated article on the difference between each application method, but for most users an X pattern is all you need for optimal coverage. If you mucked it up and find yourself out of paste, this guide will help you choose the best option within your budget.
Sounds simple enough, but there’s a crucial part that surprisingly gets overlooked; making sure the cooler’s contact plate isn’t covered by a protective film. This often-translucent sheet is the part a fair few users forget to remove prior to installation, causing CPU overheating due to improper heat transfer. Don’t make that same mistake or you’ll spend the next hour or two wondering why your CPU’s running hot under the collar.
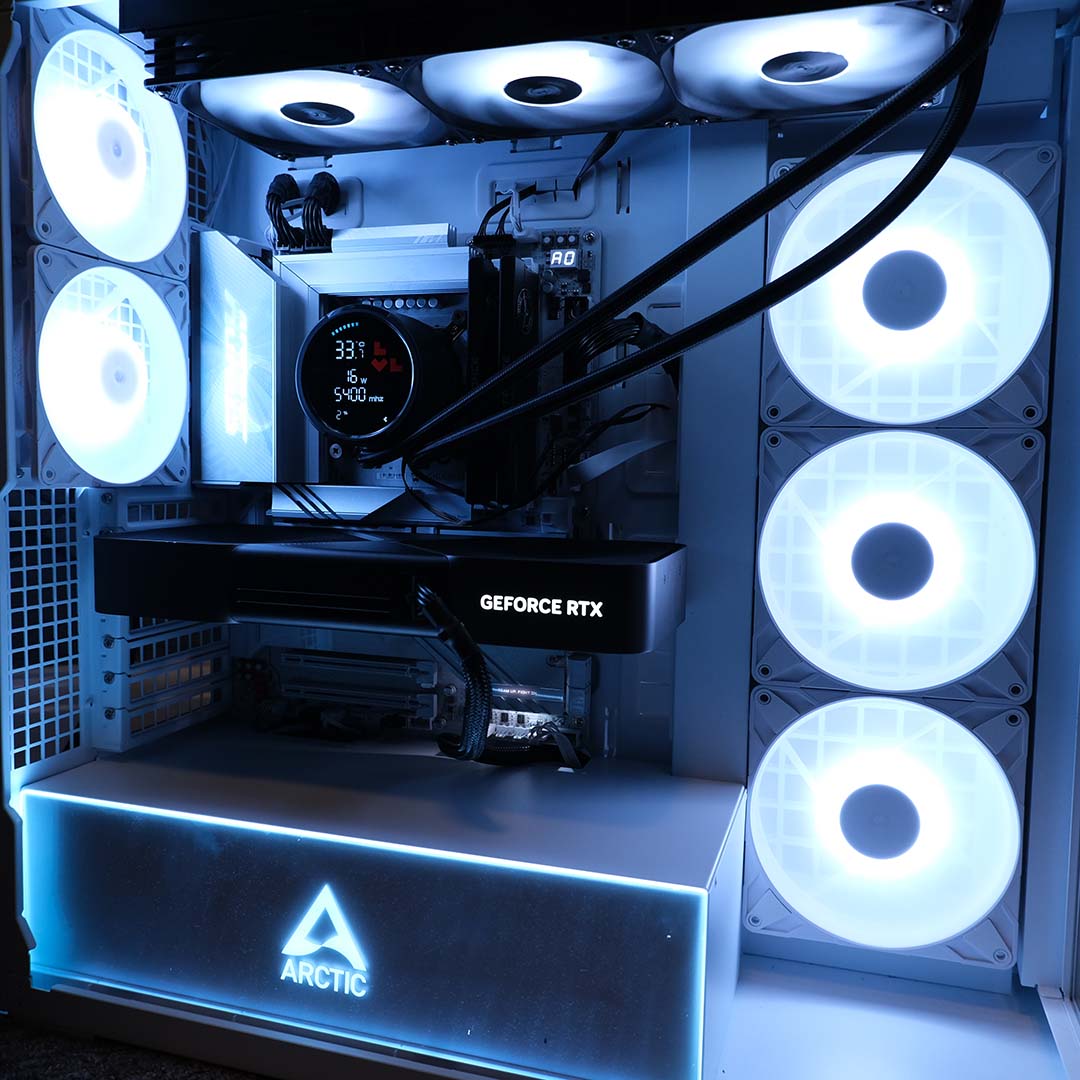
Paste aside, if you favour liquid cooling, be certain to position the highest point of the tubes above the CPU/pump to avoid accumulating air bubbles, which can lead to damage over the long term. If you can, install the radiator in the upper location on your case, as we’ve done in the shiny-new Club386 test platforms.
Channel your memory
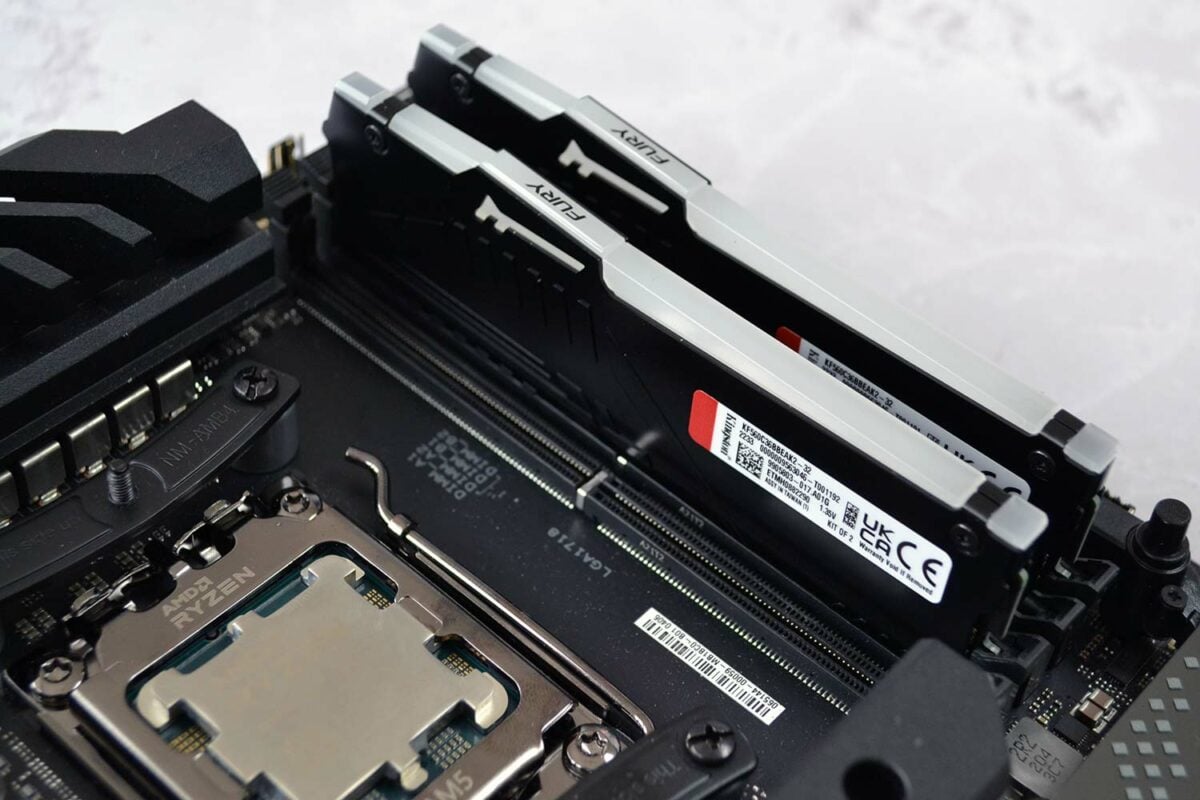
Memory is a sore subject in 2026, but if you’ve spent a hefty amount in getting the kit you wanted, it’s imperative the modules are configured optimally.
Don’t be deceived by simple installation; yes, putting it in place only requires positioning it correctly based on the keyed notch, but not all RAM slots are equal. When installing a two-module RAM kit on a quad-slot motherboard, you must put each one in the correct slot to unlock its full potential. This can vary from brand to brand, so you will need to check your board’s user manual. Some manufacturers favour the second and fourth slots starting from the CPU, while others recommend the third and fourth slots.
While it sounds trivial, correct dual-channel configuration is essential, and falling foul of this issue could cut available bandwidth in half. It’s also important to enable the XMP or EXPO profiles after the first system boot to automatically fine tune the performance of your kit.
Choose the right M.2 slot
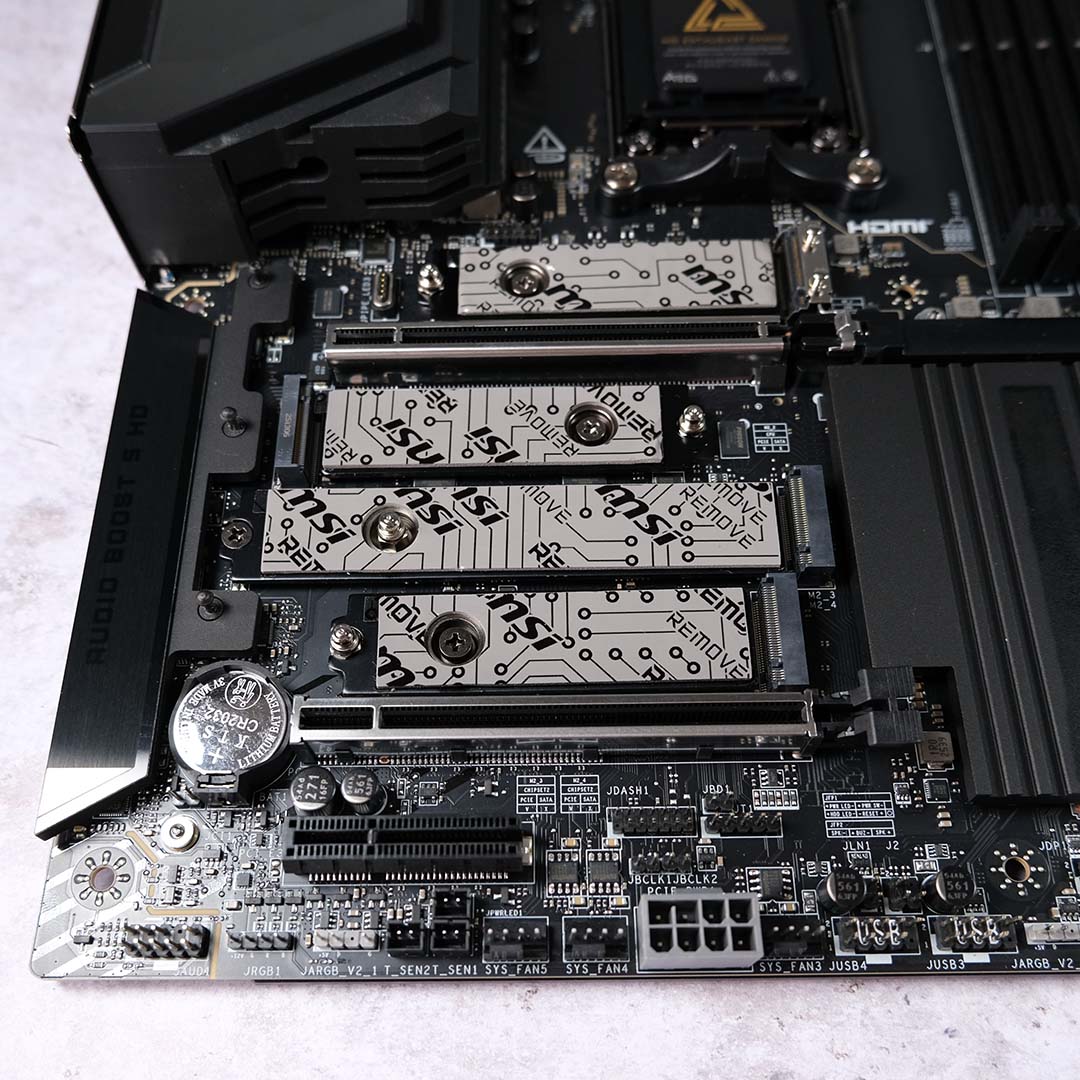
M.2 SSDs come in a variety of shapes and speeds, but all are compatible with the same slot format. This means that a brand new Gen 5 SSD can be installed on an old Gen 3 M.2 slot, however performance will take a massive hit. To avoid capping the performance of your SSD, check your motherboard manual for the fastest slot. Generally speaking, it’s the top one, located nearest to the CPU.
Avoid certain display outputs
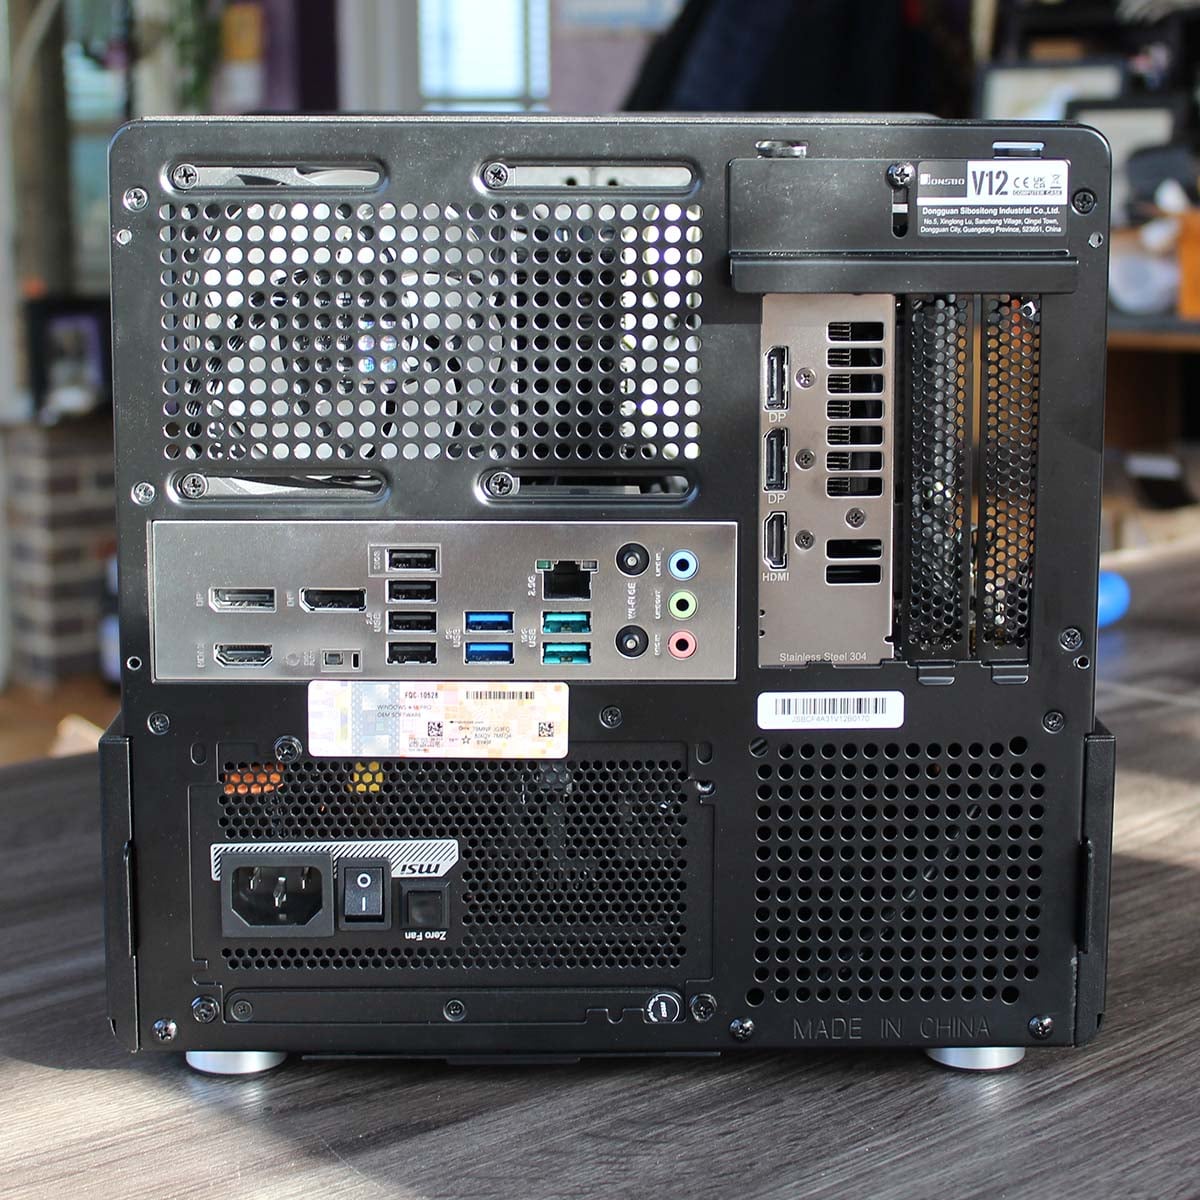
When using a dedicated graphics card, it’s important to connect your monitor direct to your card’s HDMI or DisplayPort, and not the motherboard’s ports. Connecting to the motherboard can result in higher latency and poor performance as the signal needs to pass through the CPU’s iGPU. In some instances, you may lose features such as adaptive framerate synchronisation, or worse still, games may mistakenly identify the iGPU as the main graphics processor, resulting in a drastic performance reduction. In short, when a dedicated graphics card is present, be sure to use its video ports.
Check it over
Alright, so you’ve avoided all the above pitfalls, but the job’s not quite done yet as there are checks that are absolutely worth doing. After assembling your computer and turning it on for the first time, you may be invited to enter the BIOS. If not, press F2 or Delete on your keyboard during the boot sequence. First, I recommend updating your BIOS to the latest version, as it can contain hardware optimisations and new component compatibility. Next, make sure to enable the XMP or EXPO RAM profiles as mentioned previously, and ReBAR (Resizable Base Address Register). You can check out my essential BIOS settings guide to see which option to optimise.
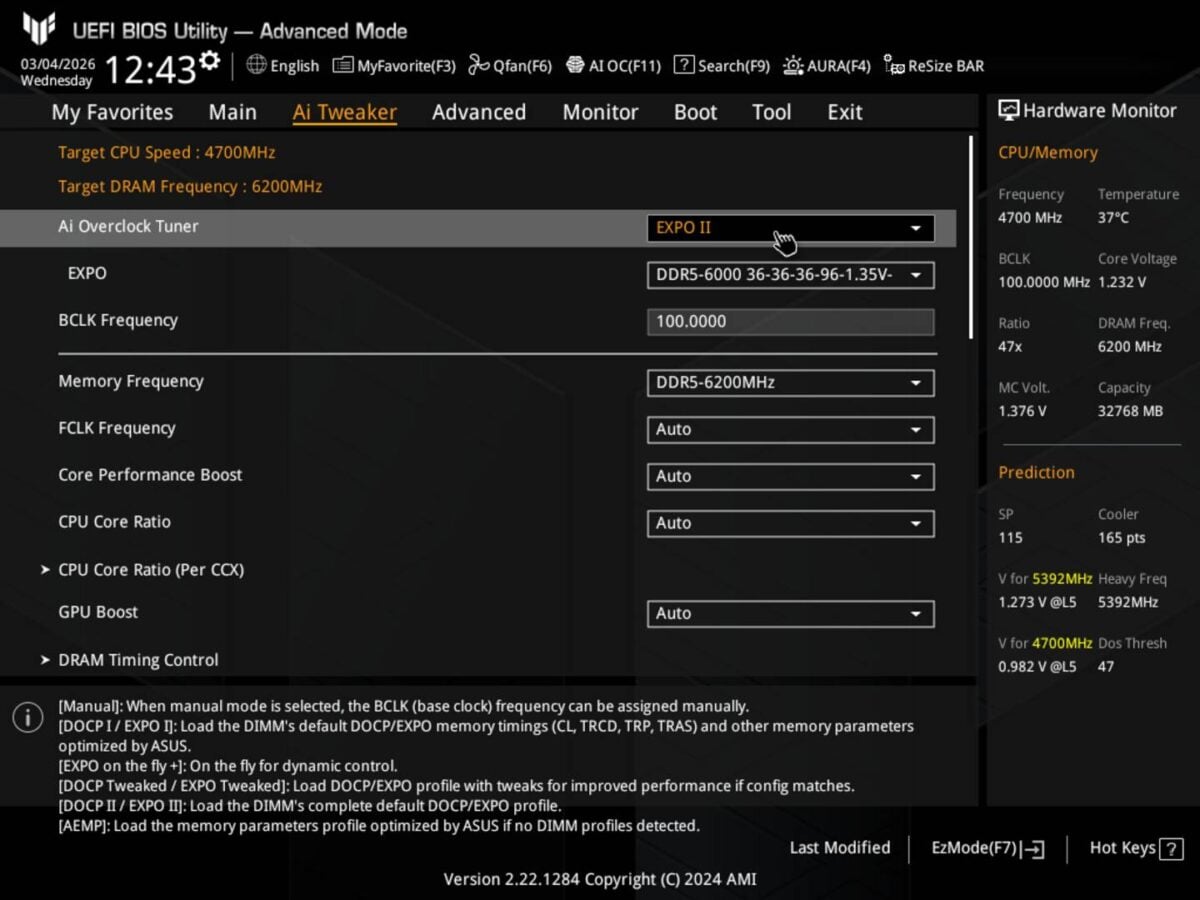
Last but not least, after installing Windows (or your OS of choice), check all components are correctly detected and running at their advertised speed. I’ve compiled a handy list of apps that will help you with this process. At the very least, make sure the RAM is running at its rated speed and that CPU/GPU temperatures are within reasonable ranges. Better still, test the system via any of my free recommended benchmarks to ensure performance is in line with expectations.
Final thoughts
I hope these simple steps will help guide new users taking their first steps into one of my favourite hobbies; PC building. While there’s no guarantee you won’t run into other complications – that’s part of the fun, believe it or not – being armed with these points should circumvent any foolish errors and give you a better chance of a system that boots at the first attempt without any glaring performance issues.
From planning through to purchase and assembly, building a PC is often a case of trial and error. Nonetheless, the important thing is to enjoy the process, double-checking your work to ensure everything is as it should be. Get it right and a good gaming rig will serve you well for many years to come.